A brief guide to the Map Creator Tools (Utilities)
-
OK so this guide is meant to complement tripleA's built-in Map Creator Tools, Step 2: Utilities.
The Center Picker, Polygon Grabber, Placement Picker etc. focusing especially on the Polygon Grabber since that one can get a bit tricky. All these Utilities are related. They work together, and will present in a similar way in terms of their UI and the sorts of stuff you'll be doing when you actually run the tools. All of them will use your Baseline PNG, and your baseline is the main image you'll see displayed on screen when using these Utlities
The Center Picker takes your Baseline and allows you to define which spots are going to become game Tiles (Territories and Sea Zones or TTs), giving them a name and the location of the tile's "center" which will present on the display as a red dot with the label you enter. The labels you use for your centers will need to match the labels that are used in your game's XML.
The Polygon Grabber is what actually draws your baseline within TripleA. The utility uses your Baseline PNG to create the Polygons file, which tells TripleA how to draw the 'polygons' (the various land and sea zone tiles) that will be displayed in-Game. If it's helpful you can think of the Polygon Grabber as an interpreter or translator. It's going to take our PNG image of the baseline map and translate that into code/coordinates using our inputs so that tripleA can understand and make use of the baseline image provided. When you change the shape of something in your baseline map, say to move a border or to add a new border to create a new territory tile, it's the Polygon grabber that you'll use to actually make this adjustment into a reality for your game. The UI here will be displaying a series of Yellow/Red highlighted shapes (the Polygons) for each of your intended Tiles, using the centers you provided to define which shapes get included/painted over with the national ownership color, for a given tile.
The Placement Picker will use your Baseline, your Centers and your Polygons to tell TripleA exactly where the units will display within a given tile that you've set up. This pushes over a bit from Map making stuff, into Unit making stuff, but again it's all related. Familiarizing yourself with how the Center Picker and Polygon Grabber work will help you to see how the Placement Picker works. In the TripleA lexicon, 'Map' making and 'Game' making are often used interchangeably, but most of the stuff we'll be dealing with here involves the actual map, how to get your in-game map display to change, by changing your baseline PNG and running it through the tools.
The Map Creator Tools are pretty fantastic, like Veq did really a great job of laying them out. But they're also presented in a sequence that assumes you're trying to make a map from the ground up, like from scratch. If your goals are more modest, like say you just want to tweak an already existing map, then the order in which you use these various Utilities may be different, to achieve only what you're setting out to achieve.
What we're going to do here is make a simple change to an existing map game, by adding a new tile and then take you through the process with screens.
For this example we'll be taking the standard World War II v3 baseline map, and adding a new tile called "Southern Italy" to the map by using the Polygon Grabber. Then we're going to add the island of Sicily to that tile by using Polygon Grabber > island mode. When we're finished getting the tile added to the map, we can detour to the game's actual xml to give this territory a PU value and assign it to the Italian Player, but first we gotta get the tile added.
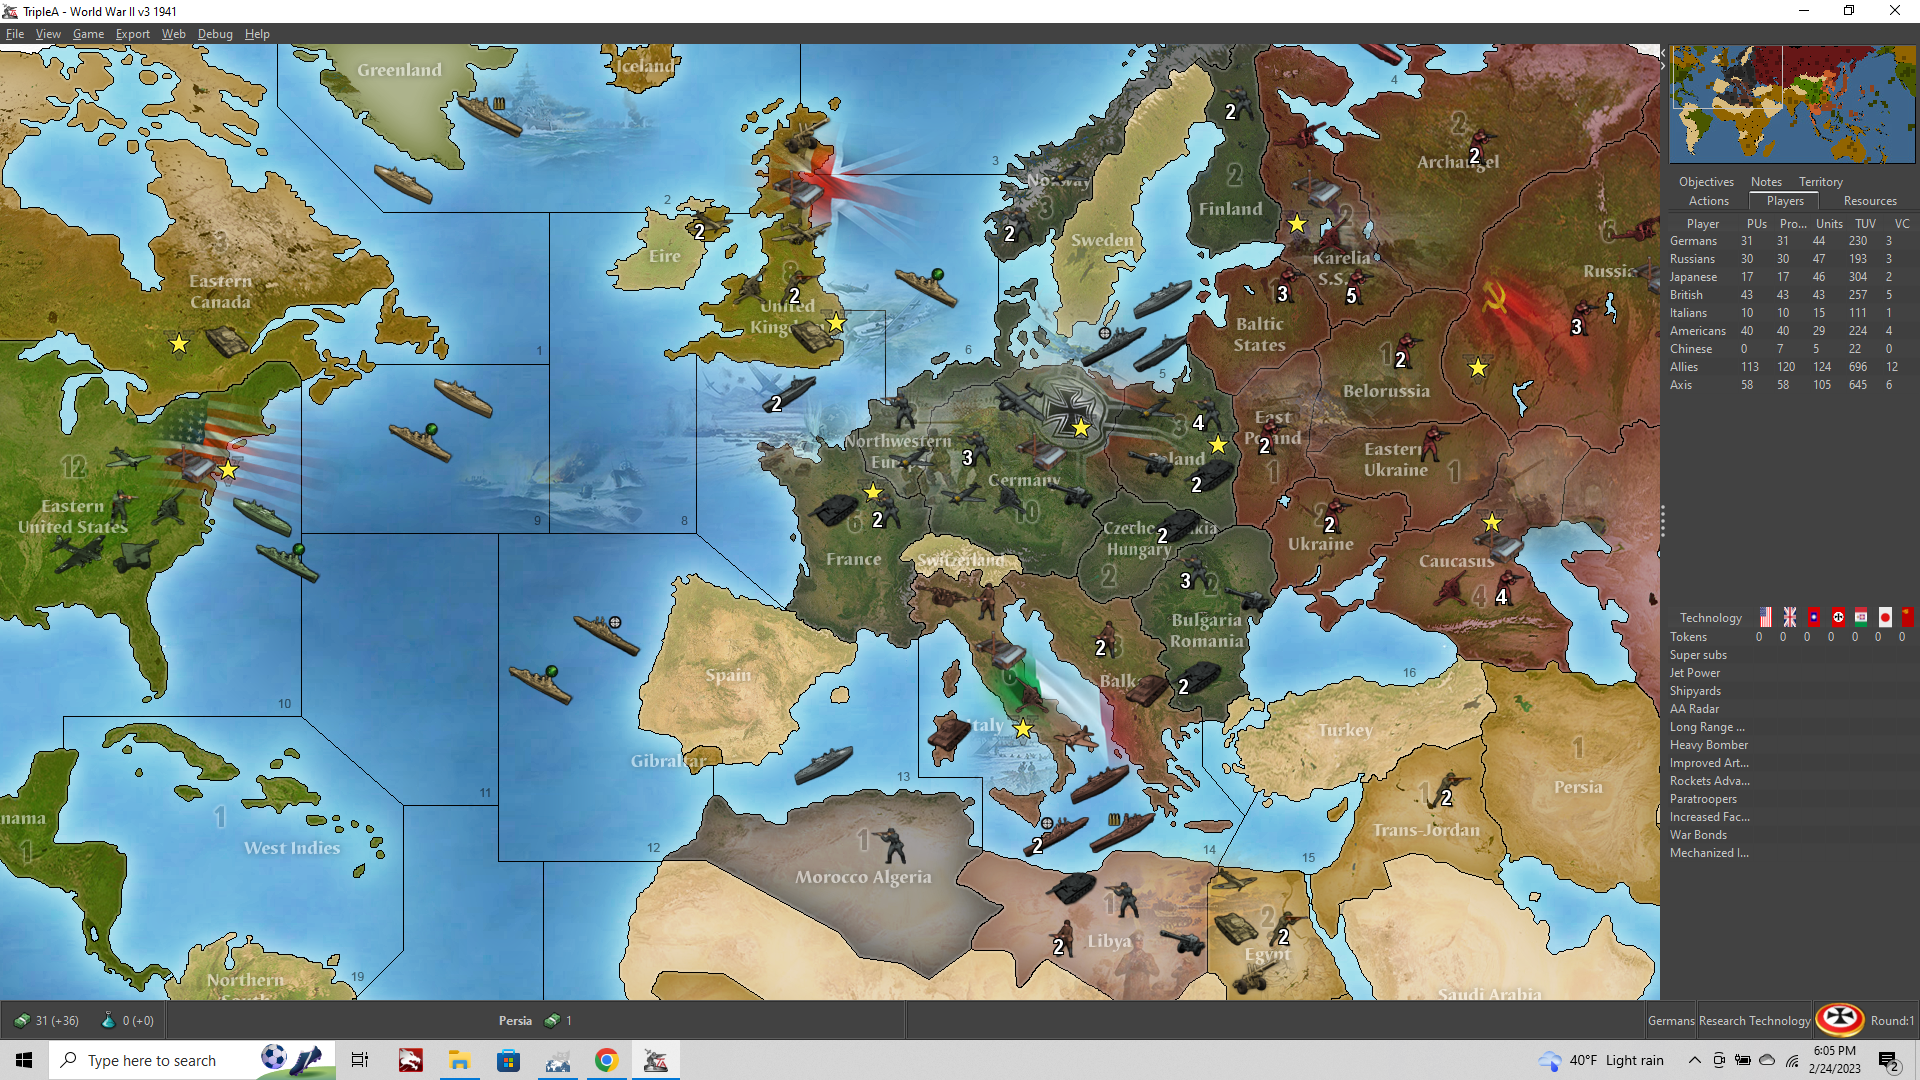
Preliminaries: Setting up shop in the downloaded Maps folder.
So our first step is to make a backup copy of our World War II v3 folder and move this somewhere else for safe keeping. Later we can change the labels of our main folder/xml game entries etc, but for now we'll just mod the working game.
Navigate to your downloaded maps folder world_war_II_v3 > maps folder and survey what's there.
You should see a folder there called baseTiles. What we want to do is quickly reconstruct a single large baseline image from the stuff in our baseTile folder.
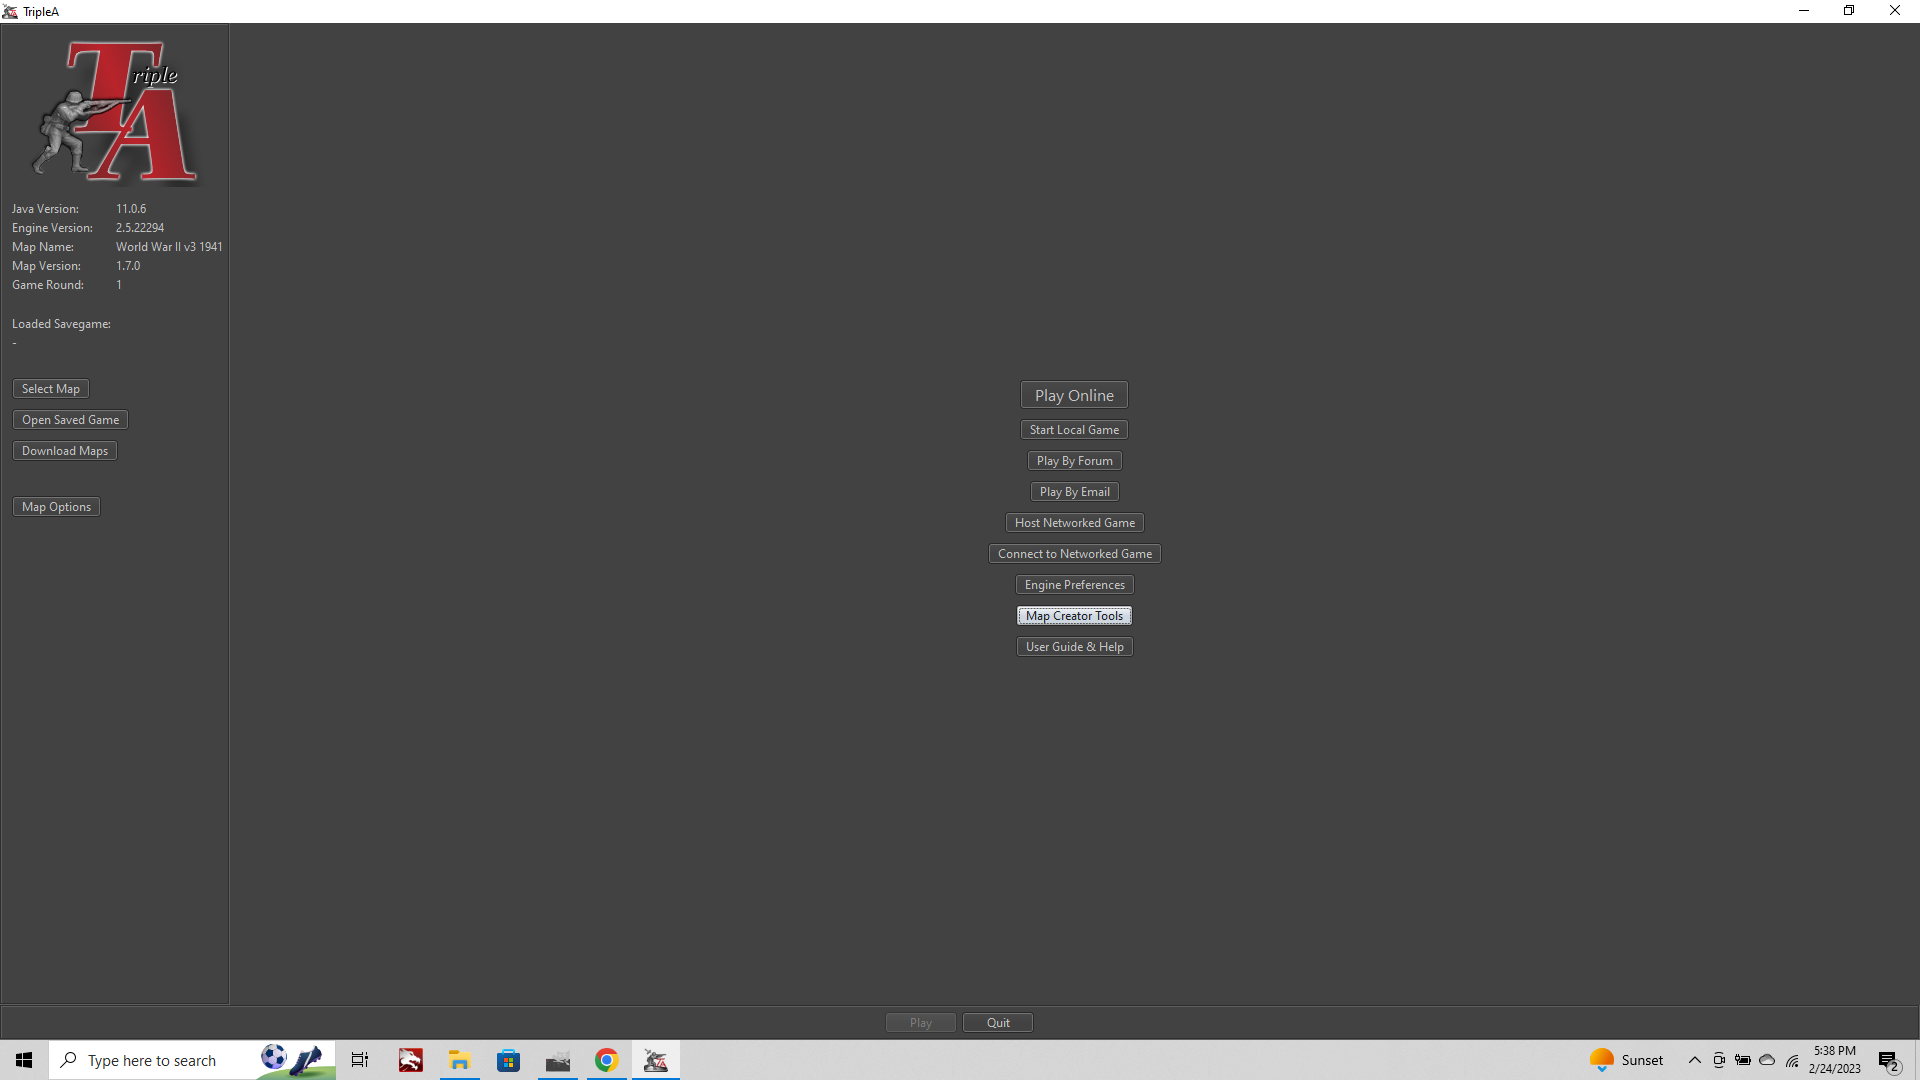
Fire up TripleA
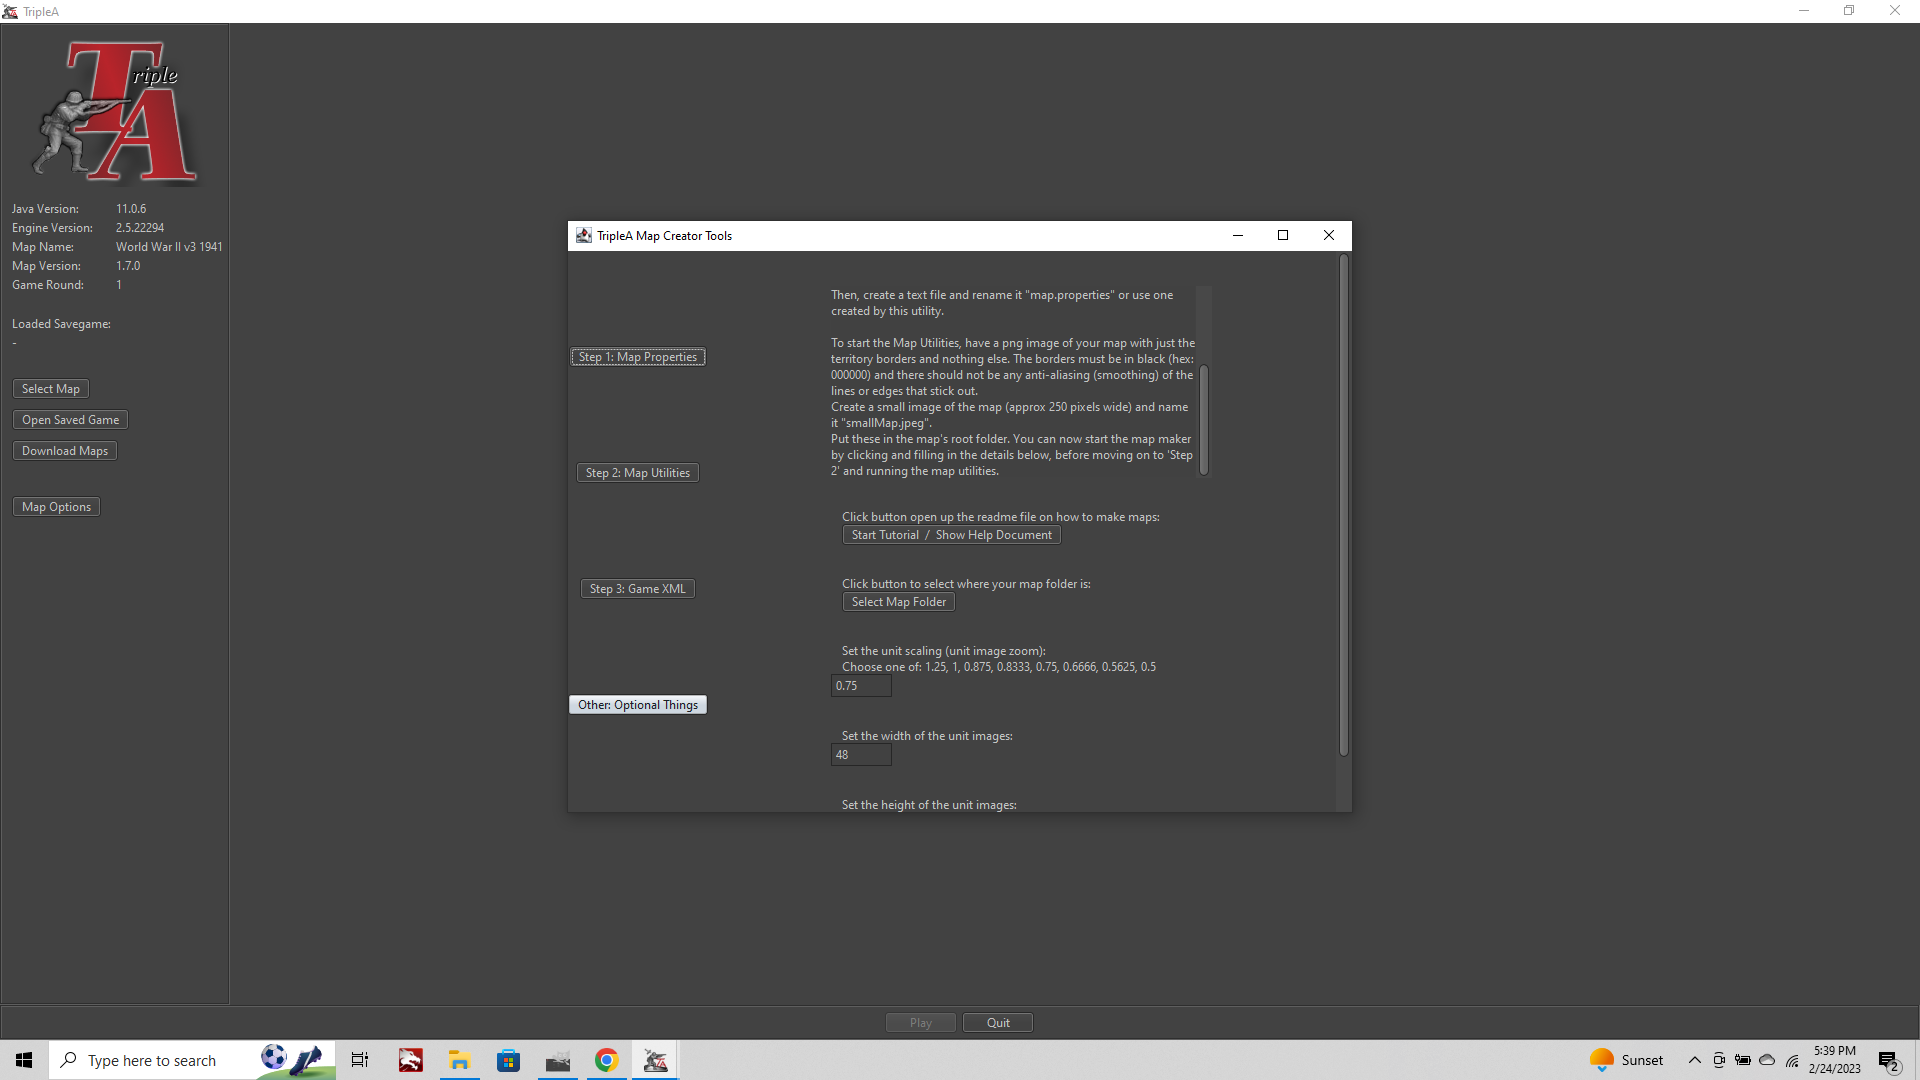
Click Map Creator Tools > Other Optional Things >Run Tile Image Reconstructor
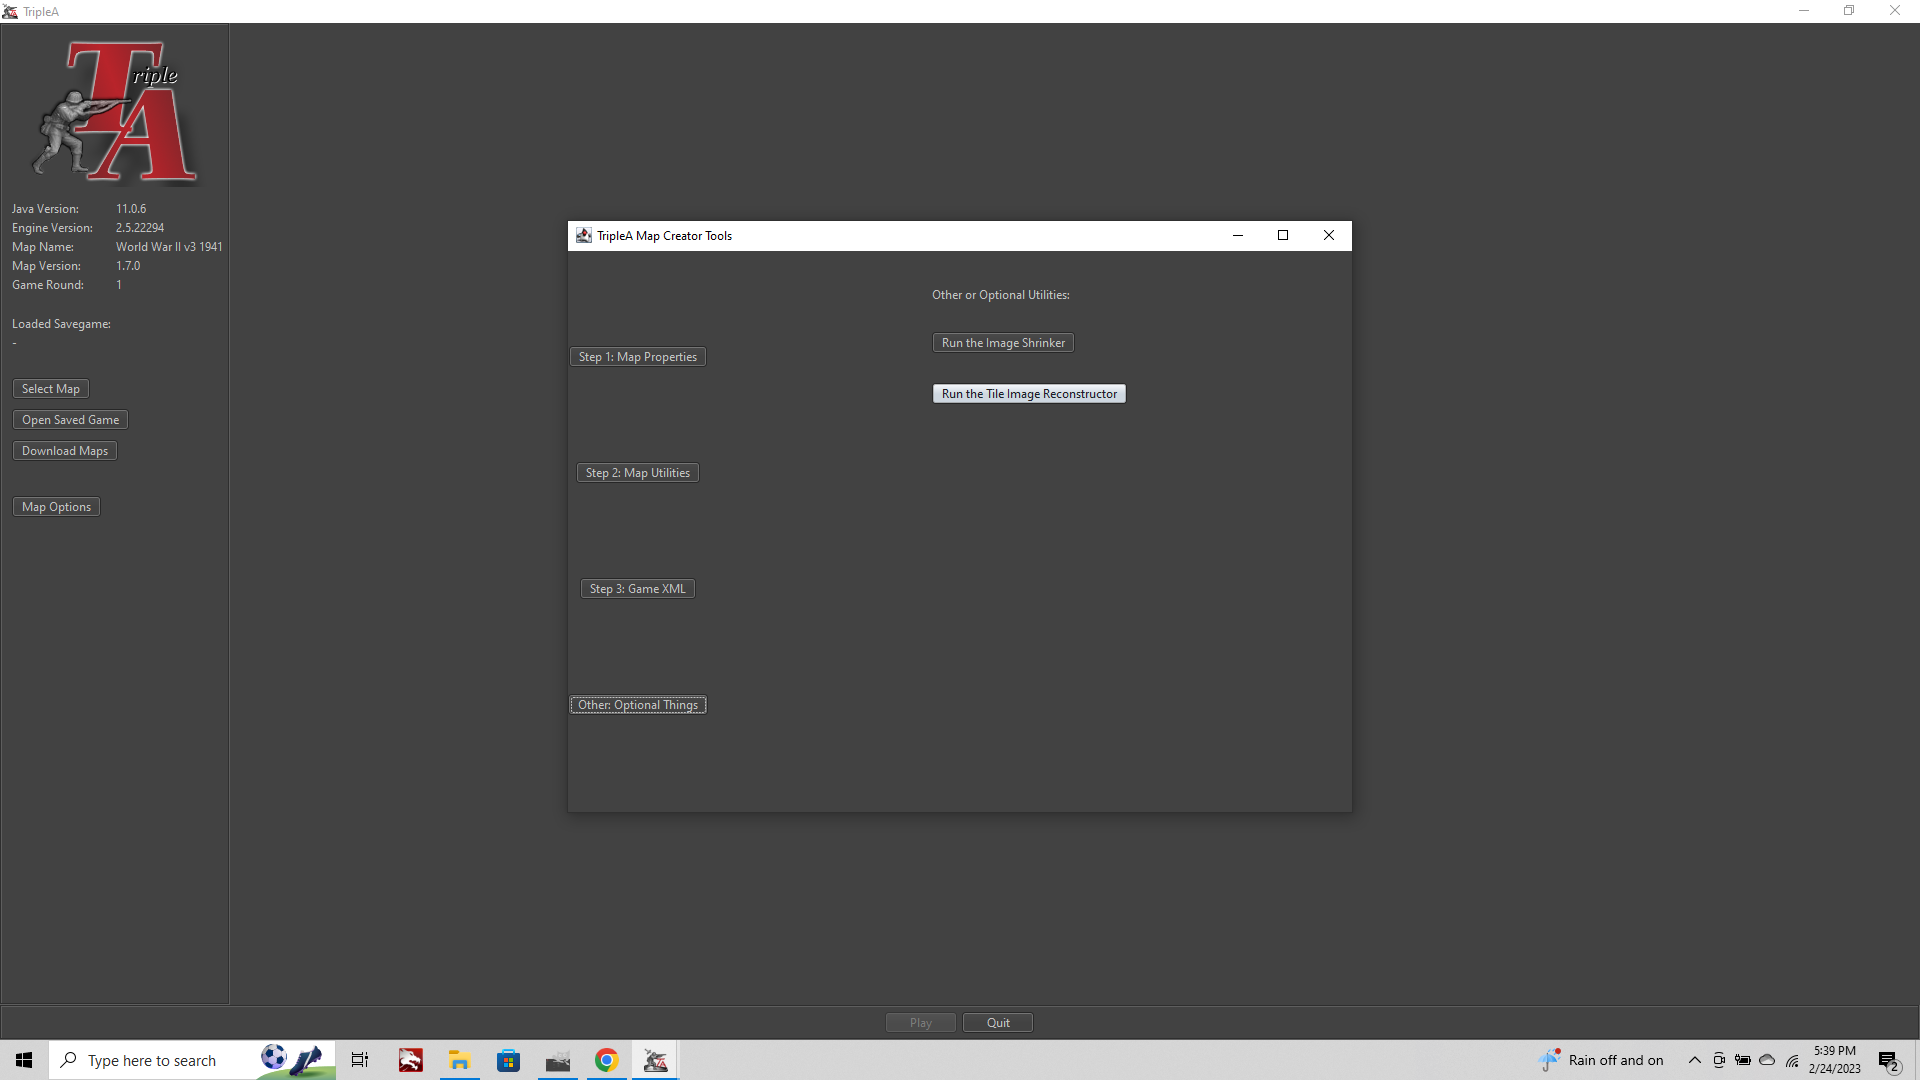
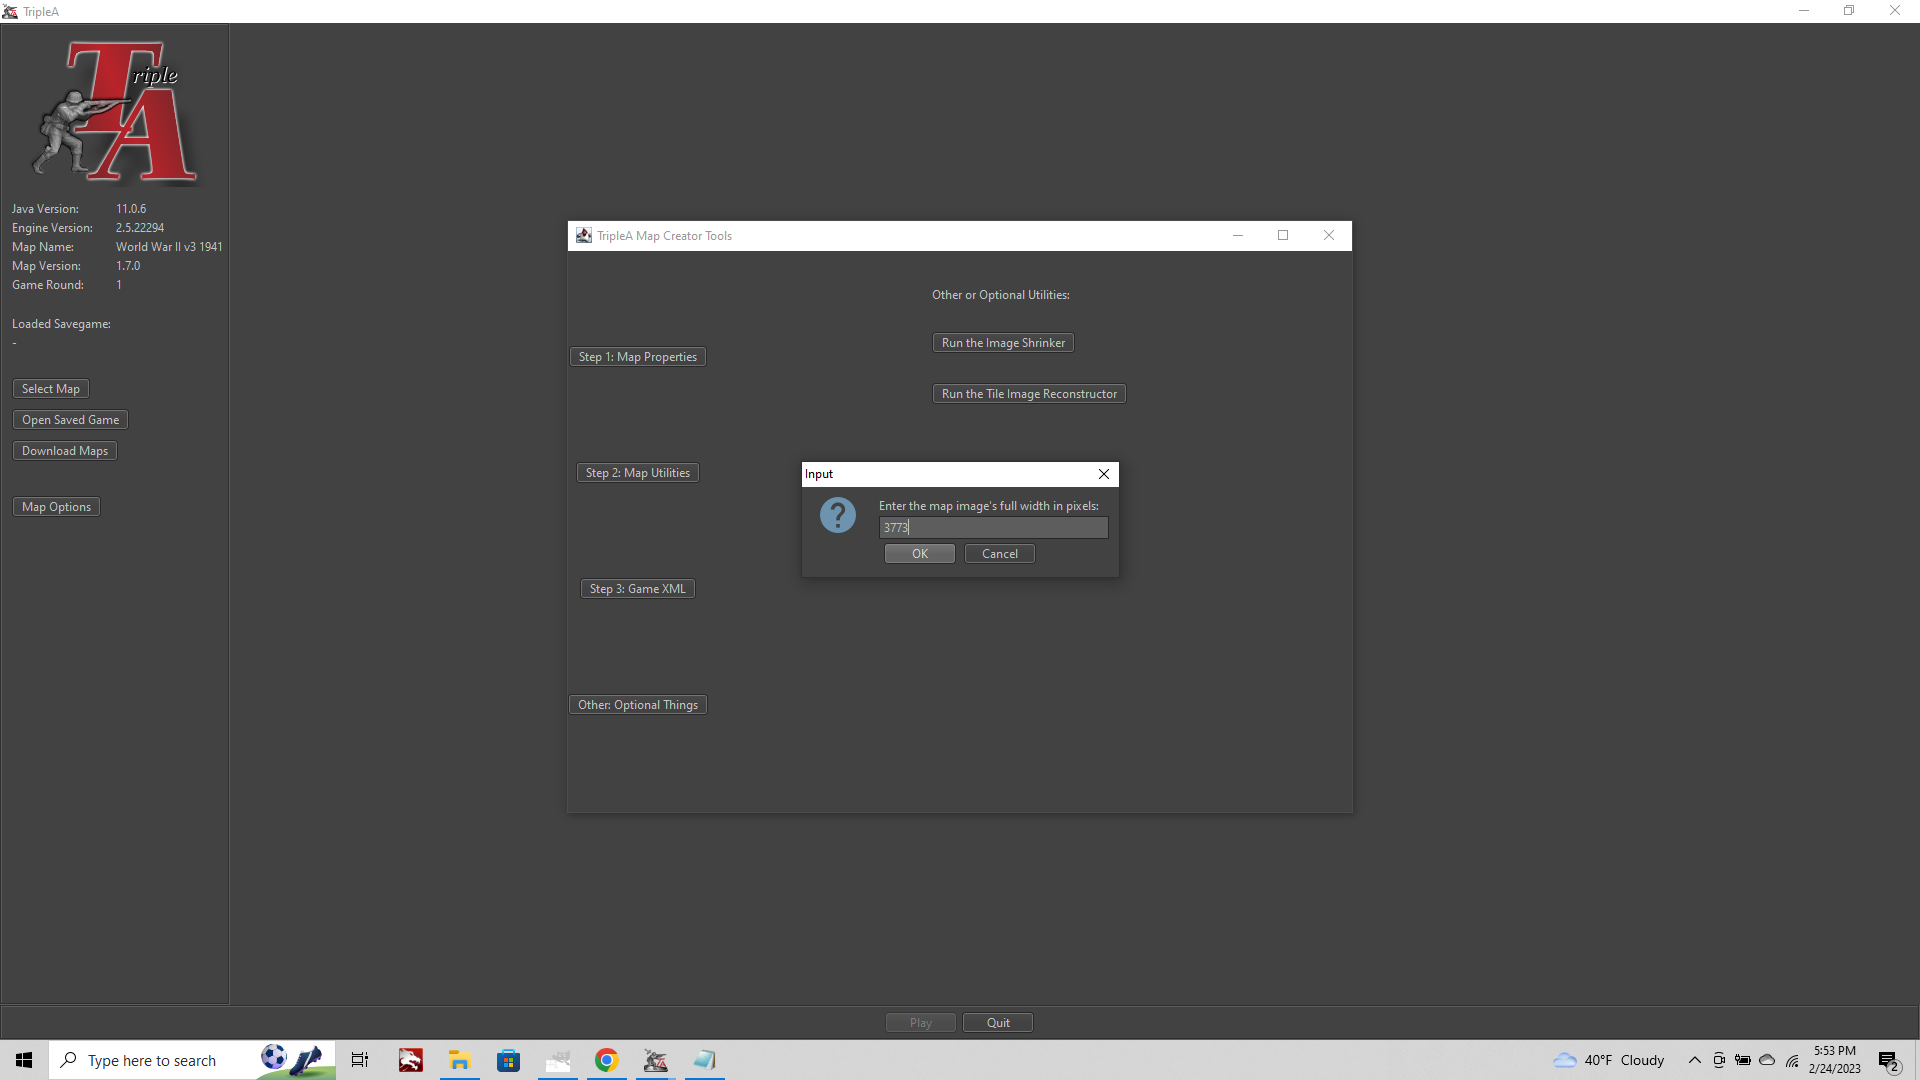
You will be prompted with a Note that says "you will need to know the size of the image before you begin."
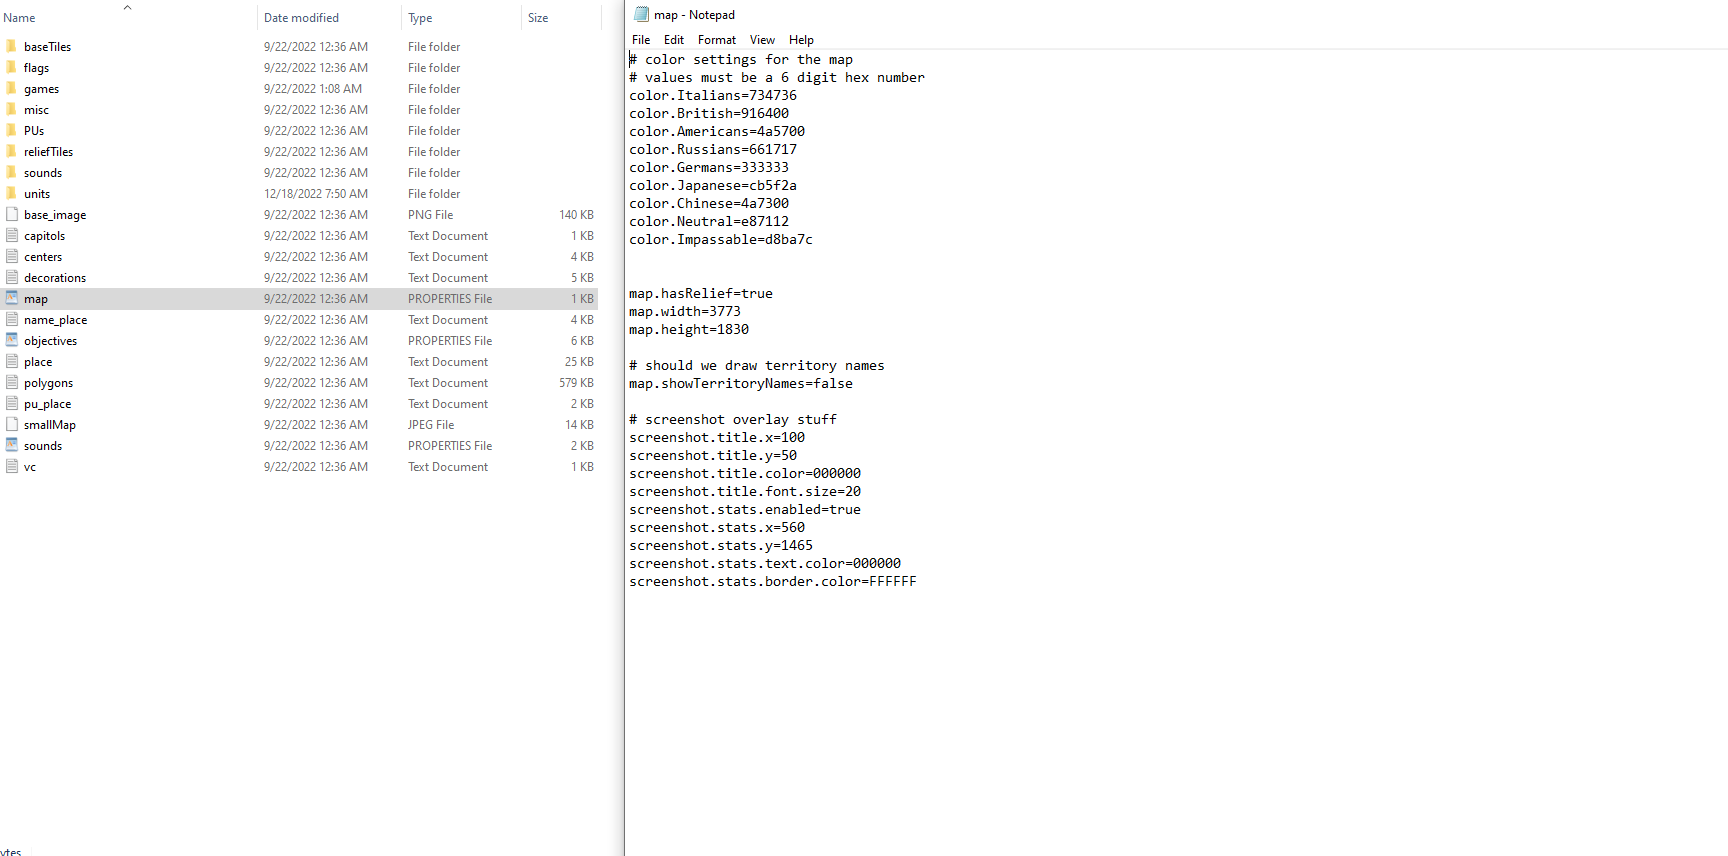
You can find this information in map.properties. v3 is one of our smaller maps, if you open the map.properties with txt editor you'll see the dimensions.
map.width=3773
map.height=1830When prompted by the map tools we'll enter those values.
After we click OK to the prompt, tripleA will ask us for the location of the baseTiles folder.
The default will point to your main tripleA directory, but we need to navigate to the "downloaded maps" folder.
For me I navigate out to "Users" then point to triple>downloaded maps, same spot where my saved games folder is kept. It will ask you what you want to name the image. Default name is map, but I usually type 'baseline map'
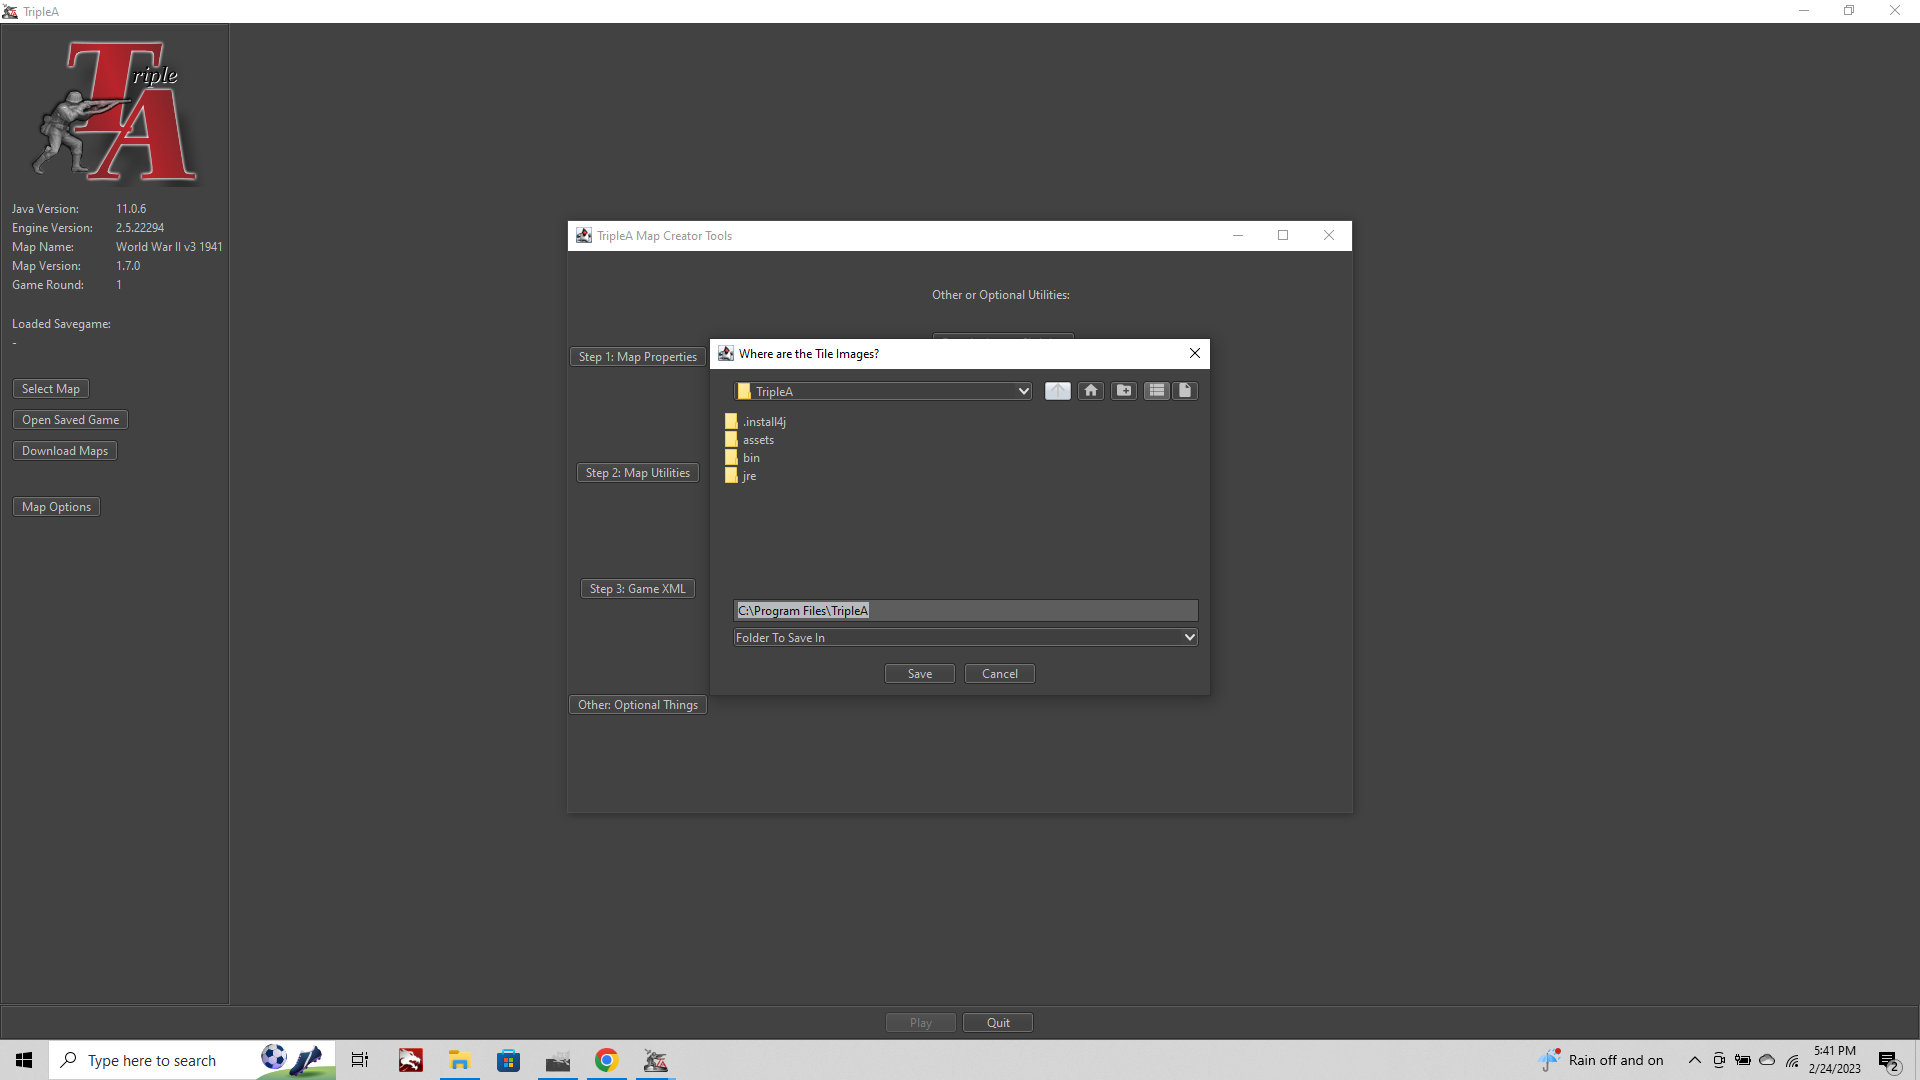
Now we got a baseline for v3, and have navigated successfully to your downloaded maps folder from the Map Creator Tools, which is something you'll be doing a lot from here on out.
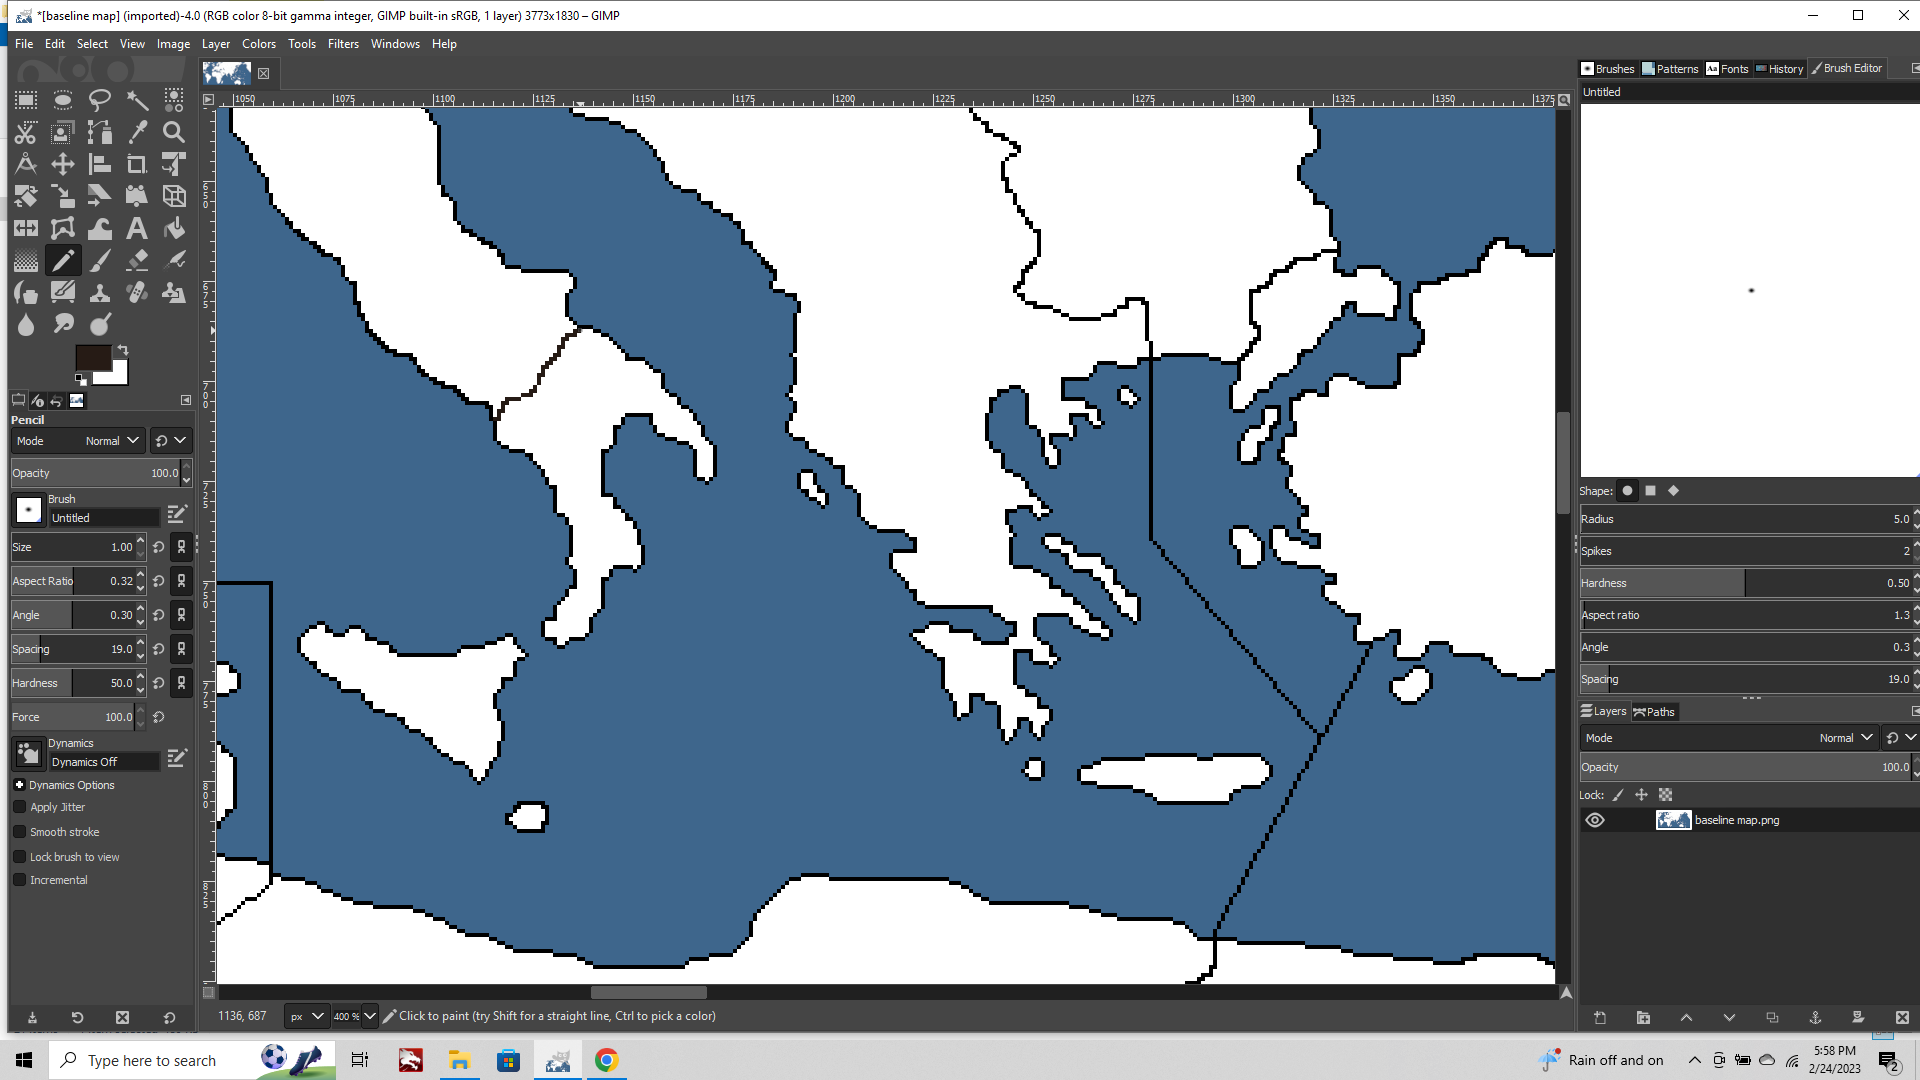
Fire up the baseline map in GIMP or PS or Paint, and add 1 px border 100% black with the pencil tool, for our new Territory "Southern Italy"
File>Export to save the change.
Now fire up TripleA and click the Map Creator Tools button Step 2 Utilities > Center Picker
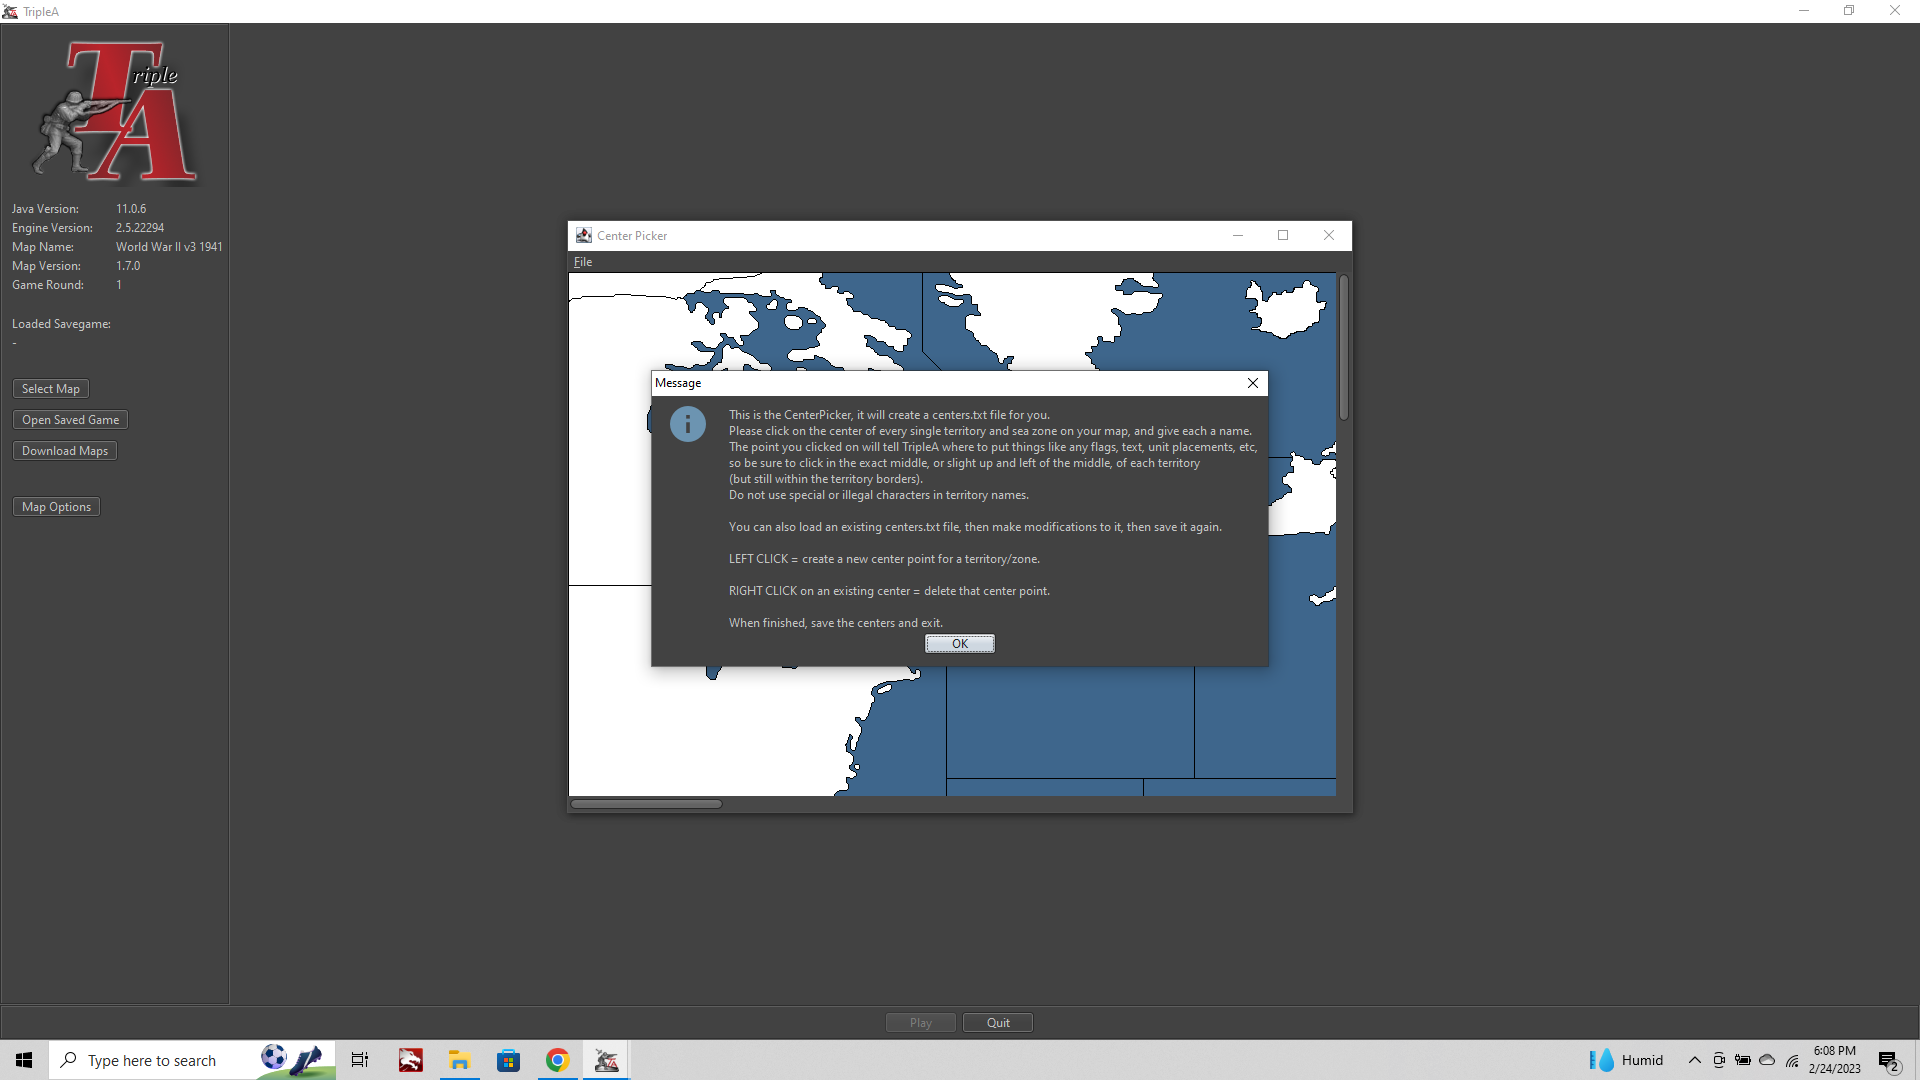
This will bring up an image of your baseline in tripleA at scale. If your image is very large the view here will be the 100% view. But v3 is pretty small so should look like this...
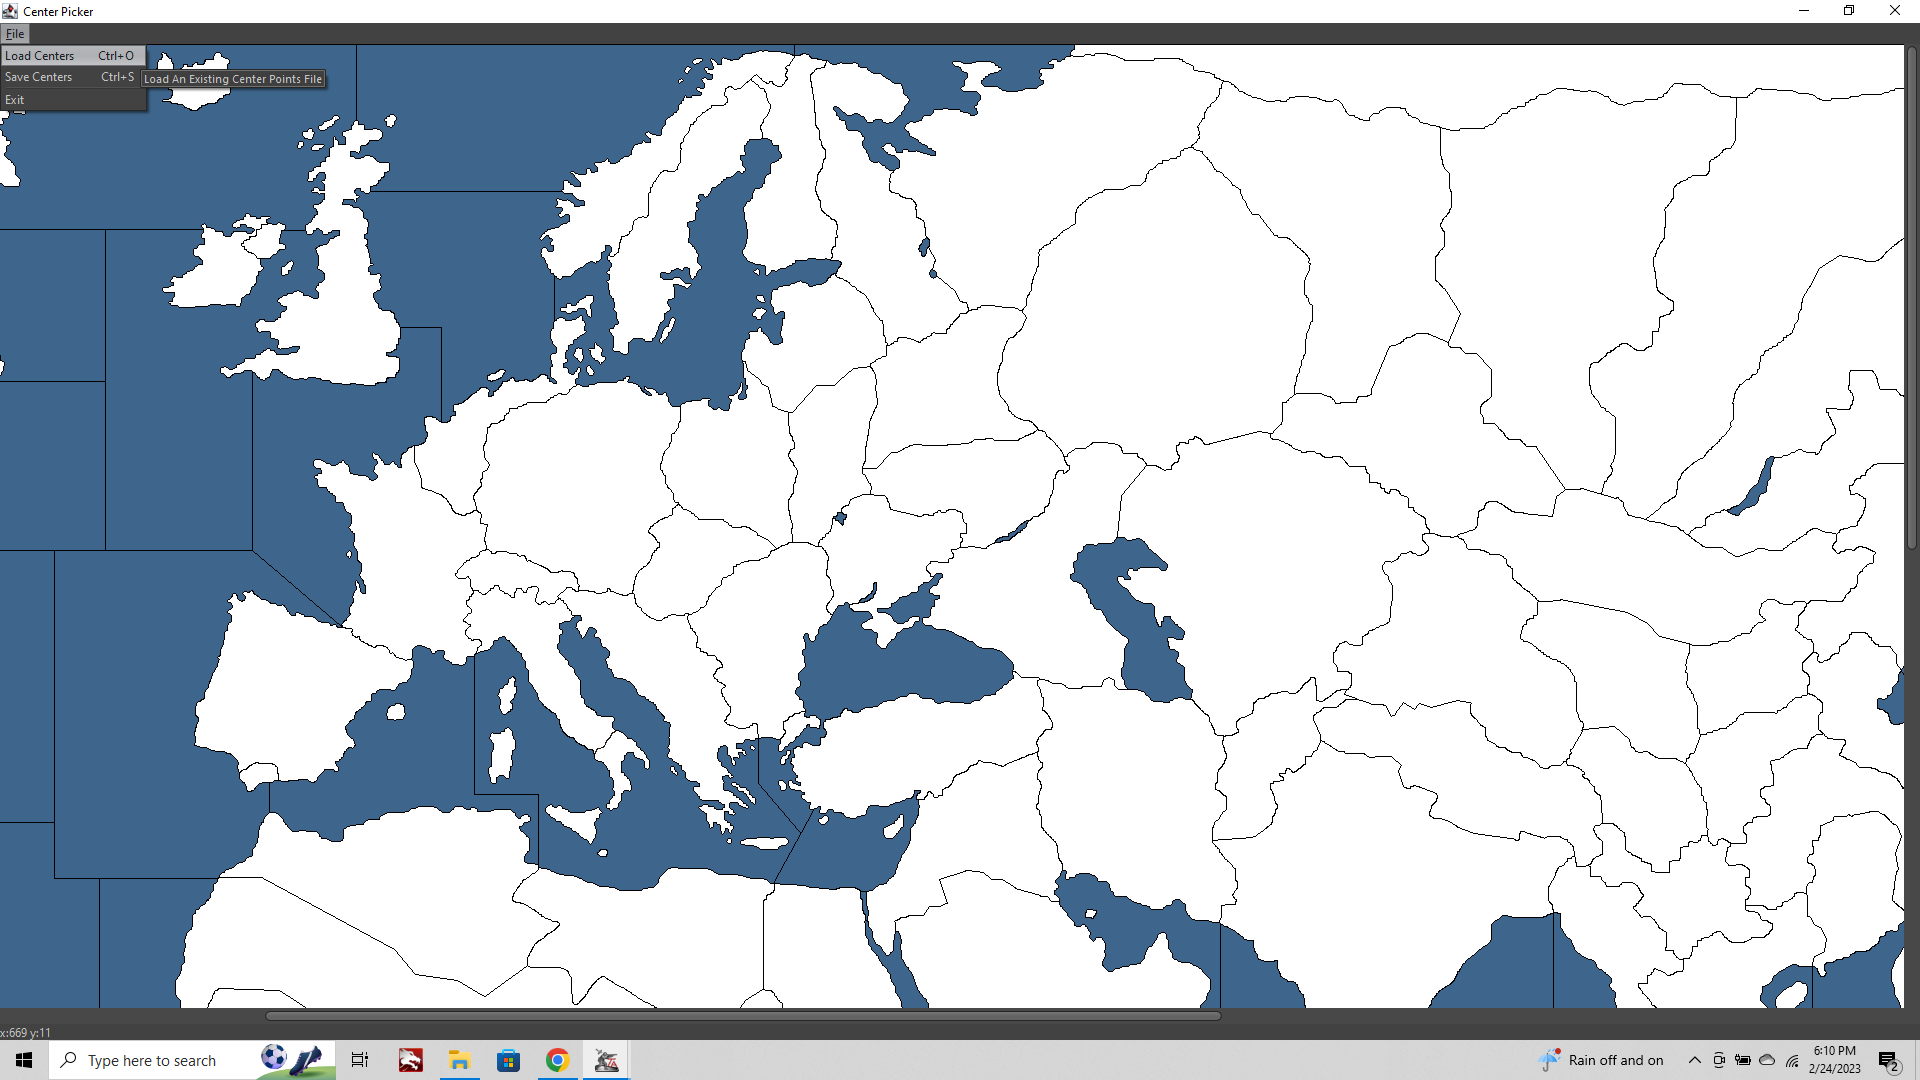
Click File > Load Centers
Navigate to the file called center.txt.
This will pull up all the existing centers.
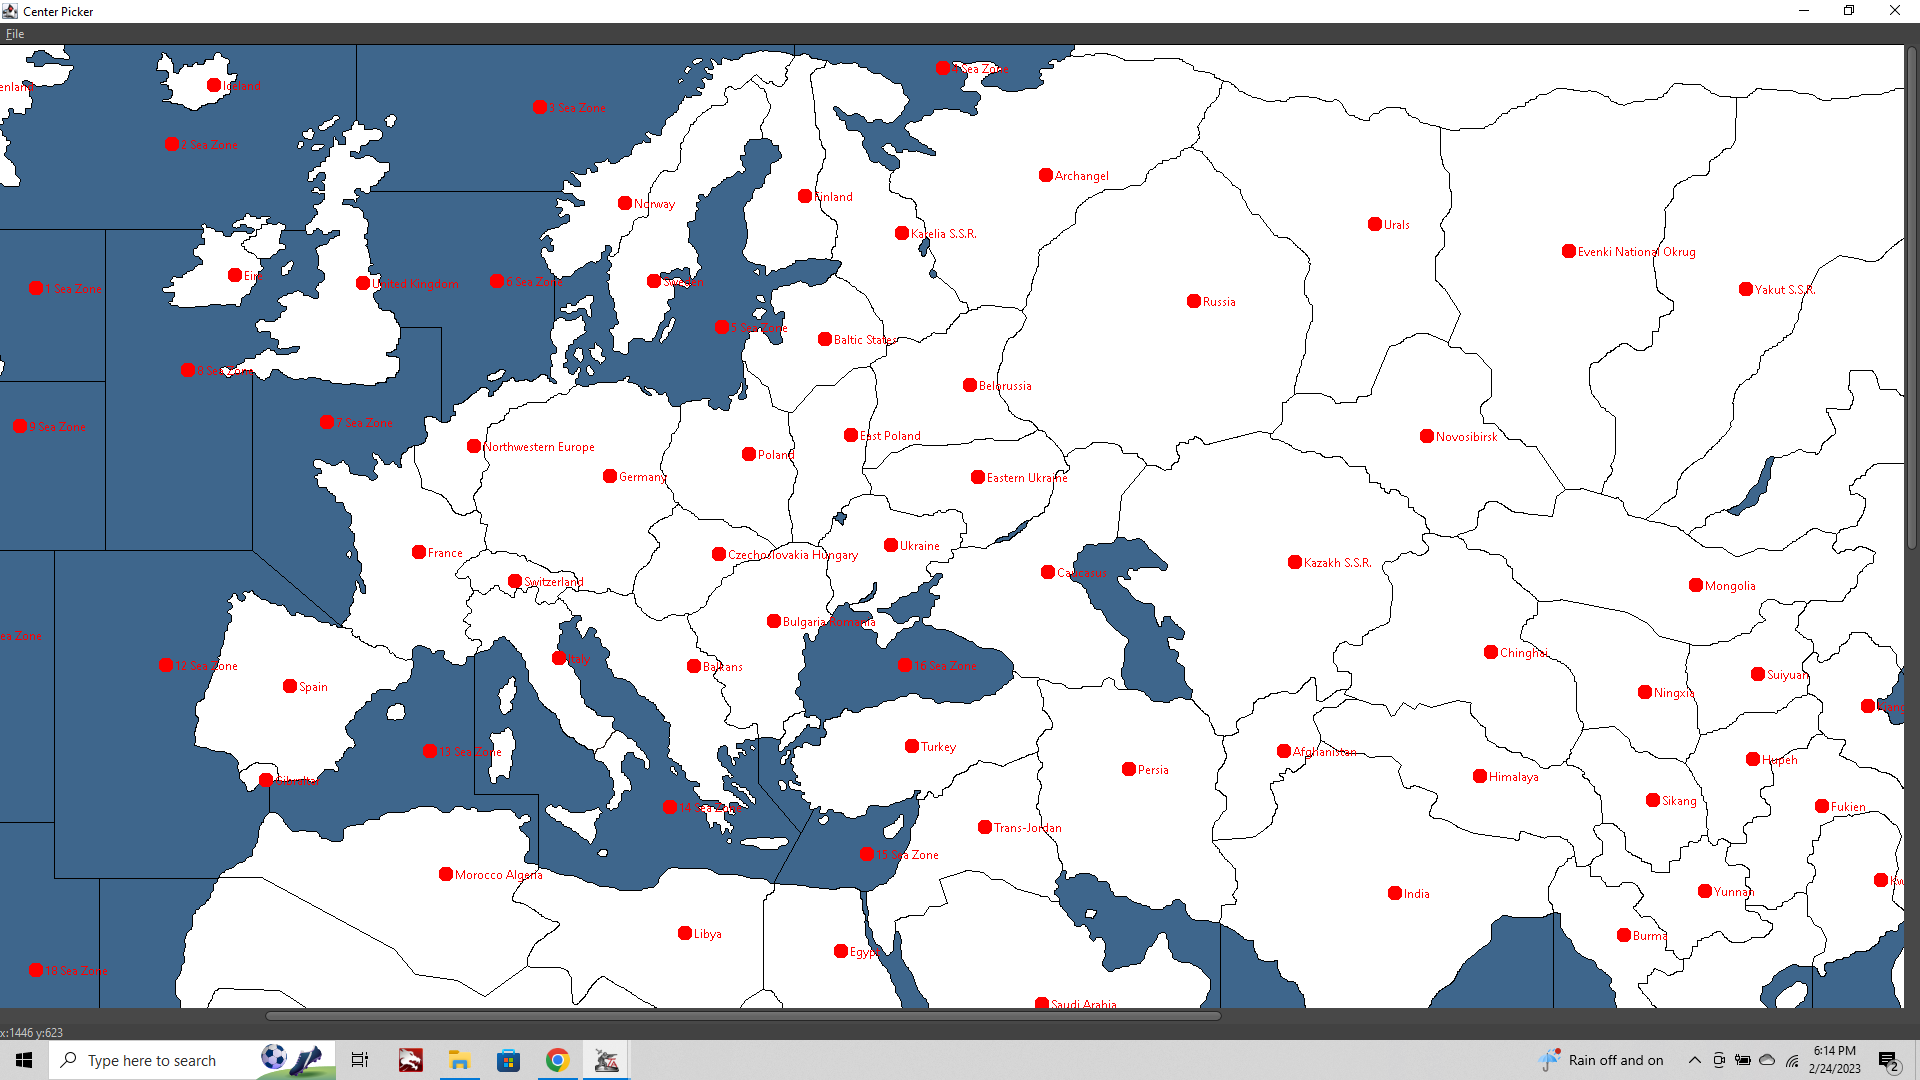
To add a new Center click the map where we created that new tile at the bottom of the boot.
You'll get a prompt for the name. Default will show "Italy" since that's what it was before we made the modification.
Enter a new name "Southern Italy."
Then Files> Save Centers
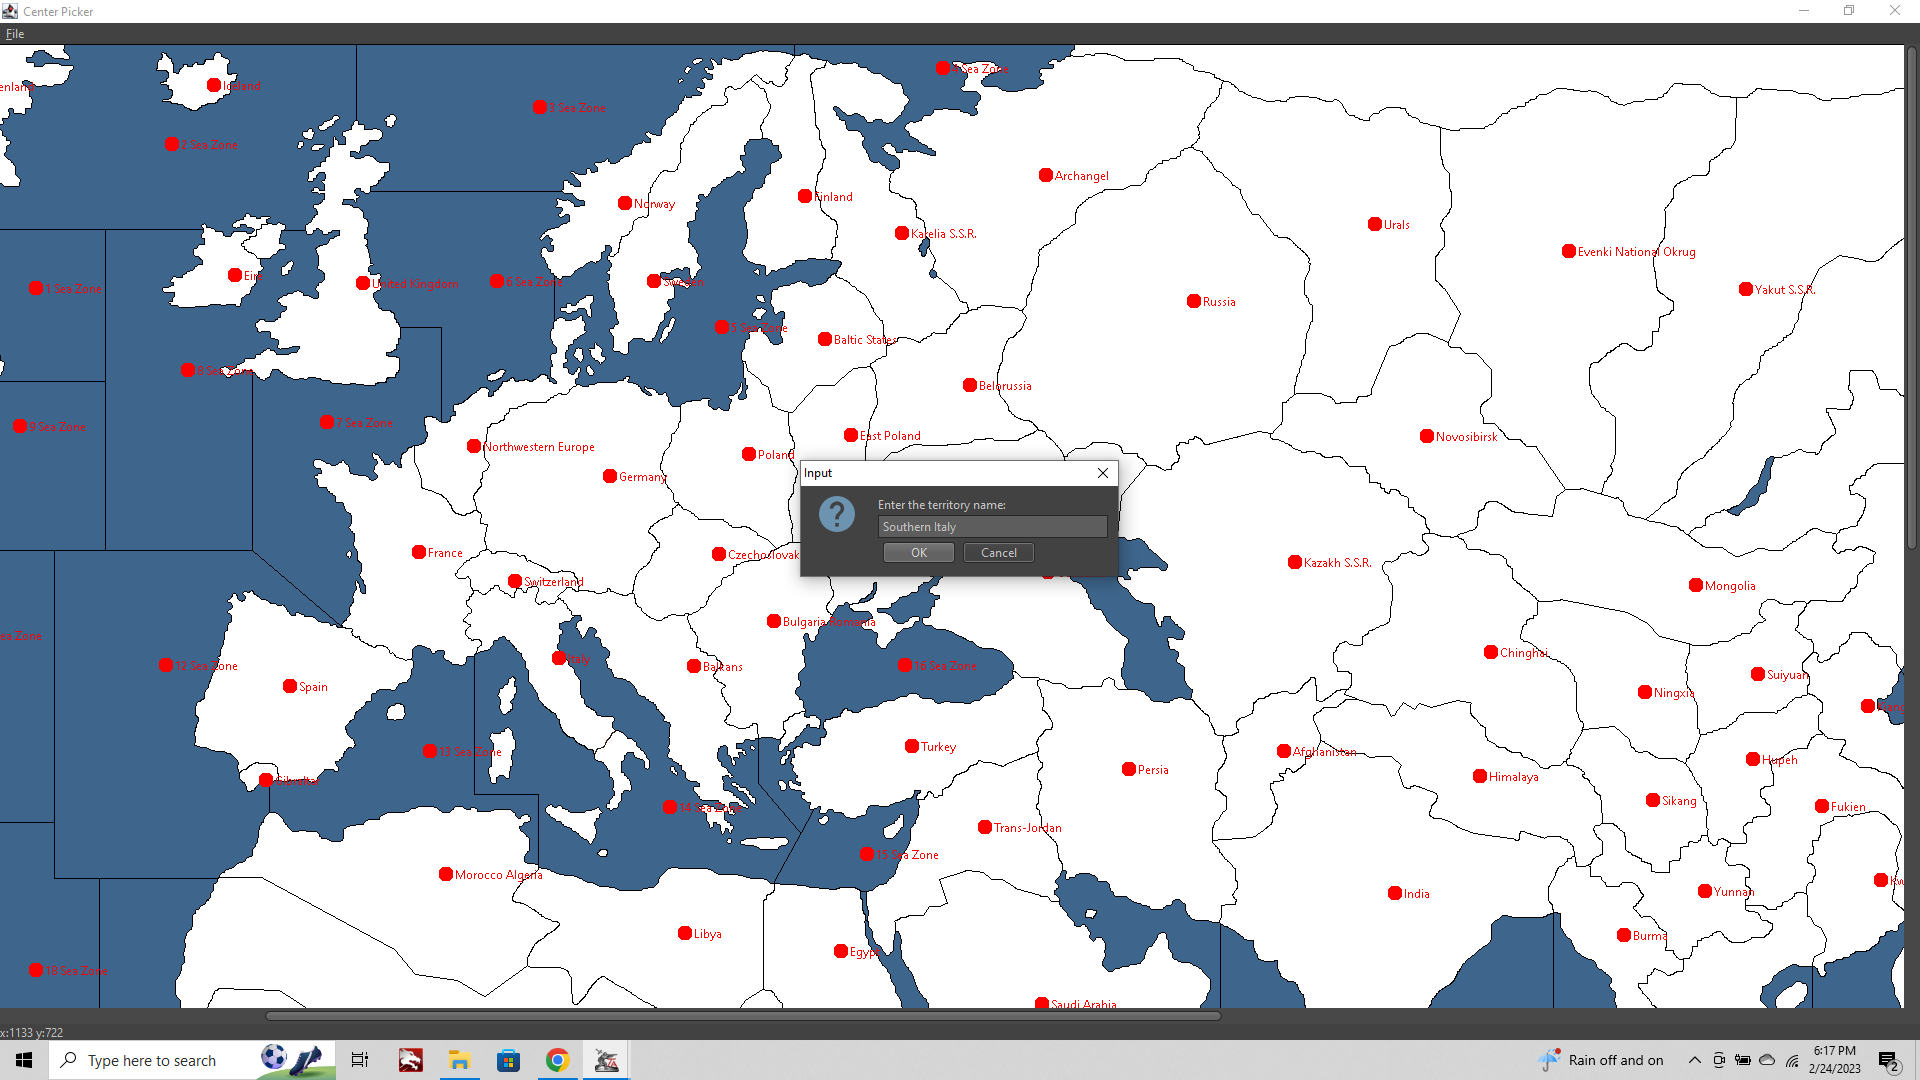
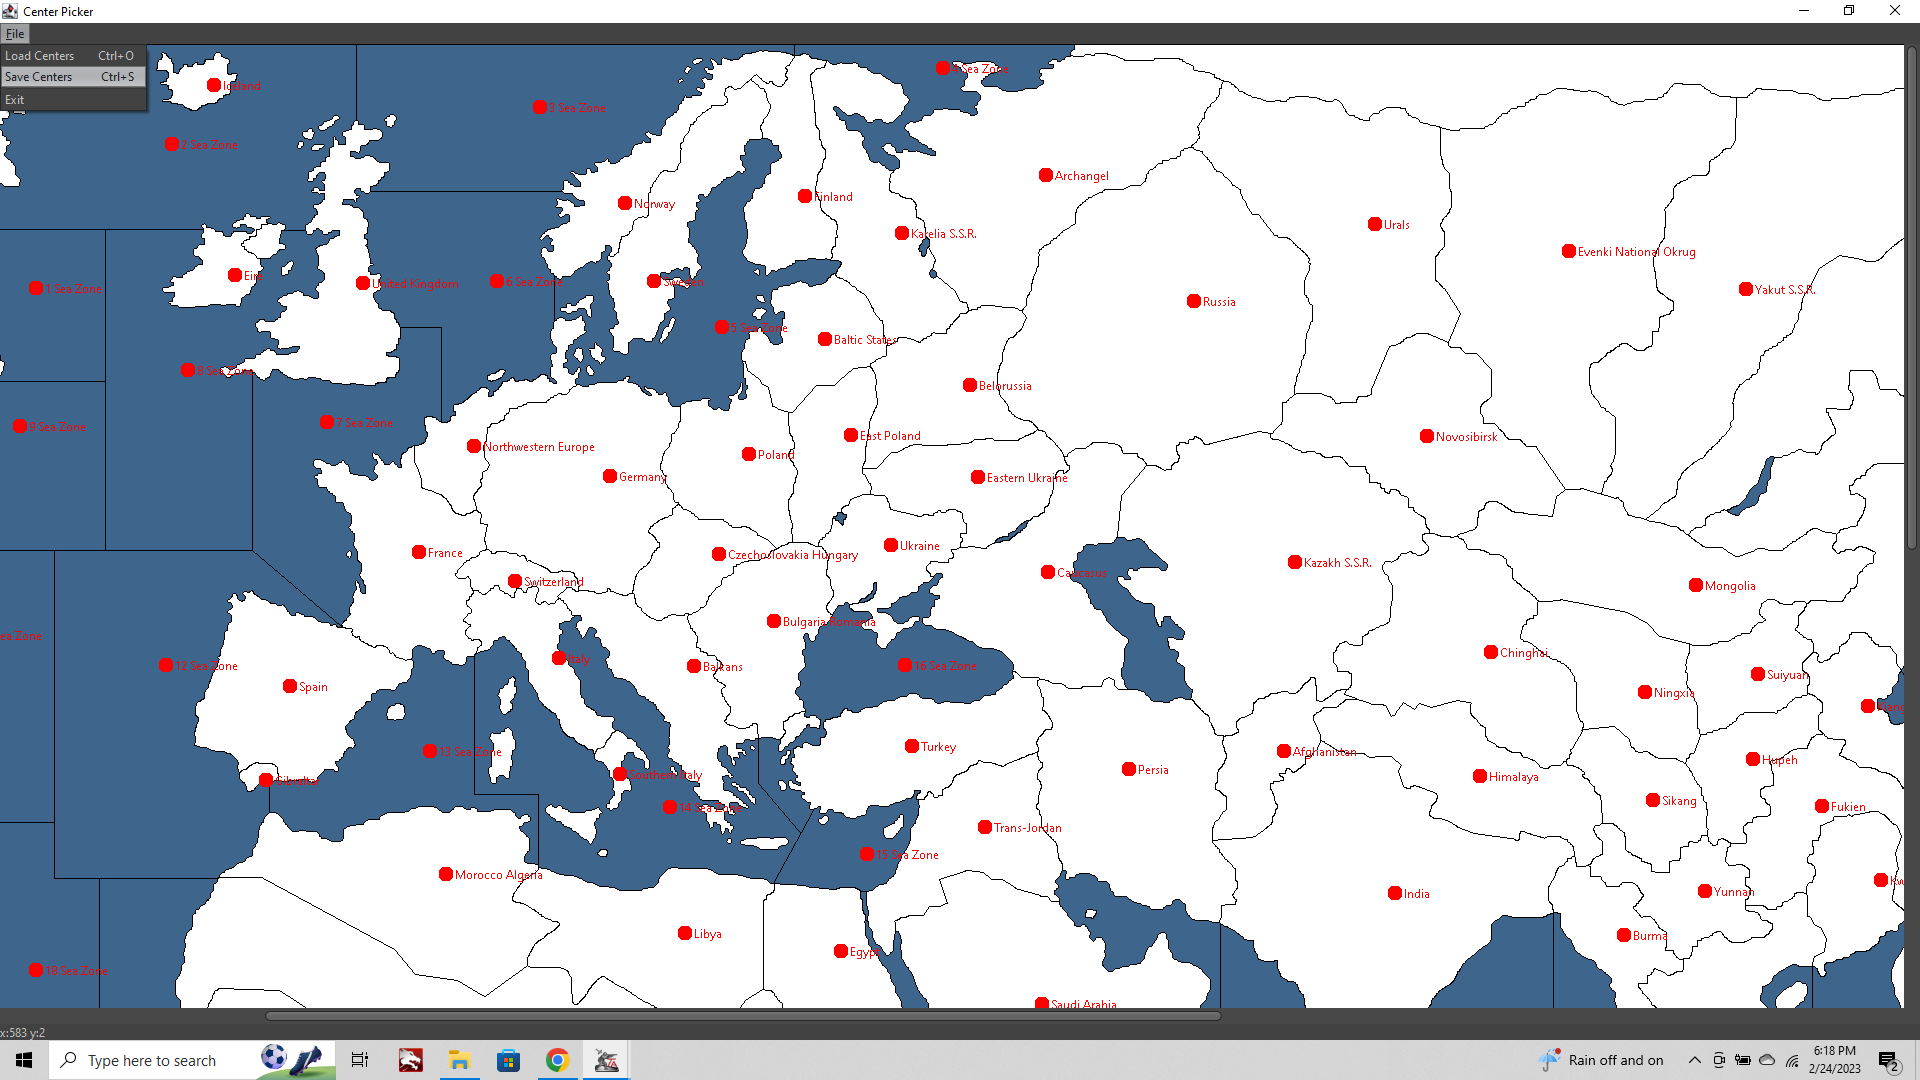
Now we have our new center.txt file. Aces! On to the Polygons step!
CONT BELOW (after I eat something lol)
-
@black_elk Outstanding !!!

-
Go to triple Map Creators Tool > Step 2 Utilities and launch the Polygon Grabber
Again we'll need to navigate to our downloaded maps folder and tell TripleA where our baseline PNG is located.
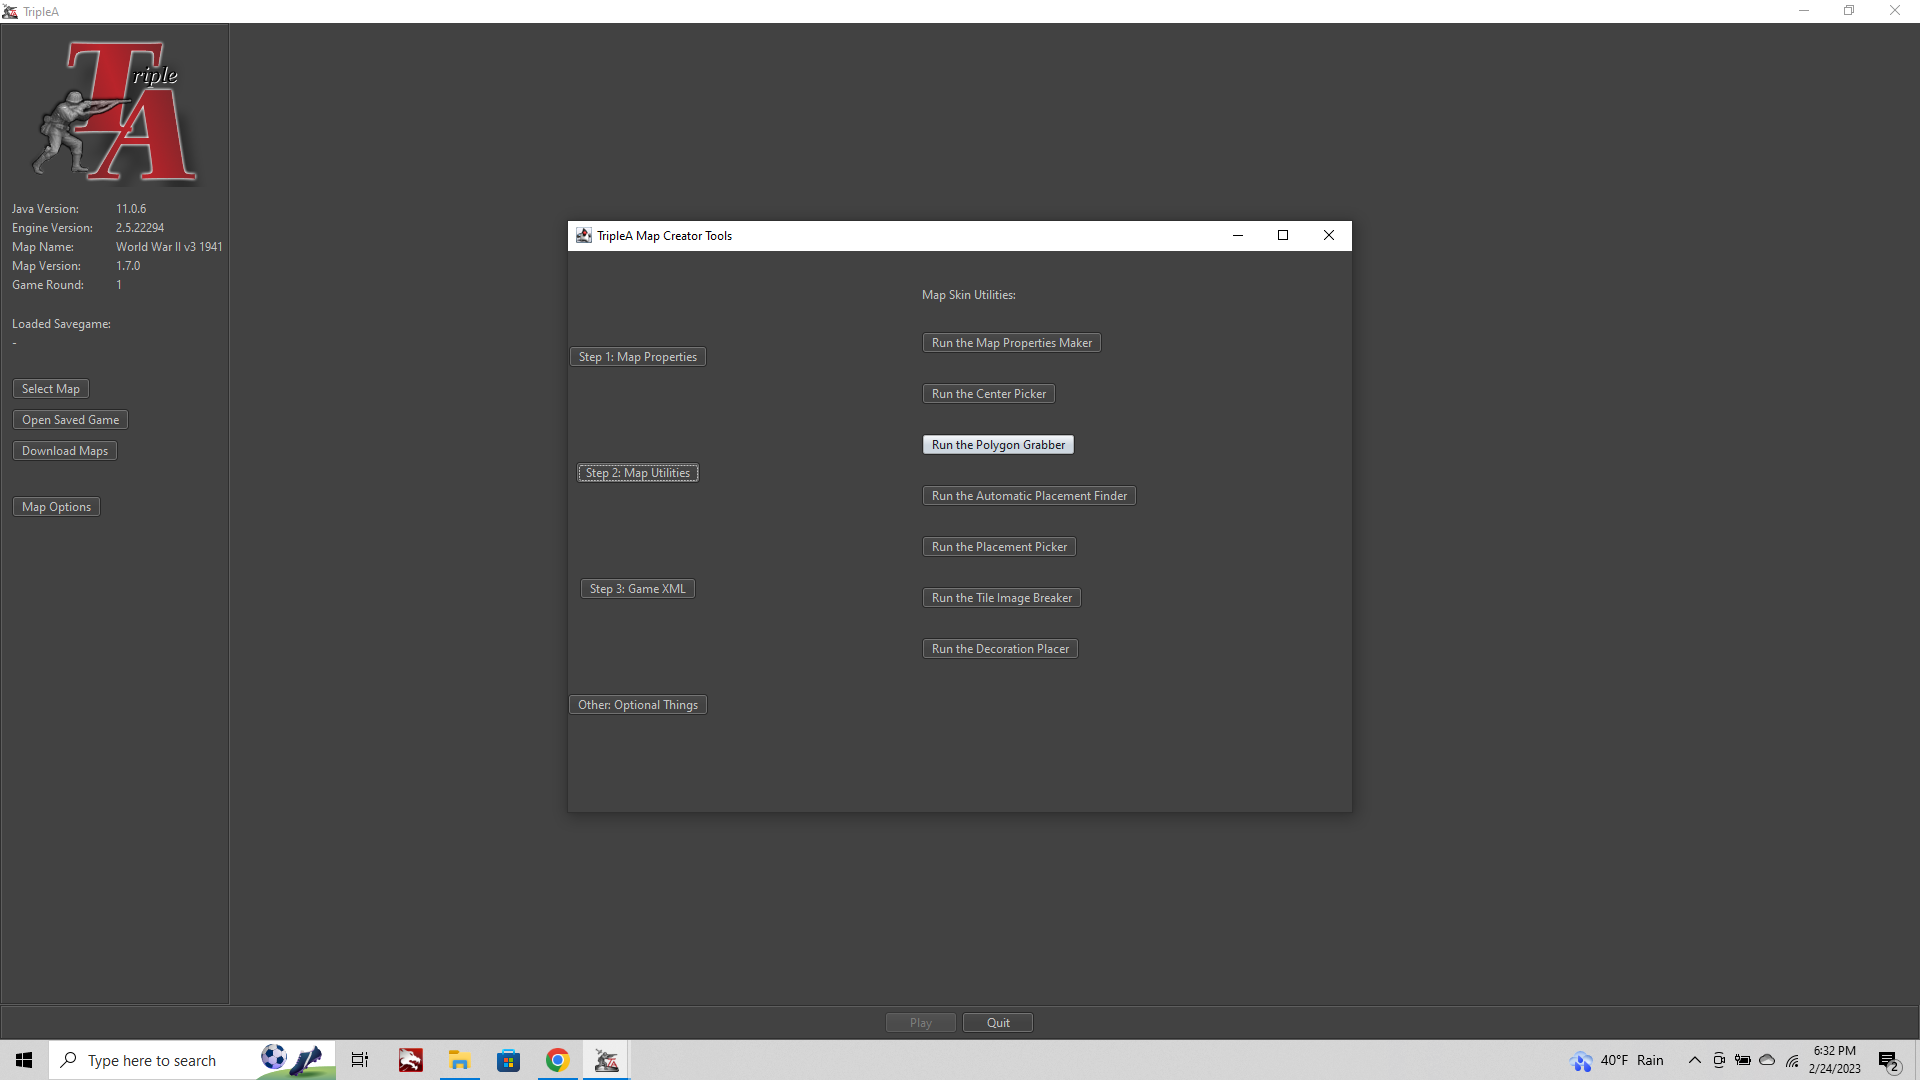
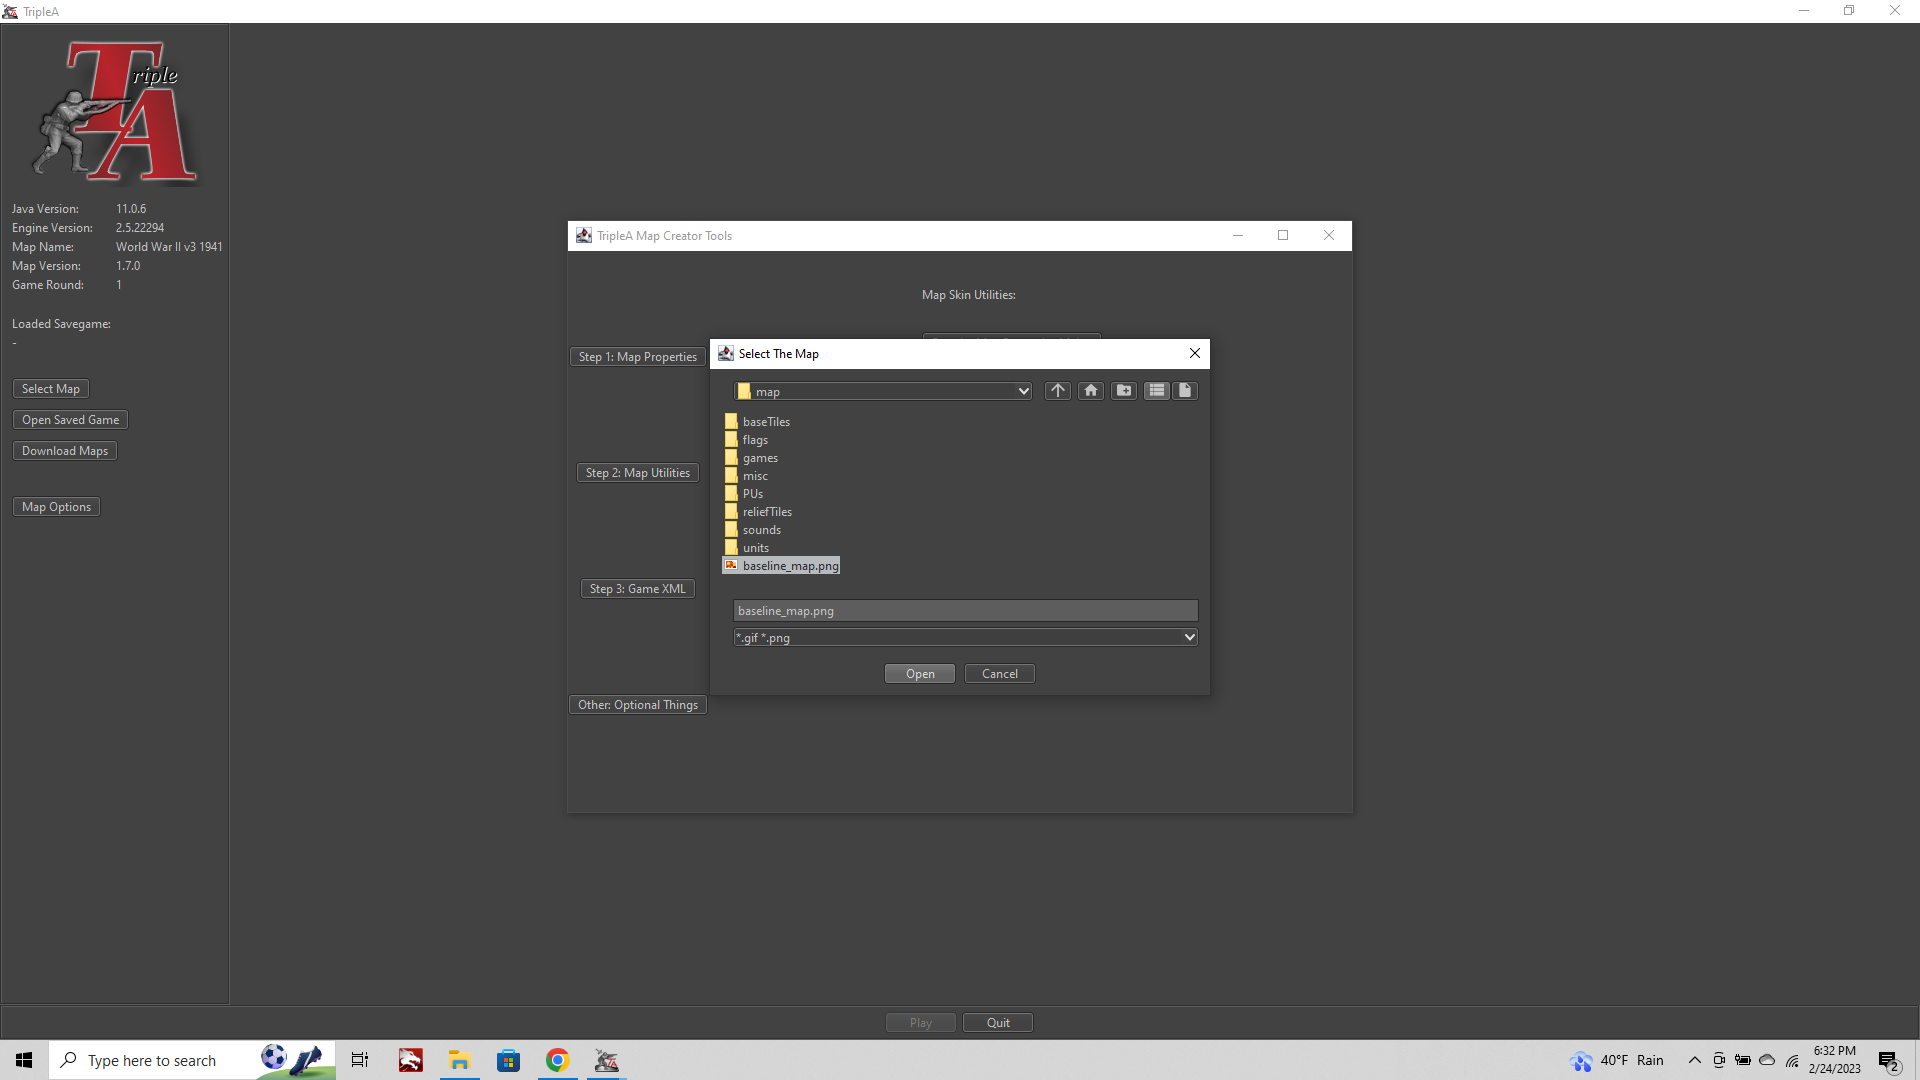
You should get a prompt telling you the centers.txt was found, and would you like to use that?
click Yes
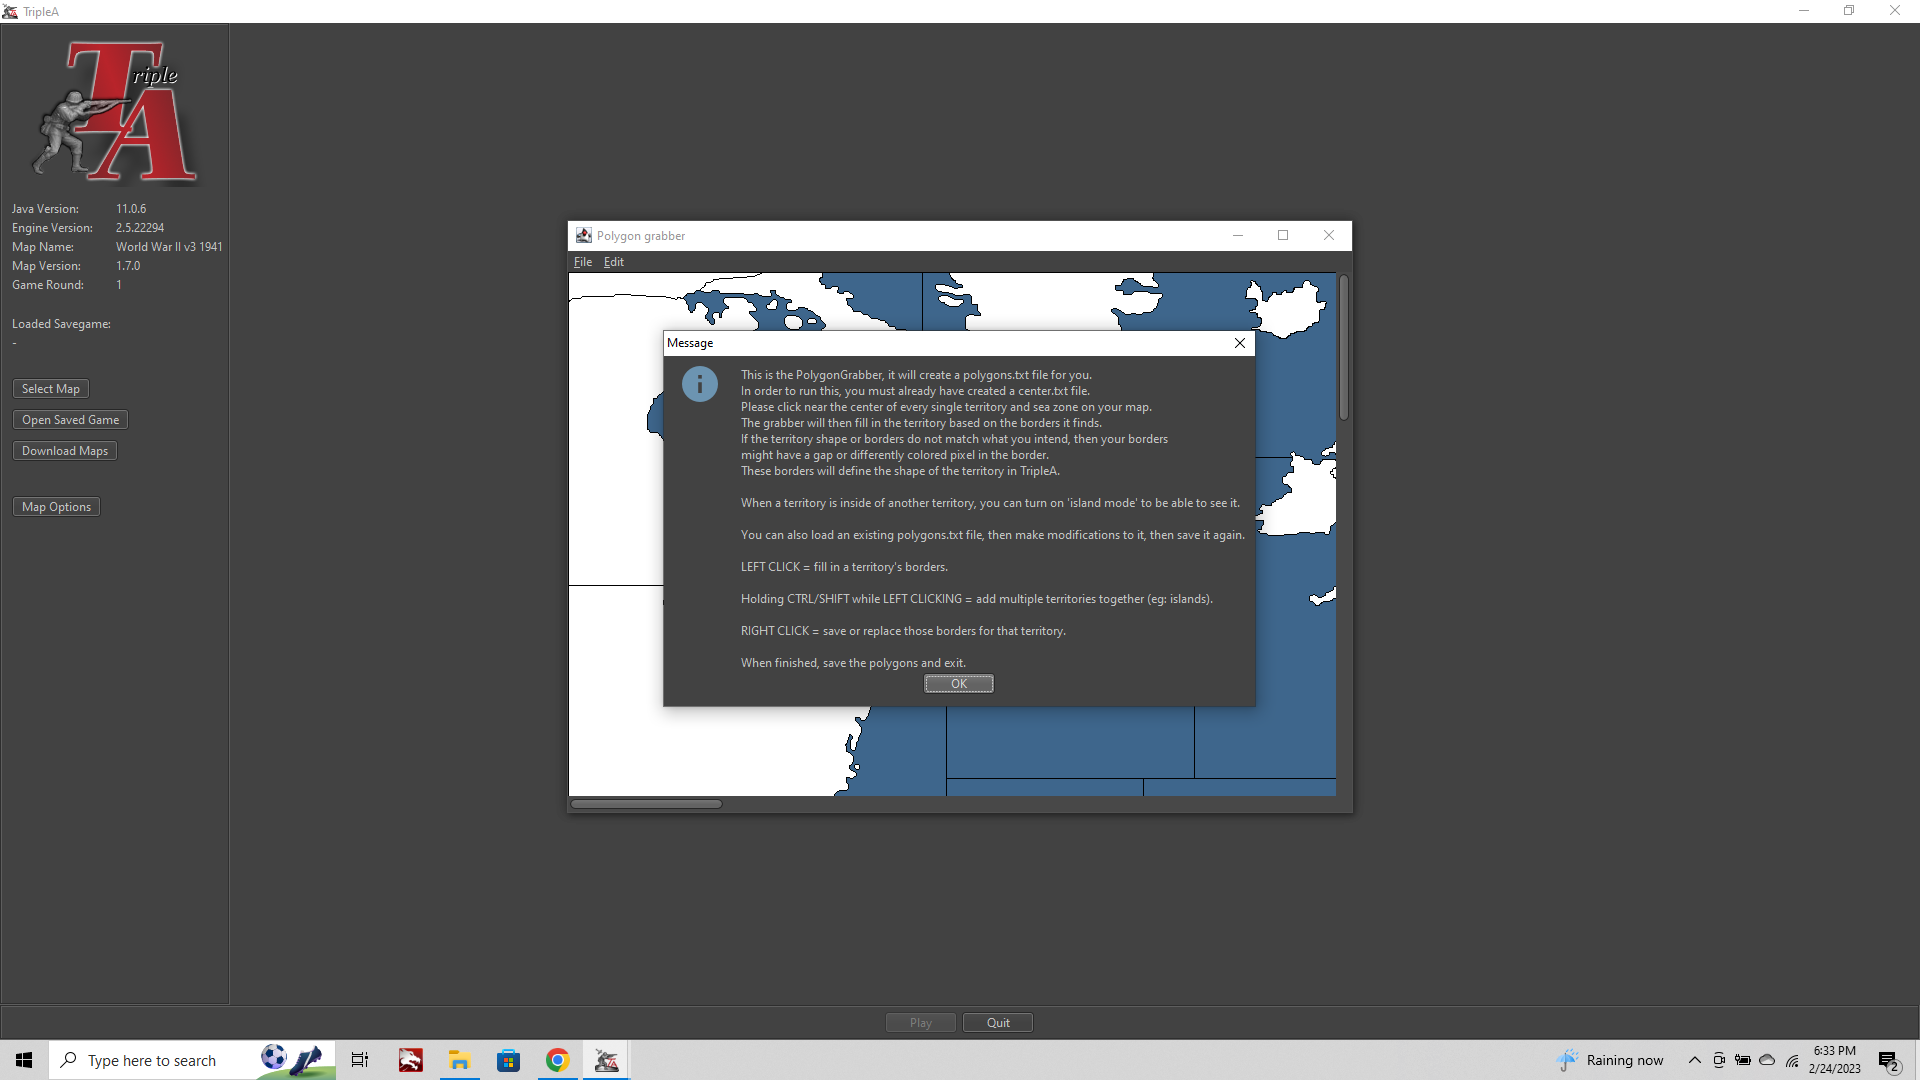
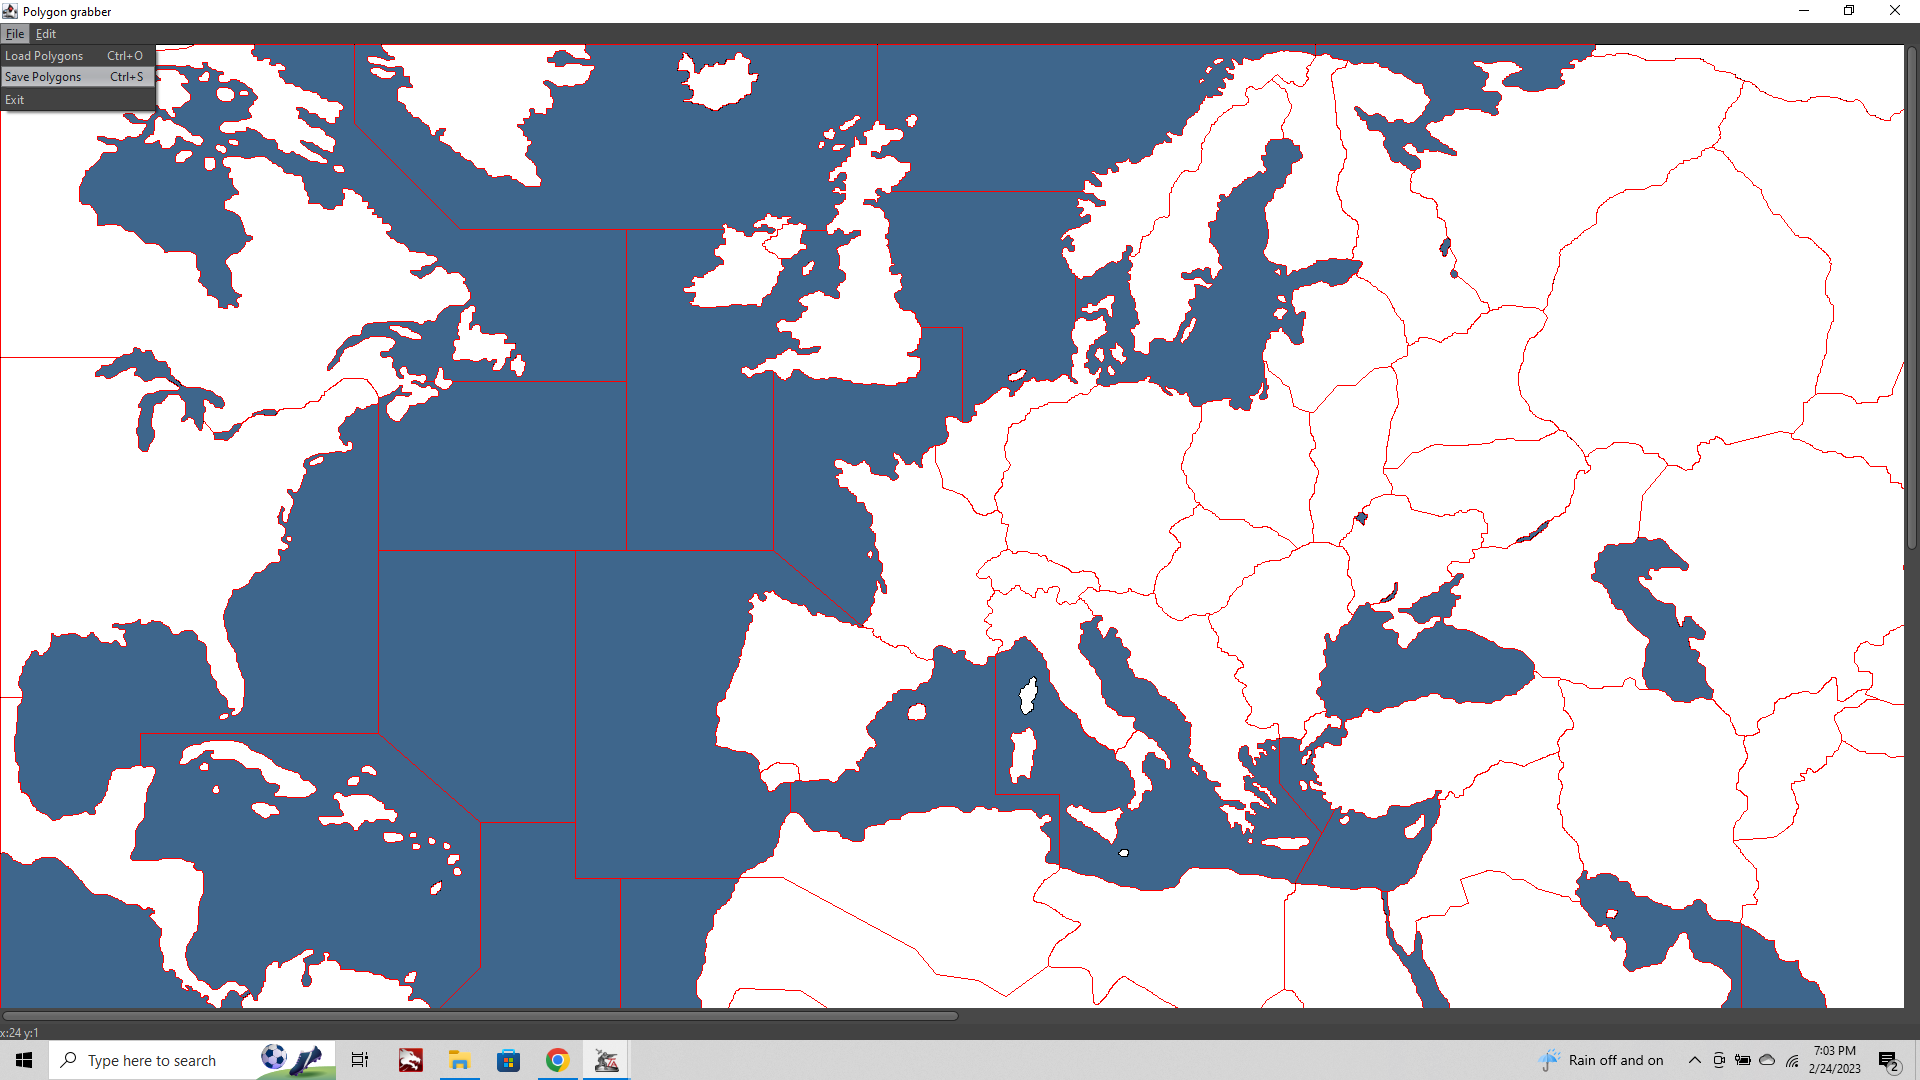
Now when you launch into the Polgyon Grabber UI again you will see an image your baseline at 100%.
Click File > Load Polygons and navigate to the polygons.txt file
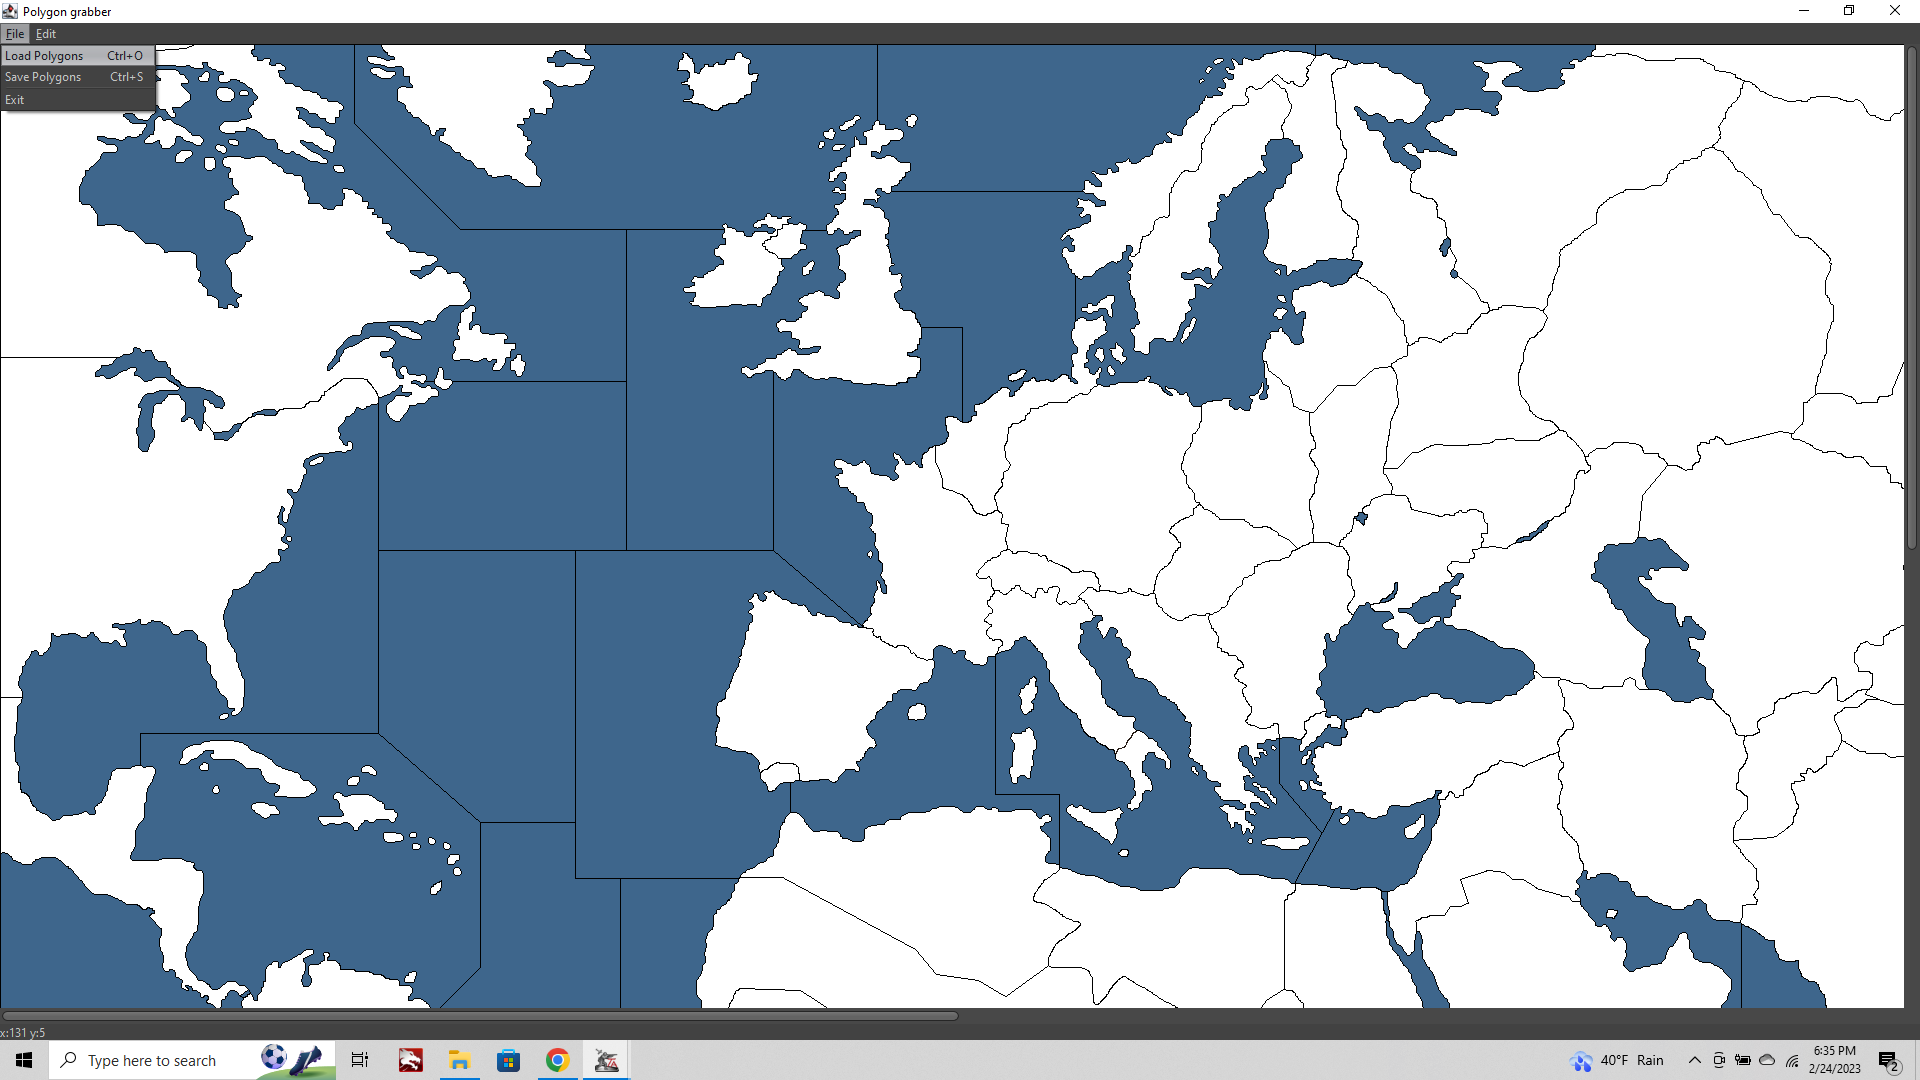
This will light up your whole screen Yellow, showing all the areas the have been assigned as polgyons.
Should look like this...
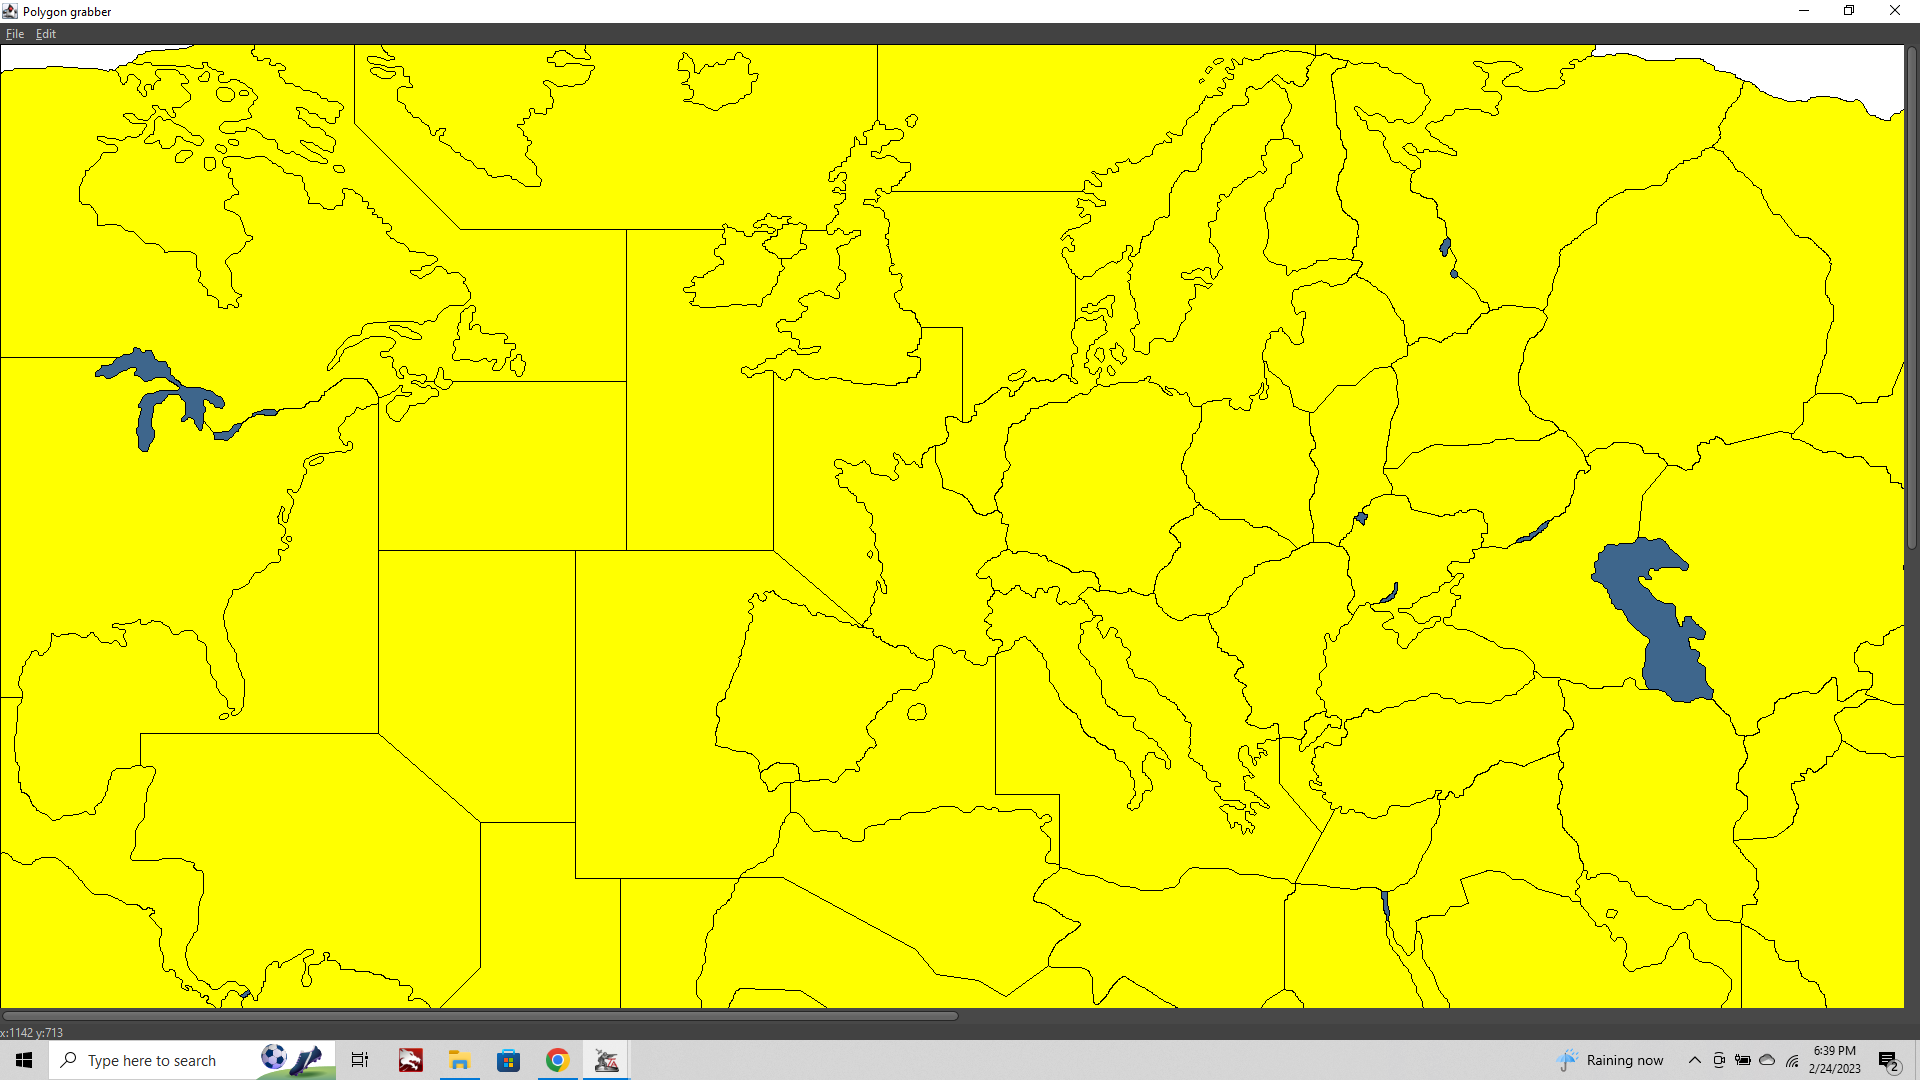
CRITICALLY IMPORTANT! (Cause this is the part where I kept goofing it heheh)
Note that when you load the polgyons.txt, your baseline map image will appear to have reverted to the old image, before you added the new border line for Southern Italy.
This is because TripleA is using the information in the polygon txt to actually draw the image on screen. Your new baseline is still there, but it won't be visible until we actually click on the map and start adjusting the polygons.
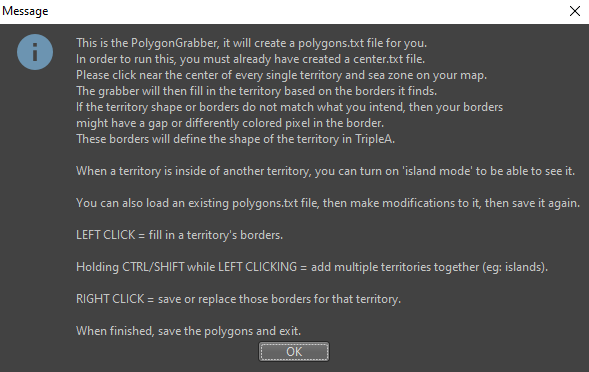
The screen which describes how the UI works within the Polgyon Grabber step is sadly hard to access once it's launched. Here again are the controls
Now click on the new spot at the bottom of the Boot.
You'll see that it lights up Red and the shape matches the new Boundary.
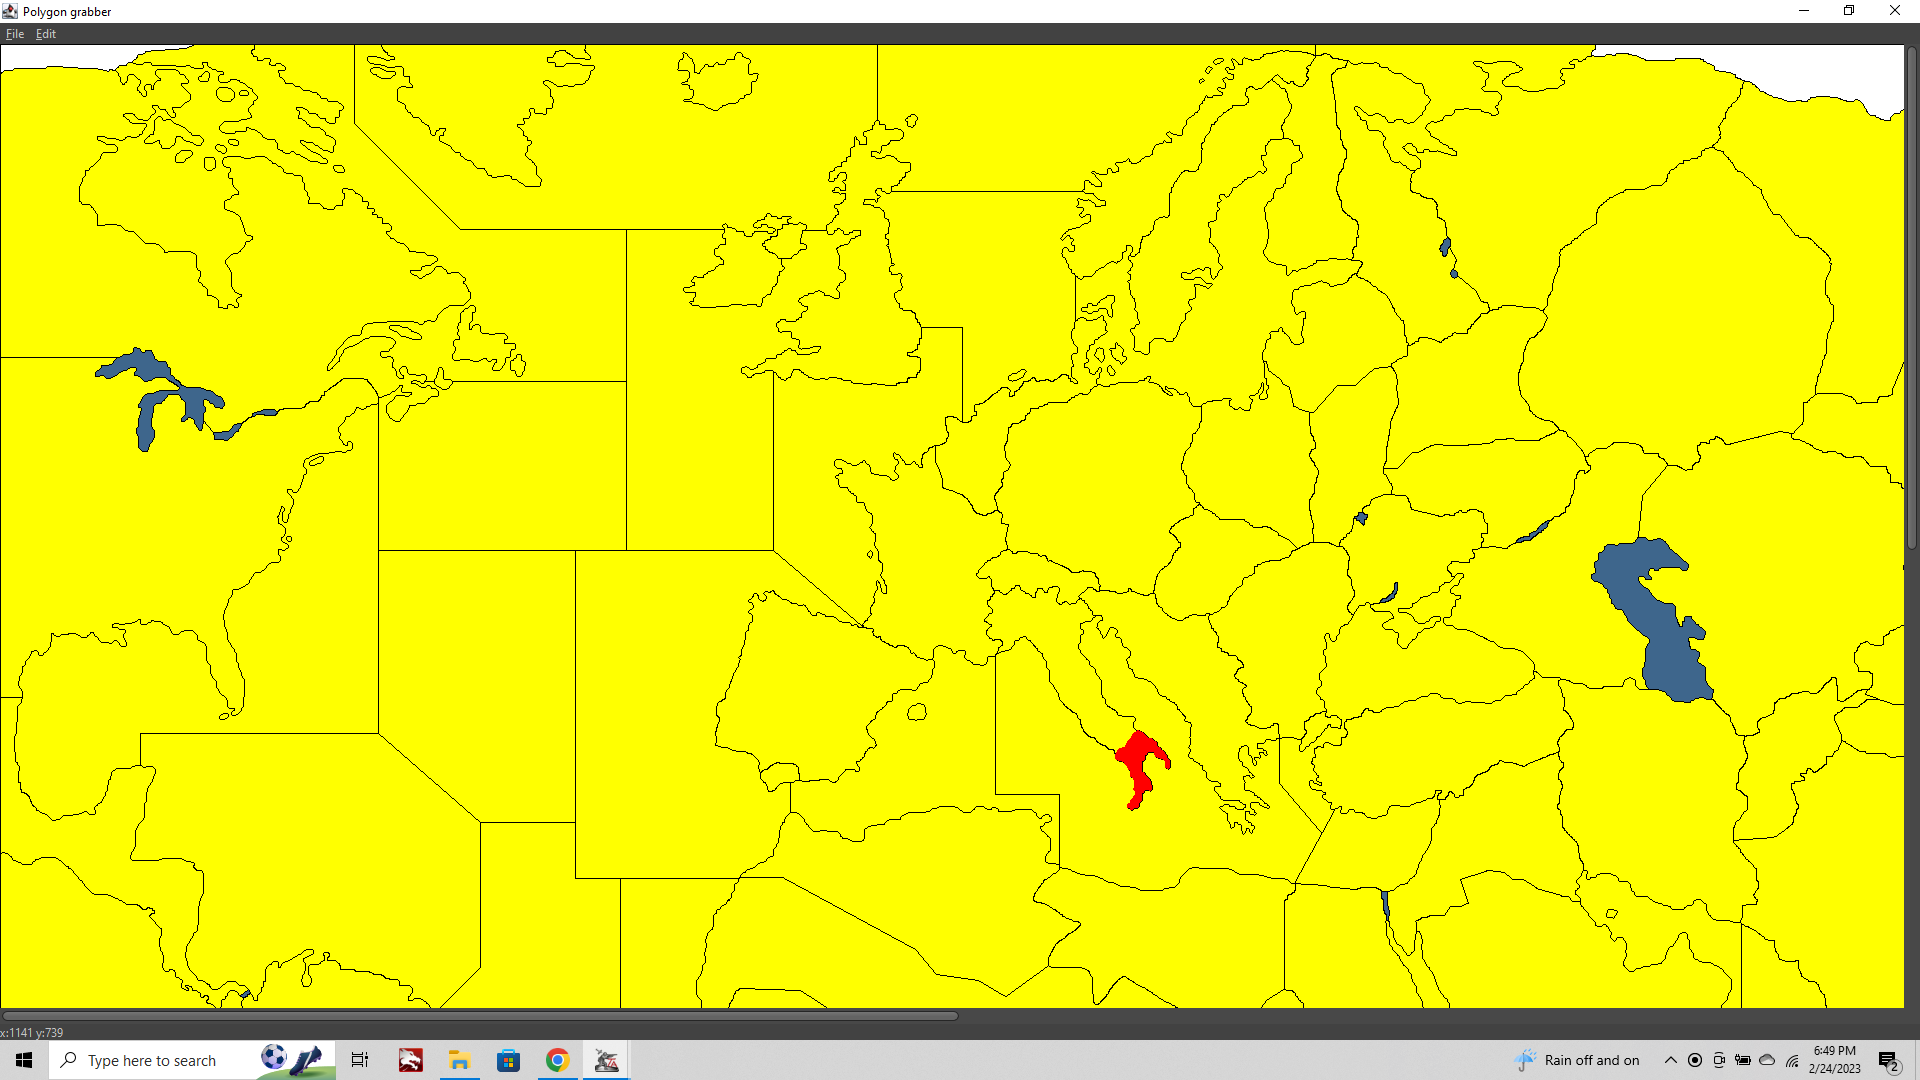
This new polgyon will search for a nearby center, since we added one called "Southern Italy" this should show up in the prompt.
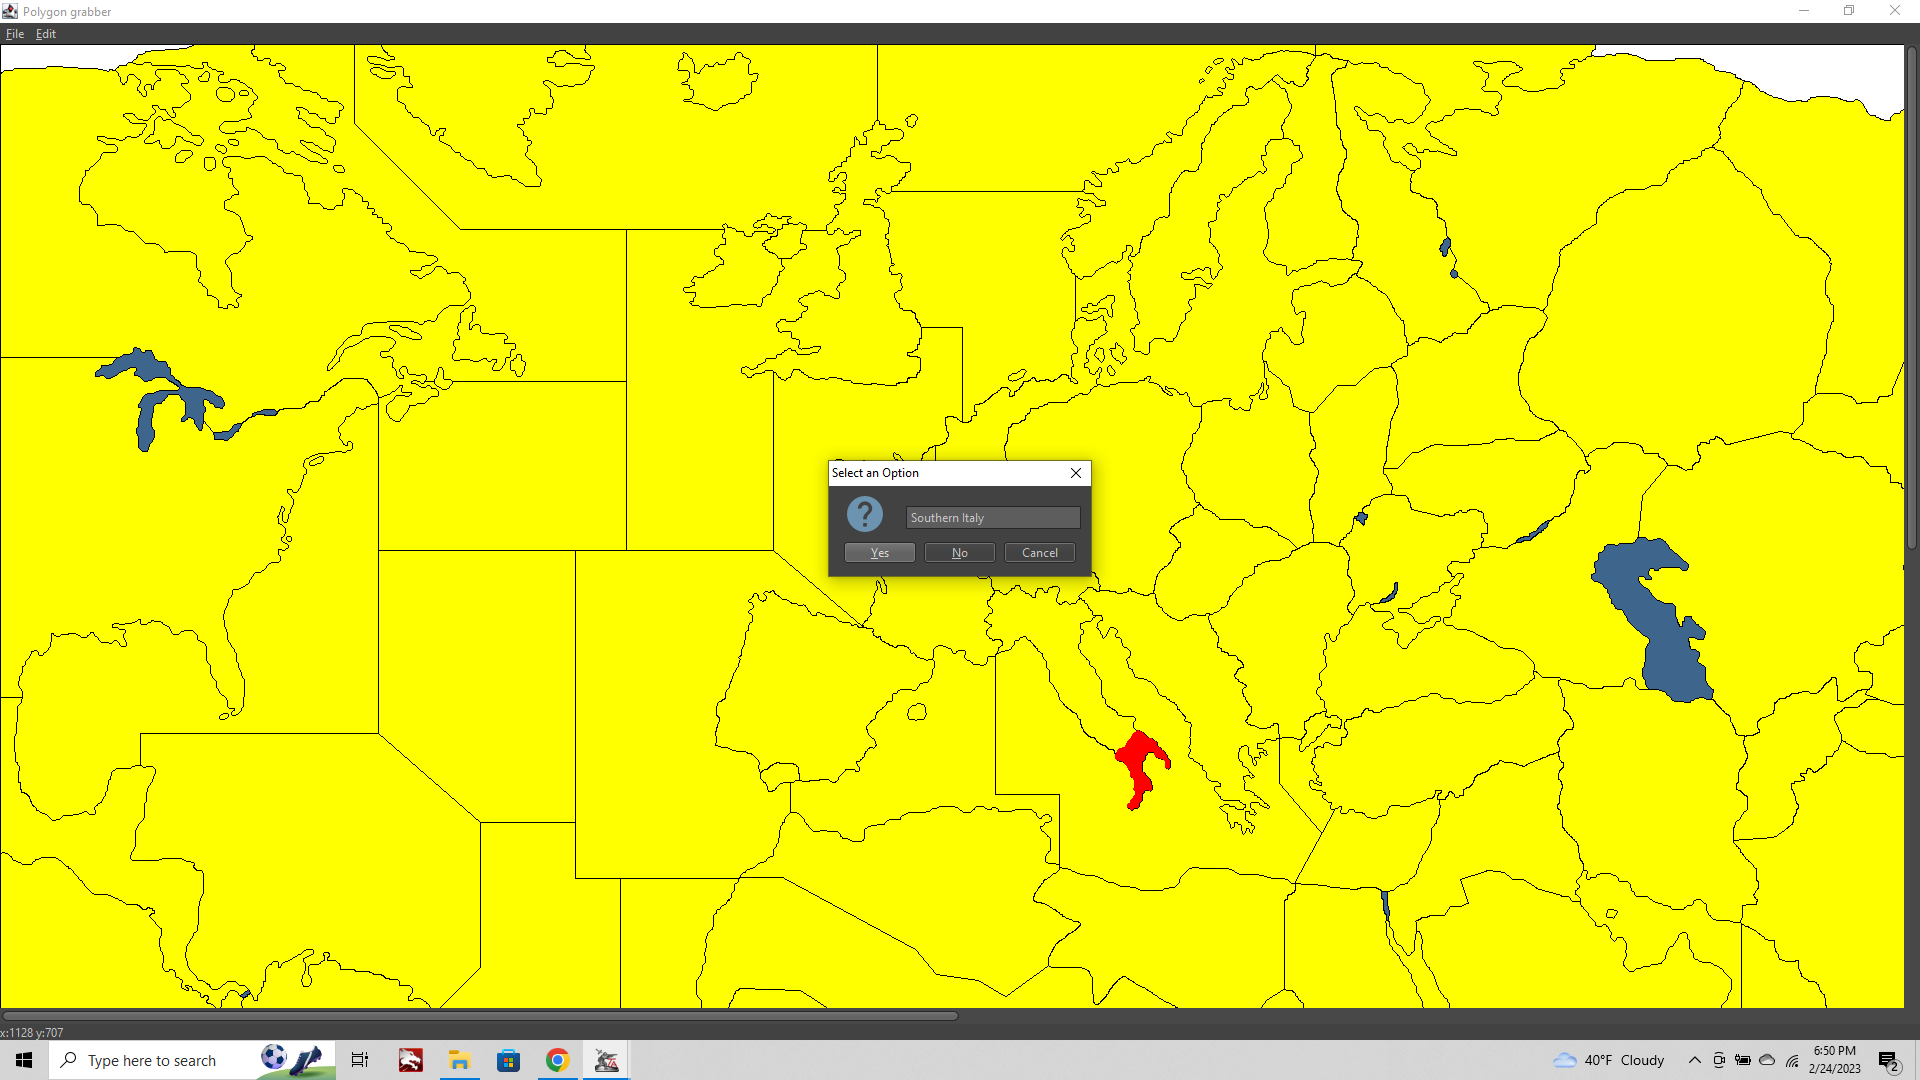
Importantly, you need to click not only the new tile, but all other tiles that might have been affected by the change in order for the new boundary to display. In this case we need to click the Territory called "Italy" to save out the shape there too.
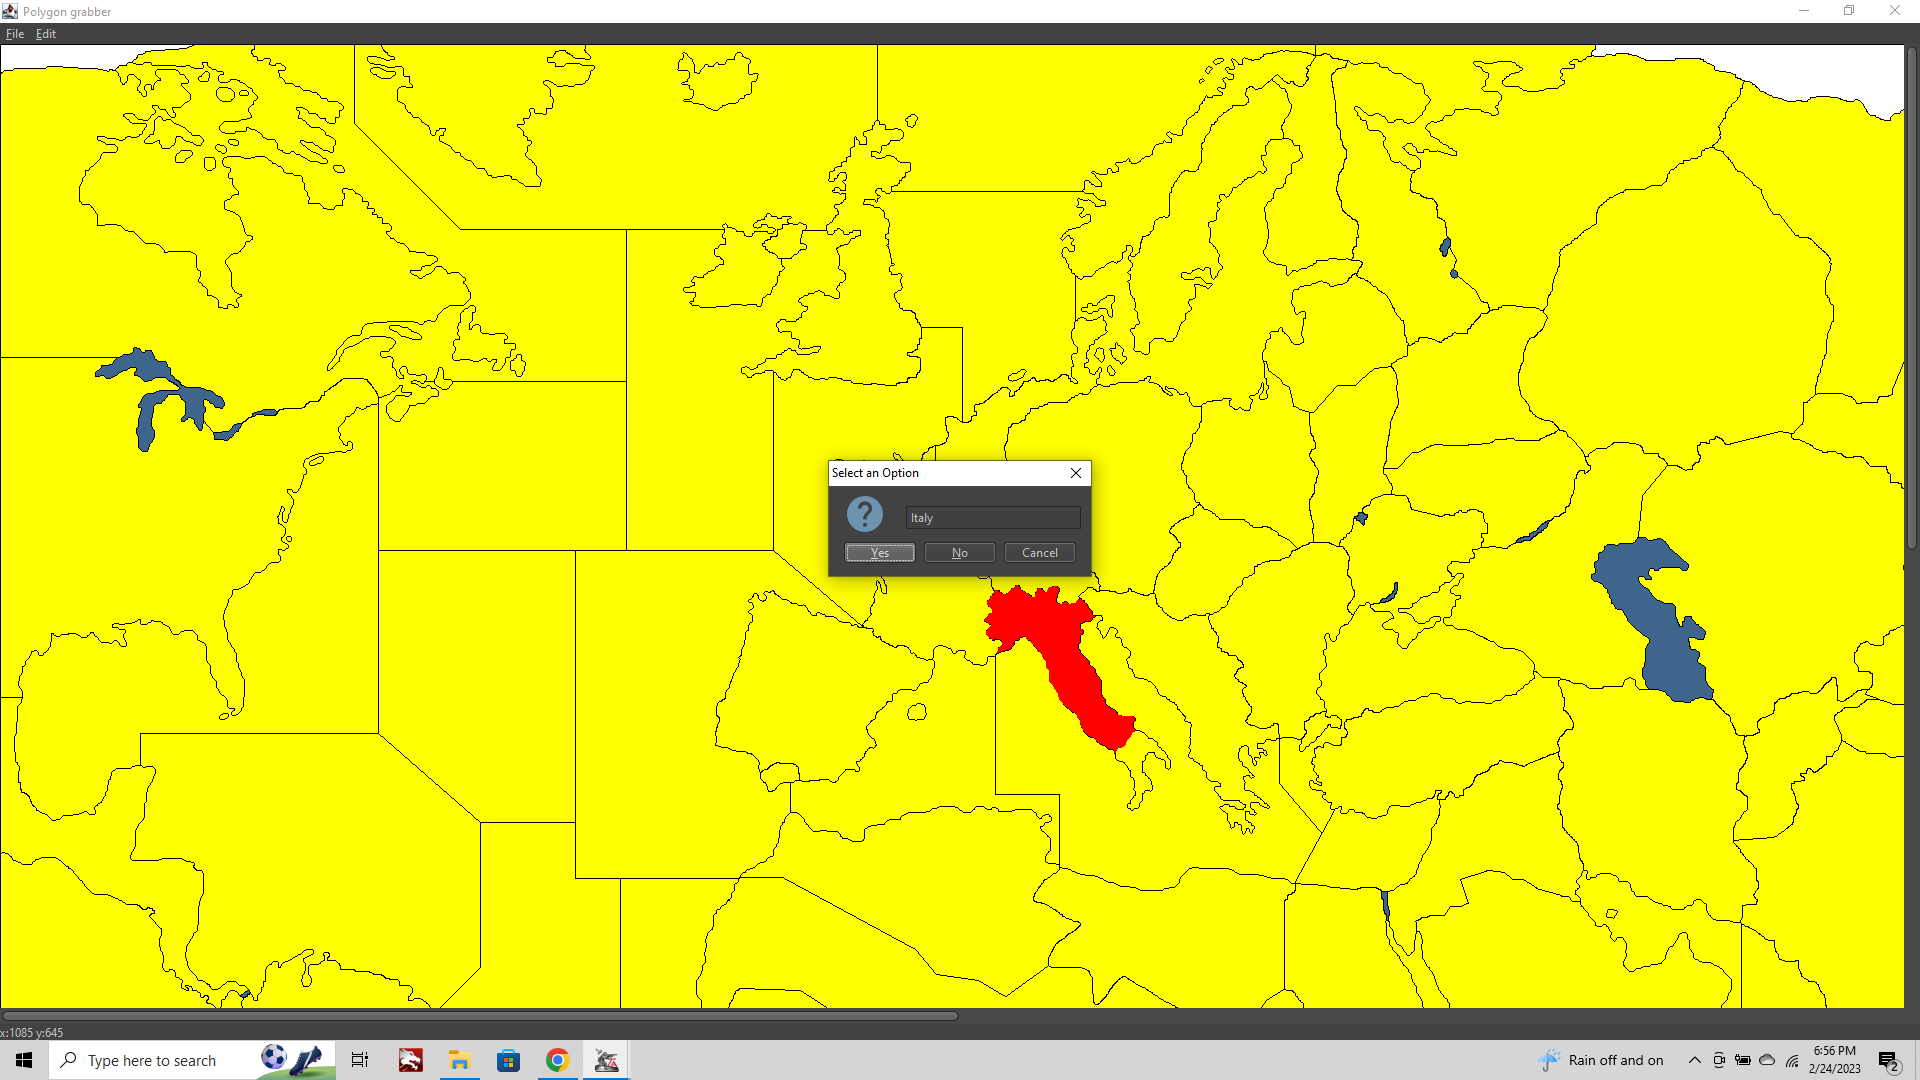
Now click Edit tab> Island Mode
This will make the SZ polygons invisible to show any islands so you can grab em as well.
You'll notice that the islands of Sicily, Sardinia etc still need to be assigned.
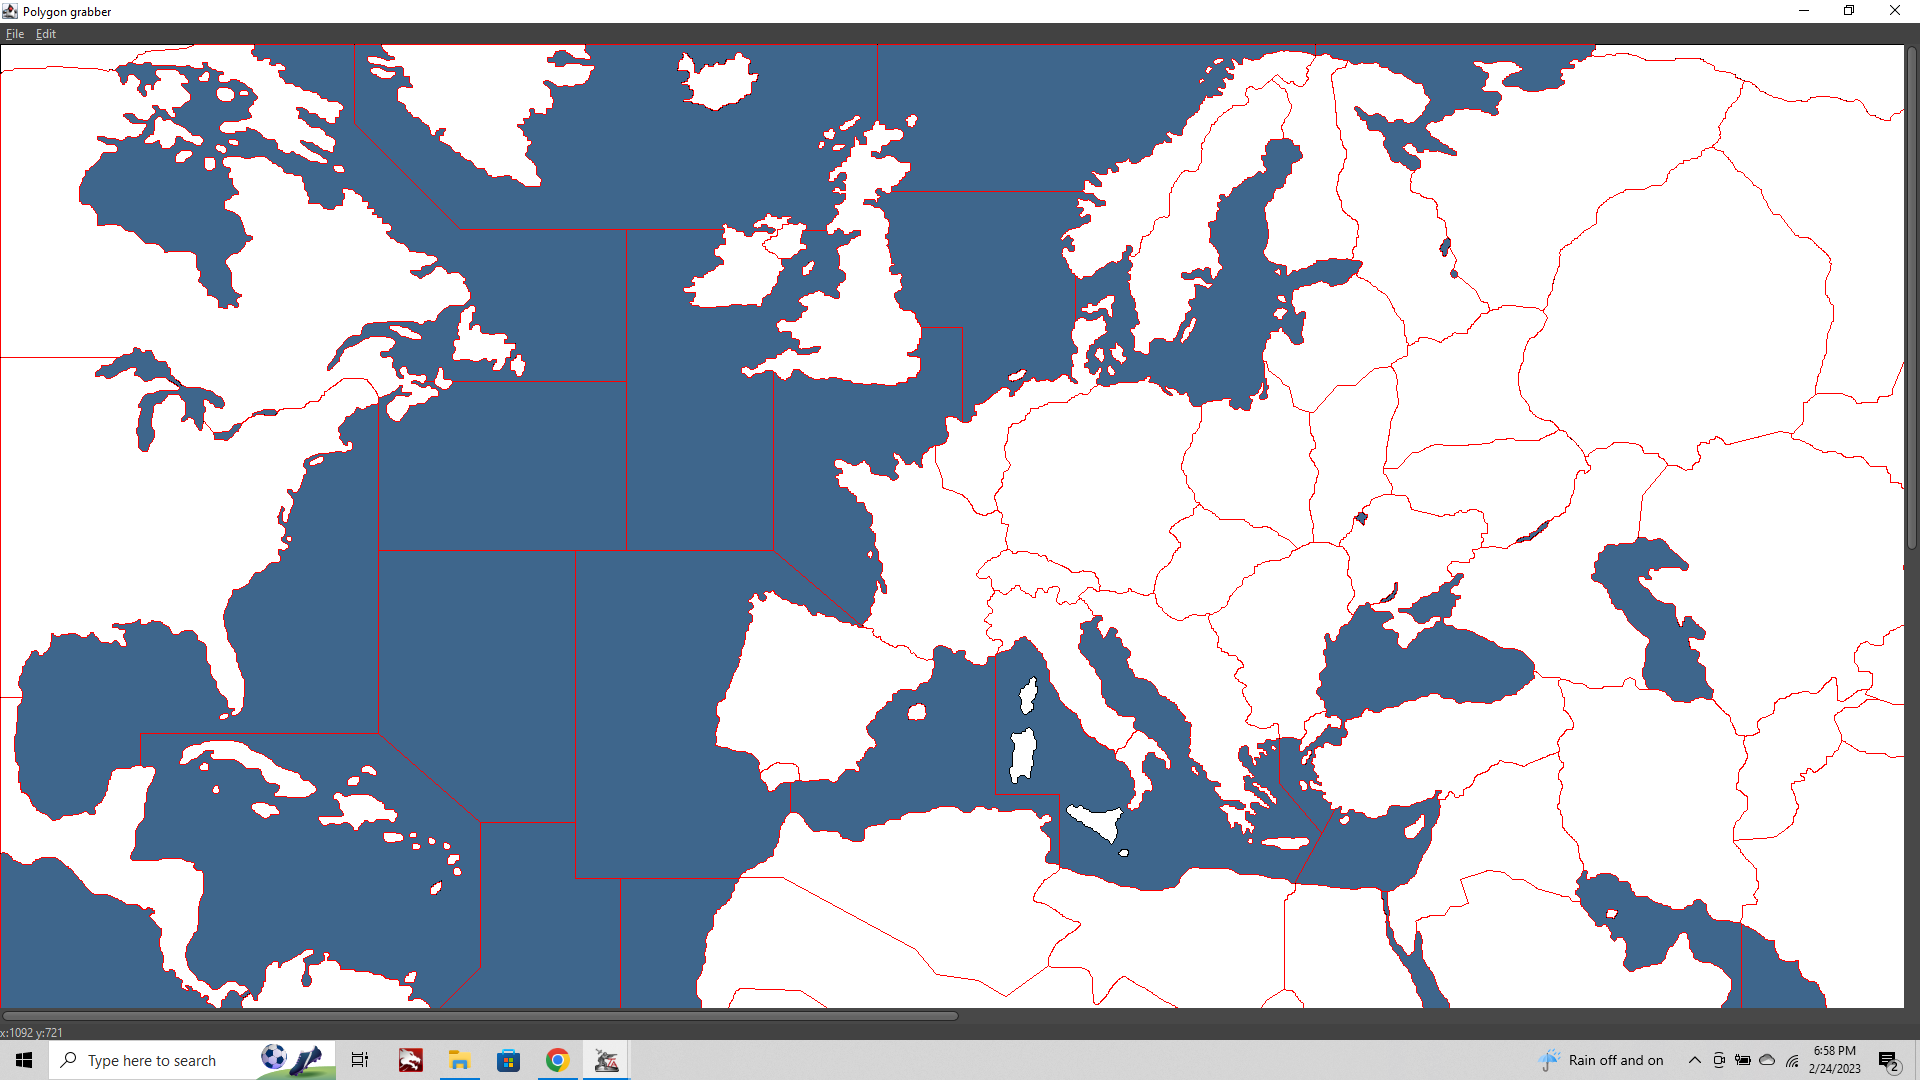
This time we'll control+shift left click "Southern Italy"
Then holding control+shift left click Sicily.
control+shift right click to save out the new Polgyon.
We'll do the same for Italy and Sardinia.
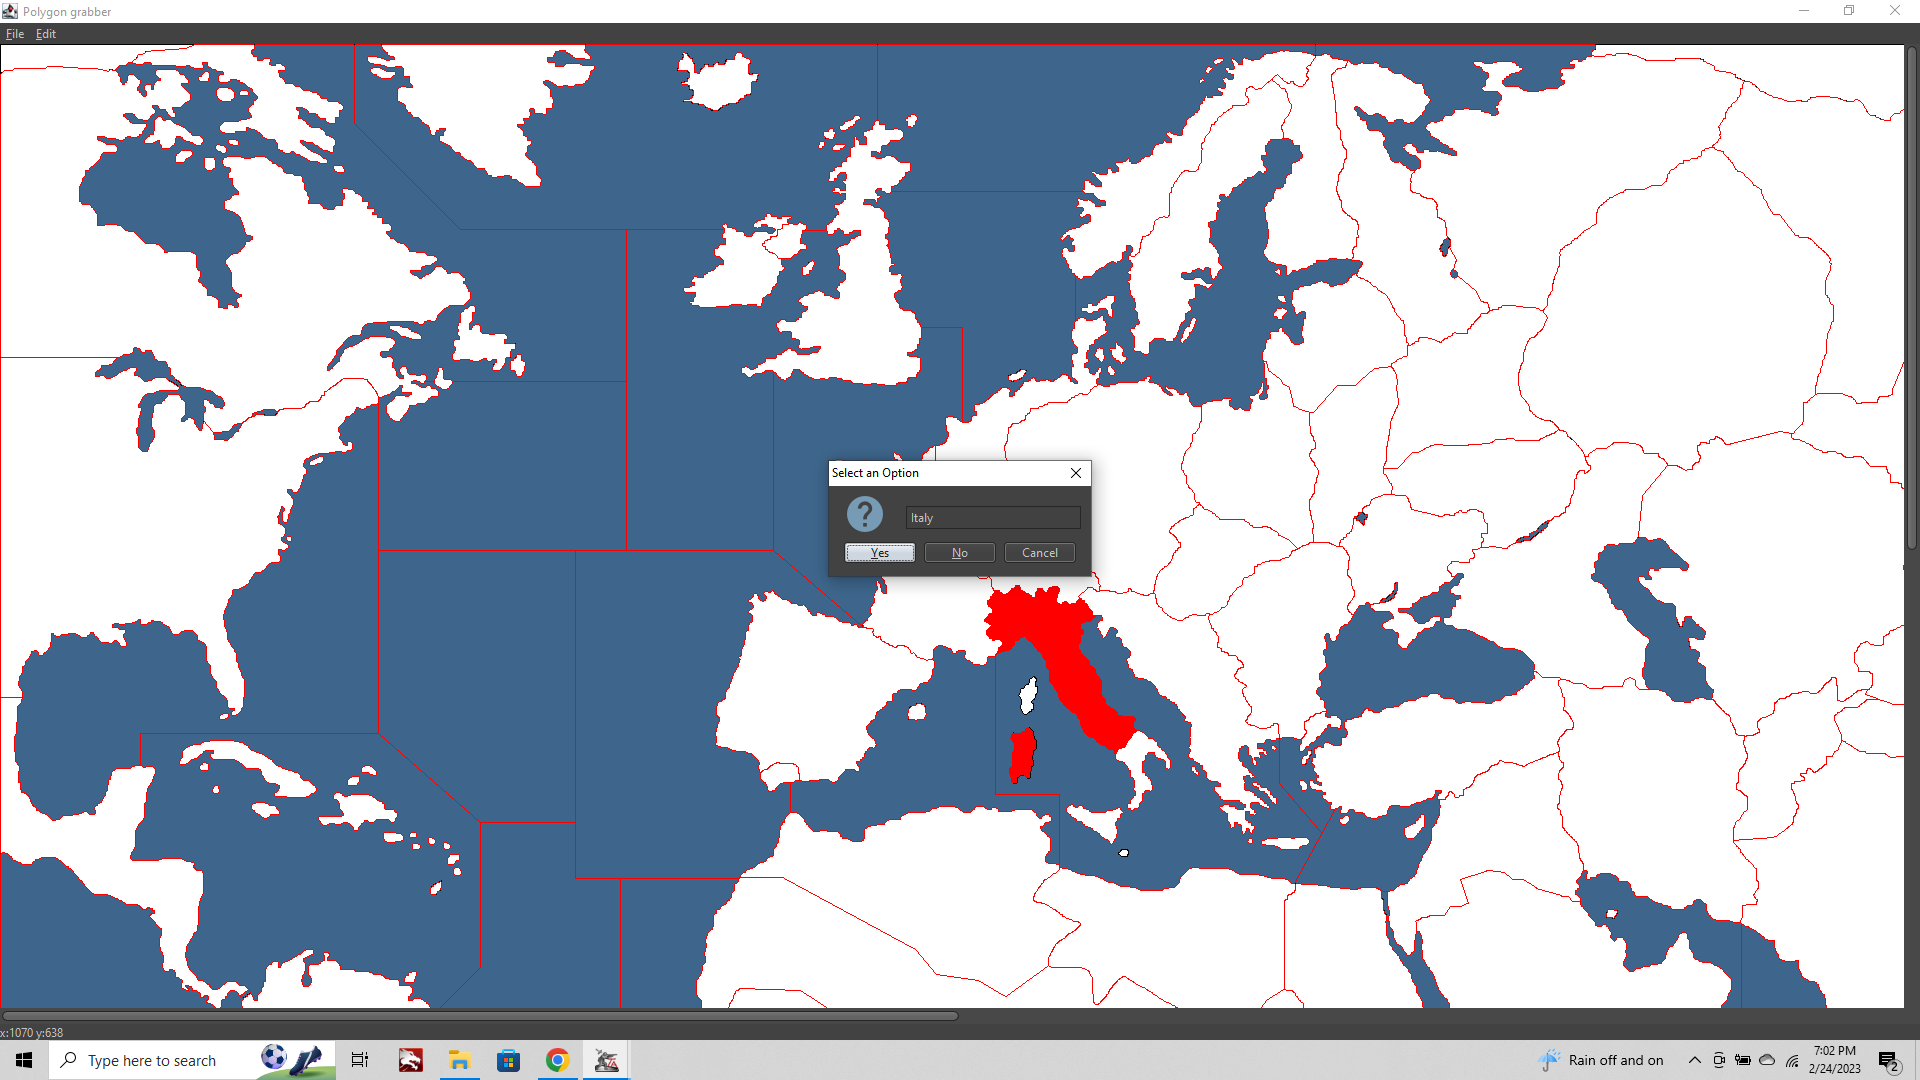
Now File > Save Polgyons
To save out the new shapes
The last step to check it out and make sure things work is to use Map Creator Tools> Step 2. Utilities > Run Image Tile Breaker
This is very similar to that first step we did to create our baseline. It's just the same process in reverse.

Now close tripleA completely. When you re-launch TripleA World War II v3, you should be able to see your new baseline and new tiles. Choose Map Details off from the View tab, so your relief (if it exists) isn't interfering with your view.
You'll notice that your new tile is visible, but hasn't yet been assigned to anyone, so it will be showing as White.
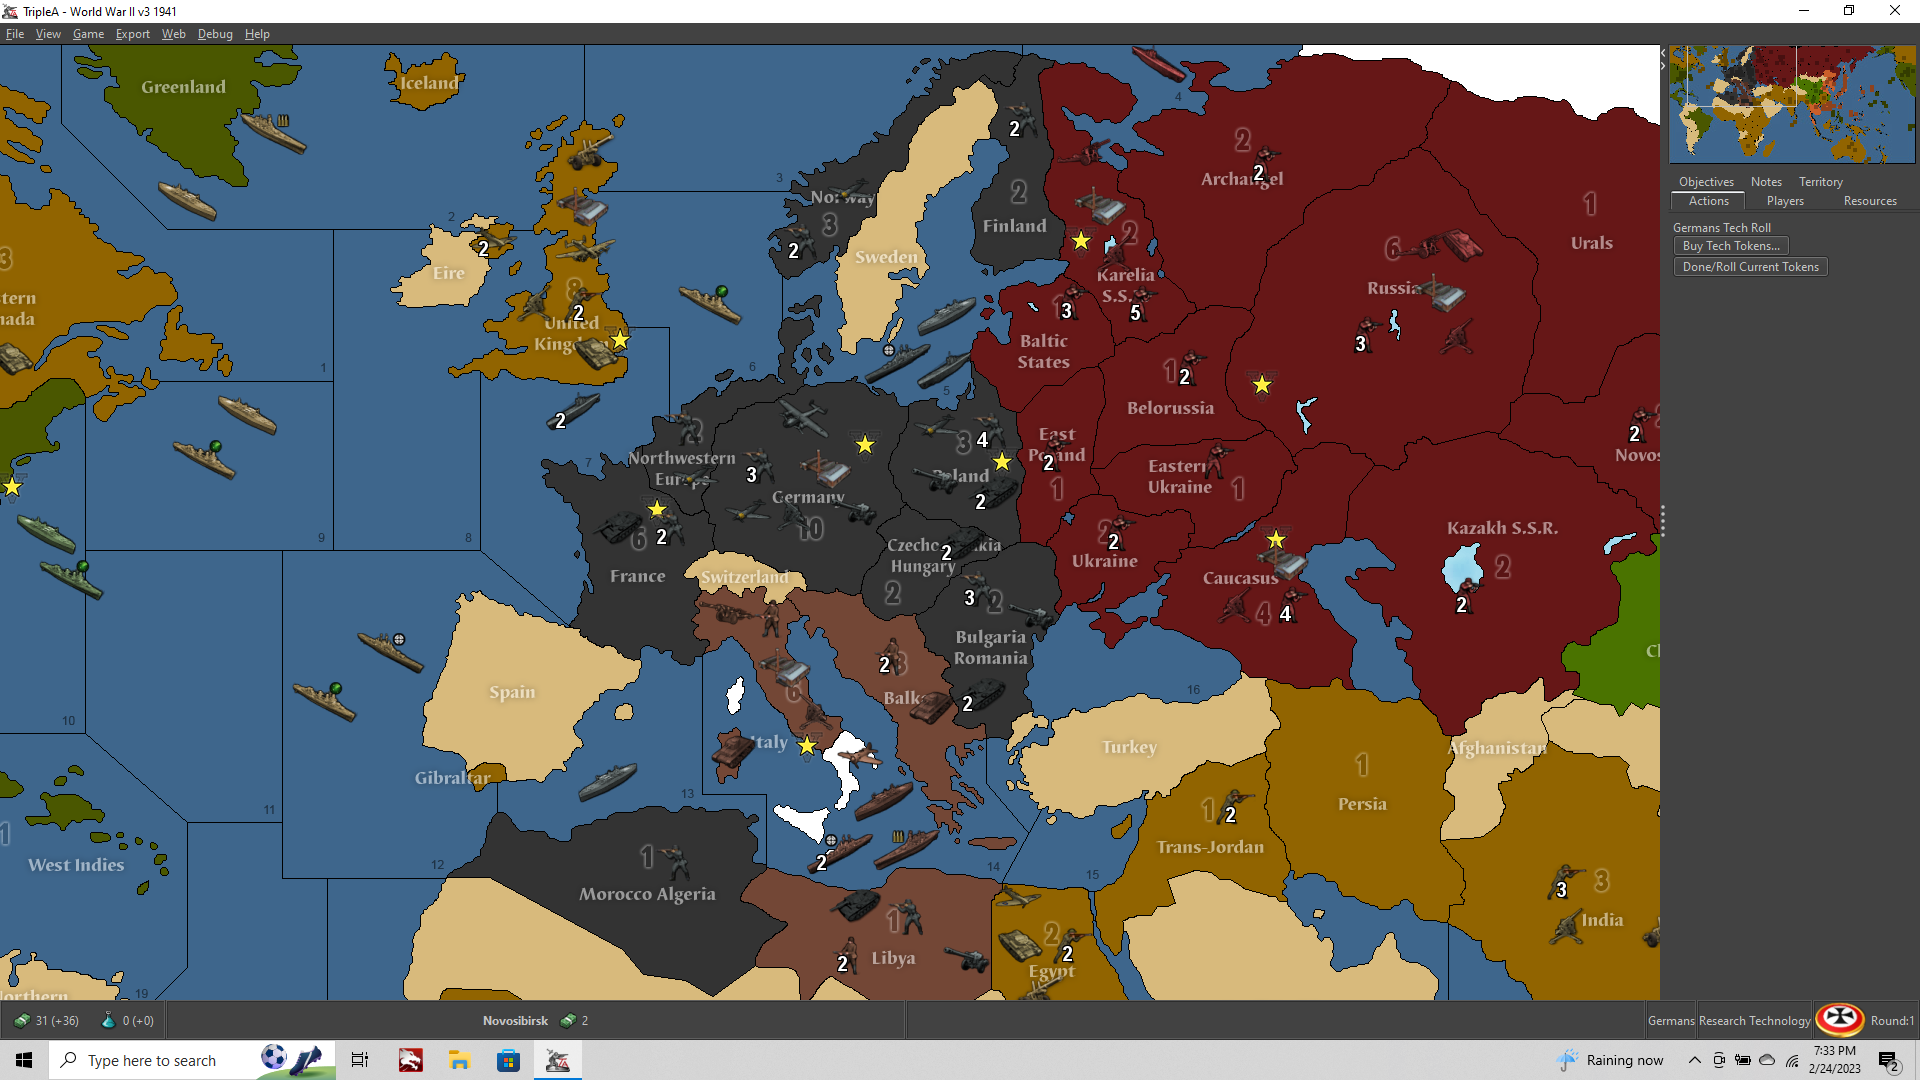
Aces! The next step is to add your new spot to the game XML, so it colors up proper. Also we need to redo the Placement Picker, so that fighter won't be landing in the wrong spot, and all our units end up where we want them for all the surrounding tiles to accommodate our tweak.
Note Corsica and Malta are also still unassigned, cause we didn't click them. We could add Corsica back to Northern Italy. Or perhaps we want to have this and Sardinia as part of Sicily for more room. You can switch how the polygons are assigned that way, depending on where you shift+control click/save to the associated center label.
CONT BELOW (but probably tomorrow lol)
-
Ok second wind, last step
Run the Placement Picker
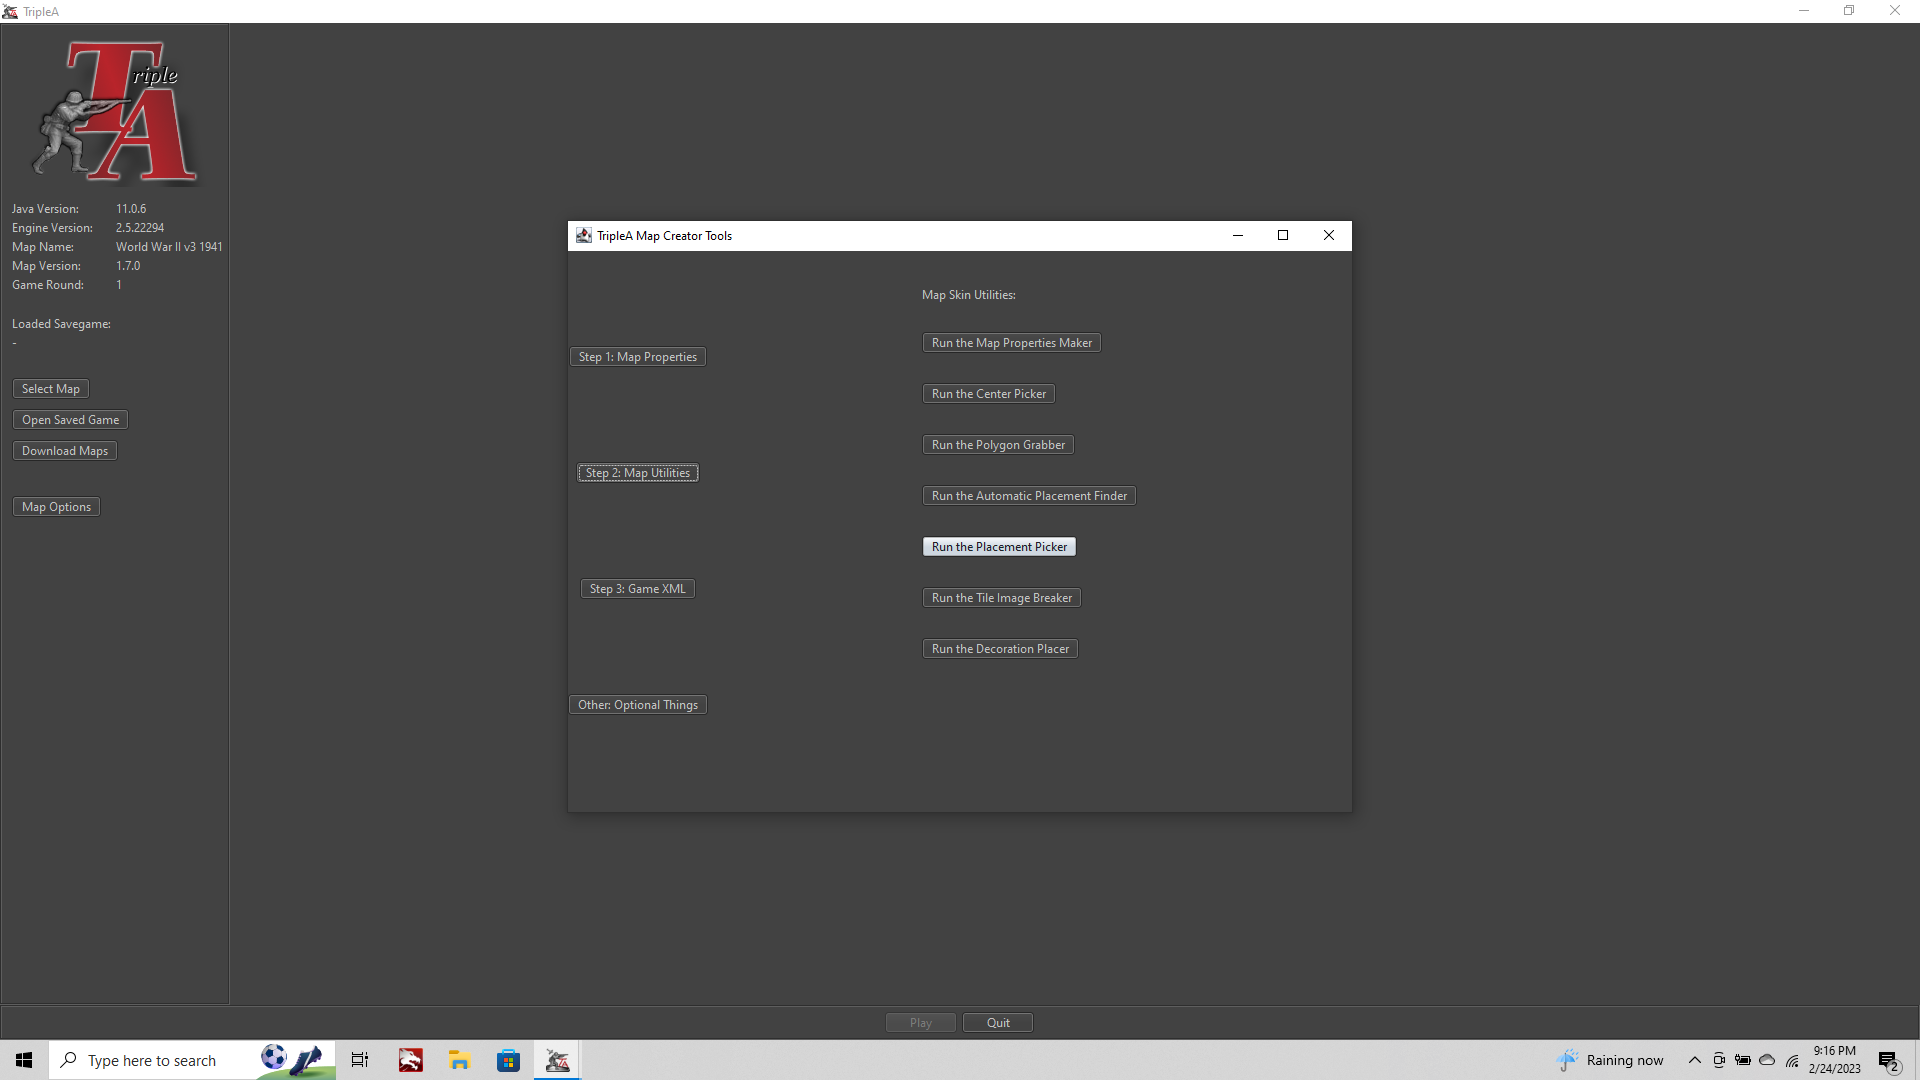
If you're making a new map, or you want to do all your placements at a new size (new unit dimensions/Height), then you can use the Automatic Placement Finder, but this will redo all the placements.
For our purposes we just want to mess with the placements around the part we modded. So we'll go straight to Run the Placement Picker.

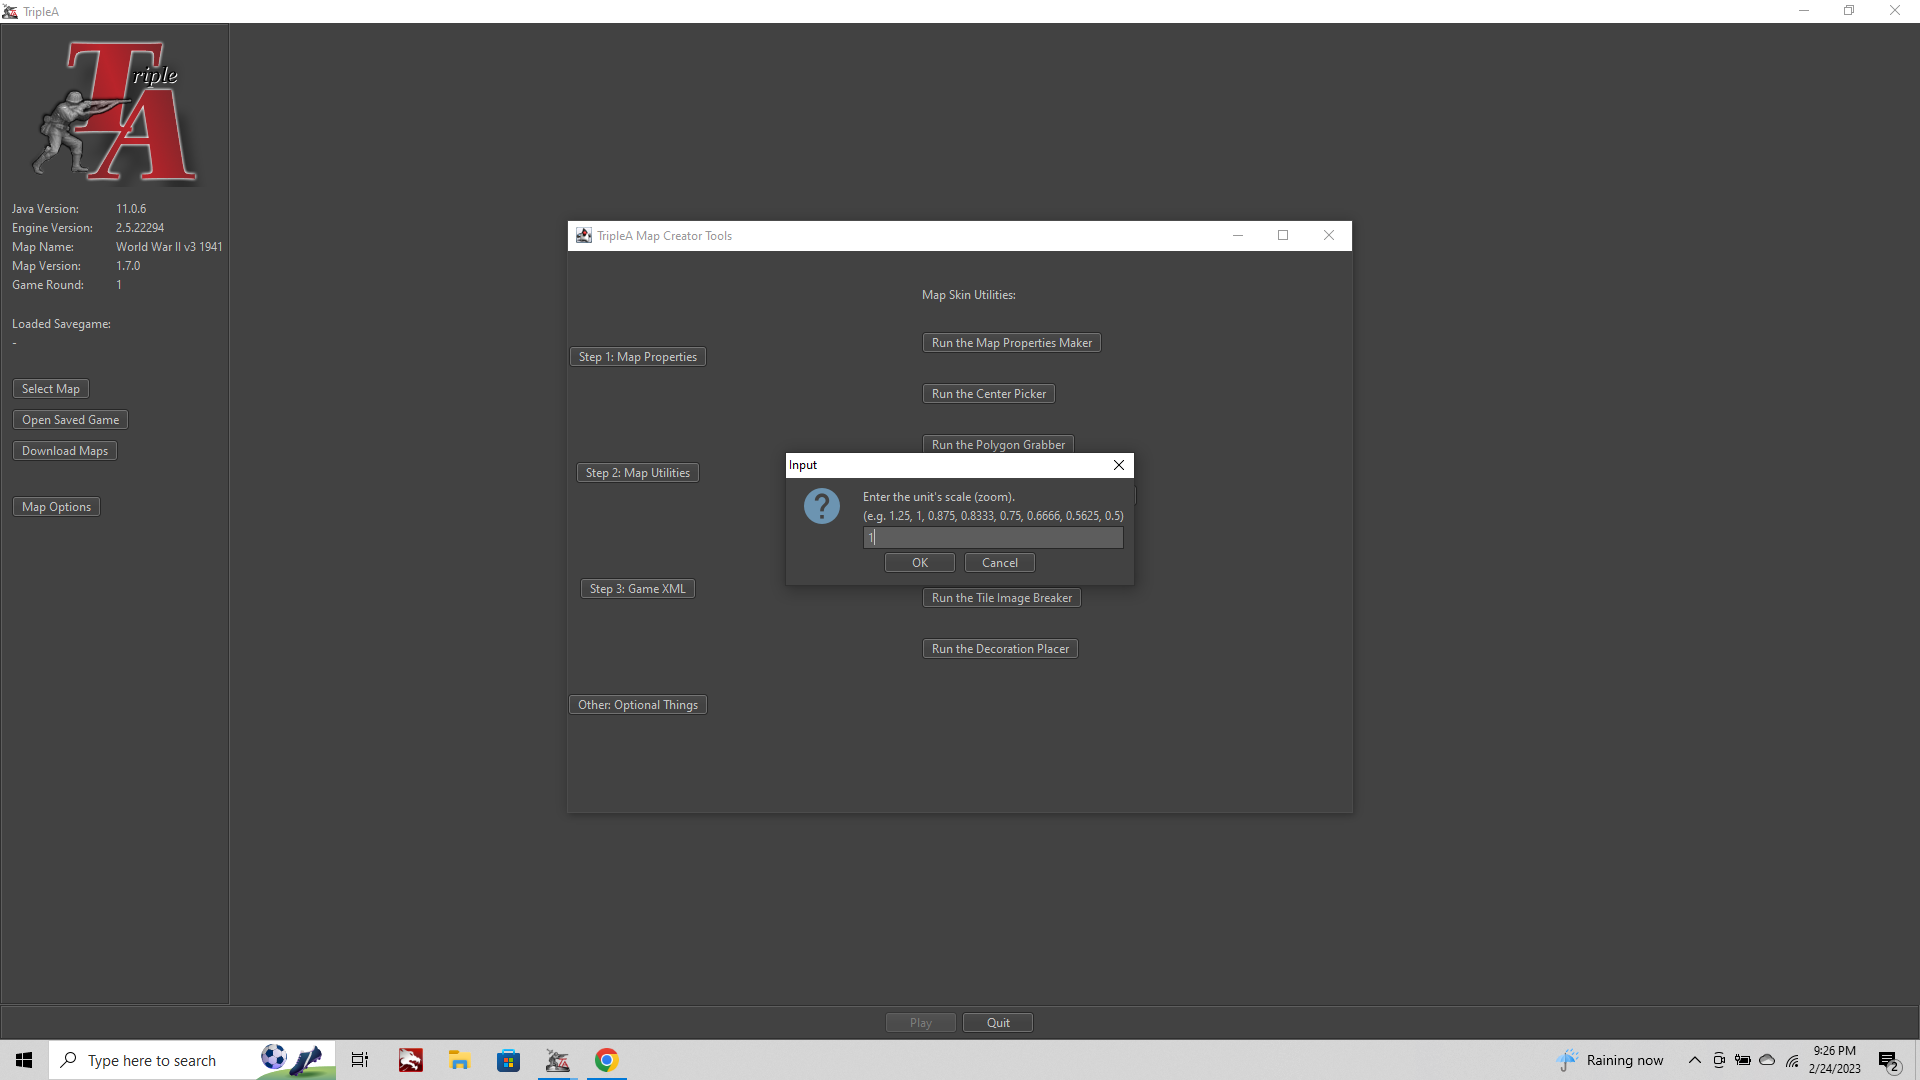
It's going to ask you 3 prompt questions. Unit zoom (you can use 1 for the standard 100% unit zoom) and then Width and Height. This will define the default dimensions of the placement reticle you'll see in the UI.
Default will be 48x48px, but if your unit graphics are larger this is where you need to define that for the place. You can push up to 68x98px, but this will show some clipping in many of the UI windows. If you want the full image to display height of 54px width 70-80px range works pretty well. Finally it will say that a polgygon file was found and do you want to use it? Click Yes.
Now it'll launch an image of your baseline
File > Load Placements
Navigate to your place.txt file
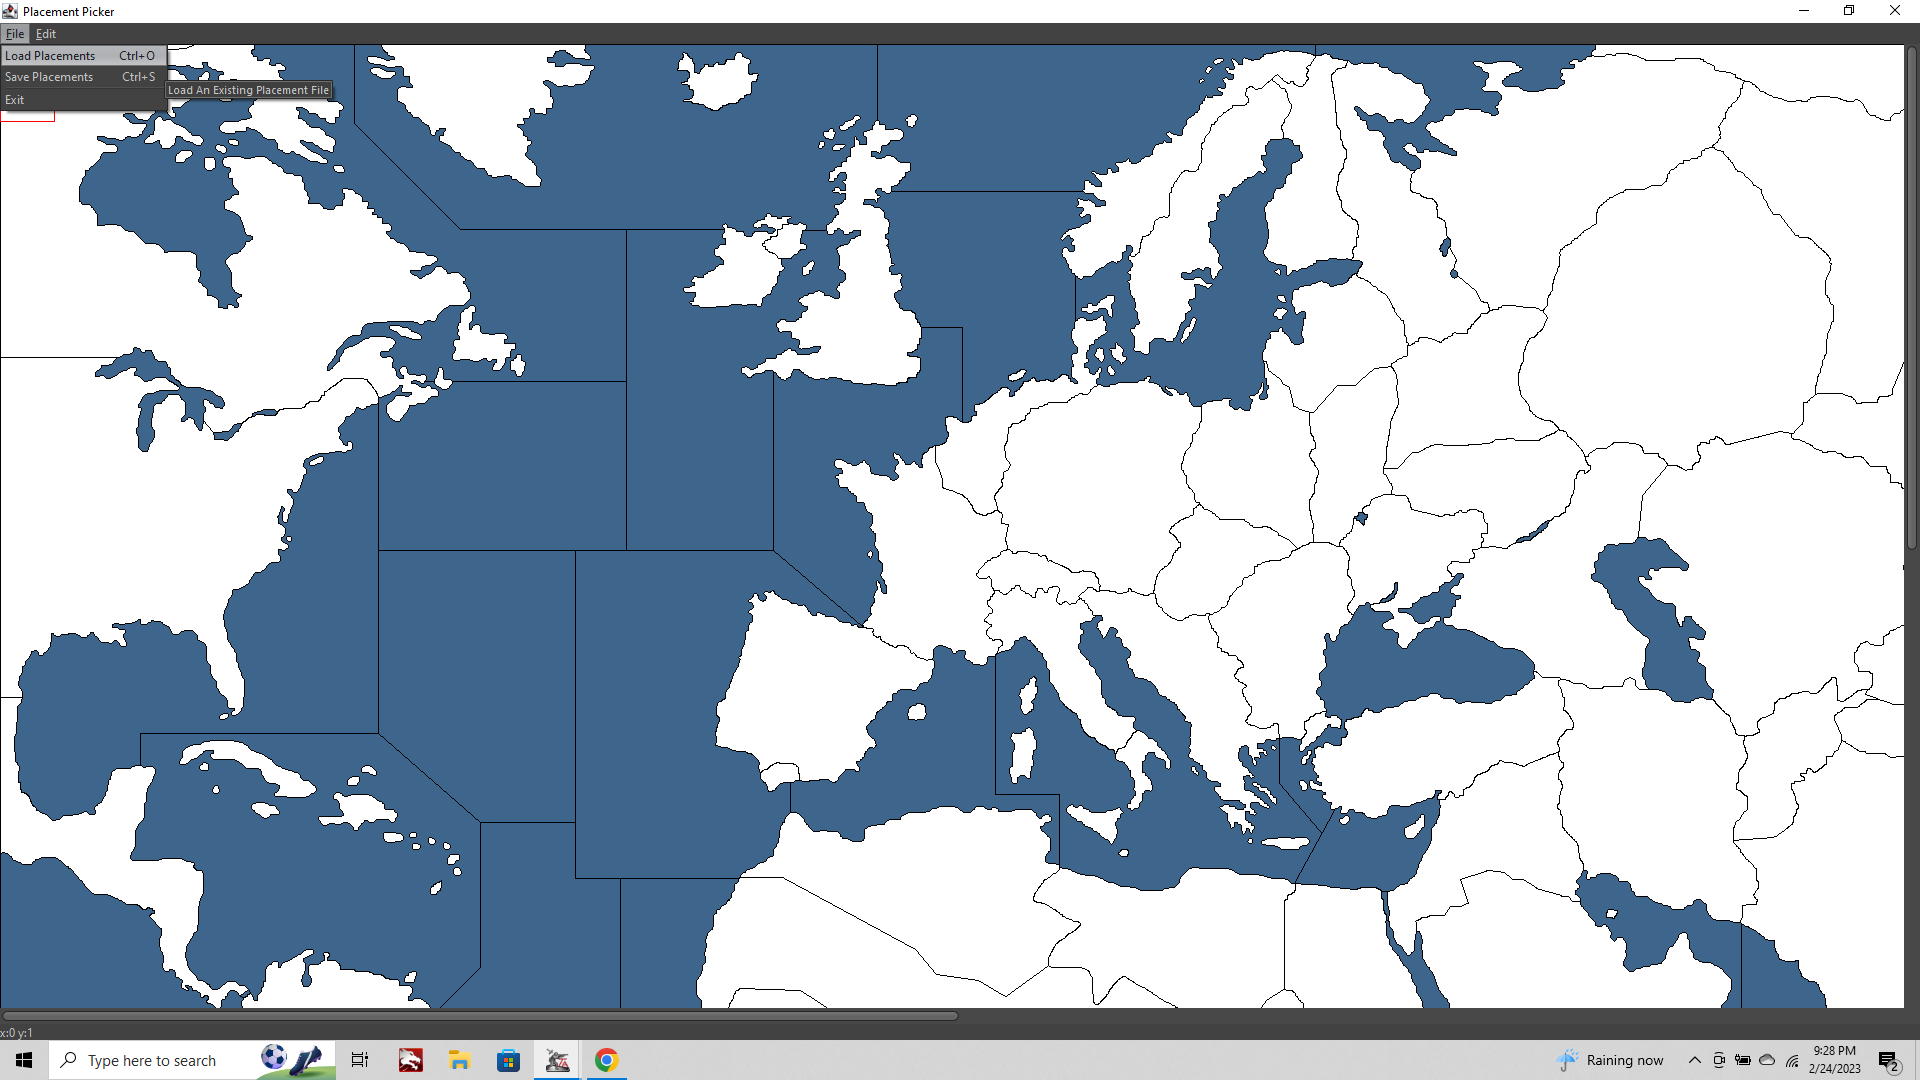
Now click Edit > Show All Placements Made
Your screen will light up with all the tiny yellow rectangles at the dimensions you specified, wherever placements were made in v3.
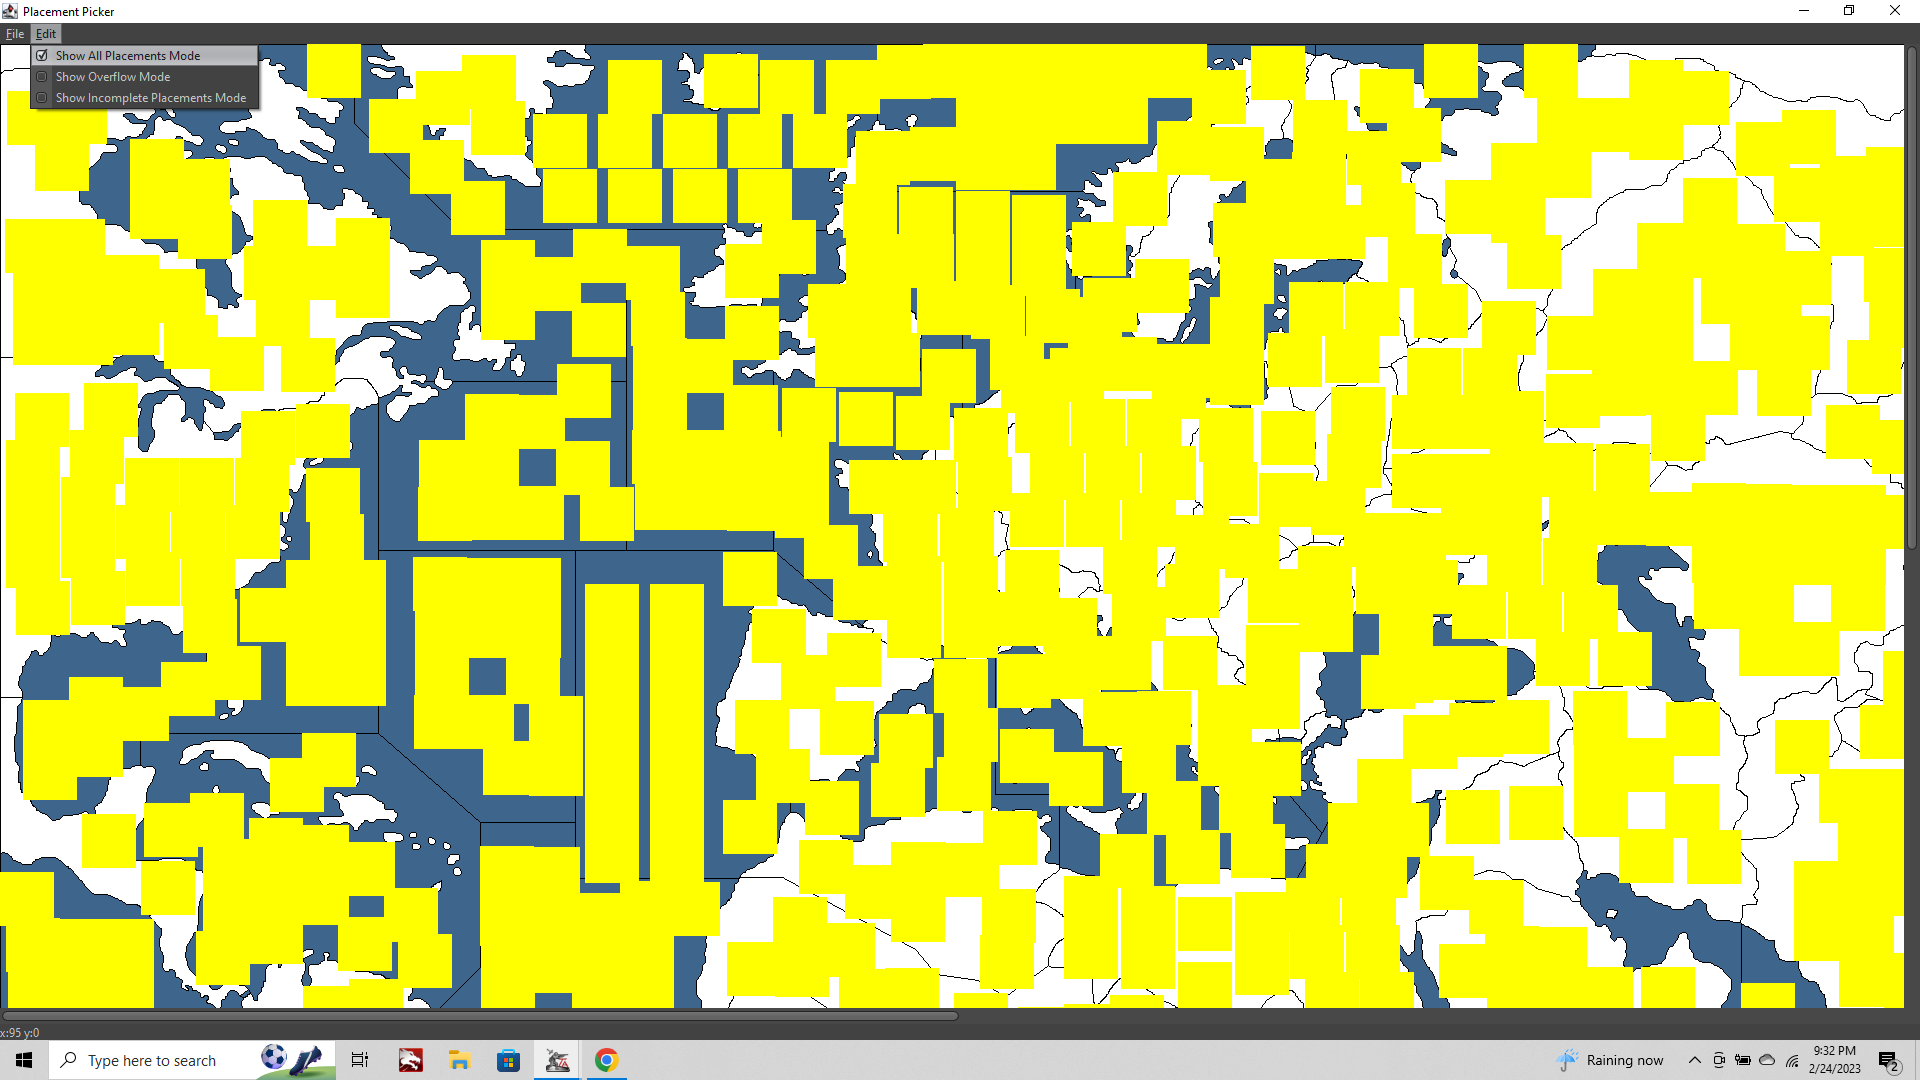
What we want to do is blank the placements associated with the Italy tile so we can add in a place for the new Southern Italy spot.
Left click on the map over Italy, when you click OK it will light up red with all the associated placements.
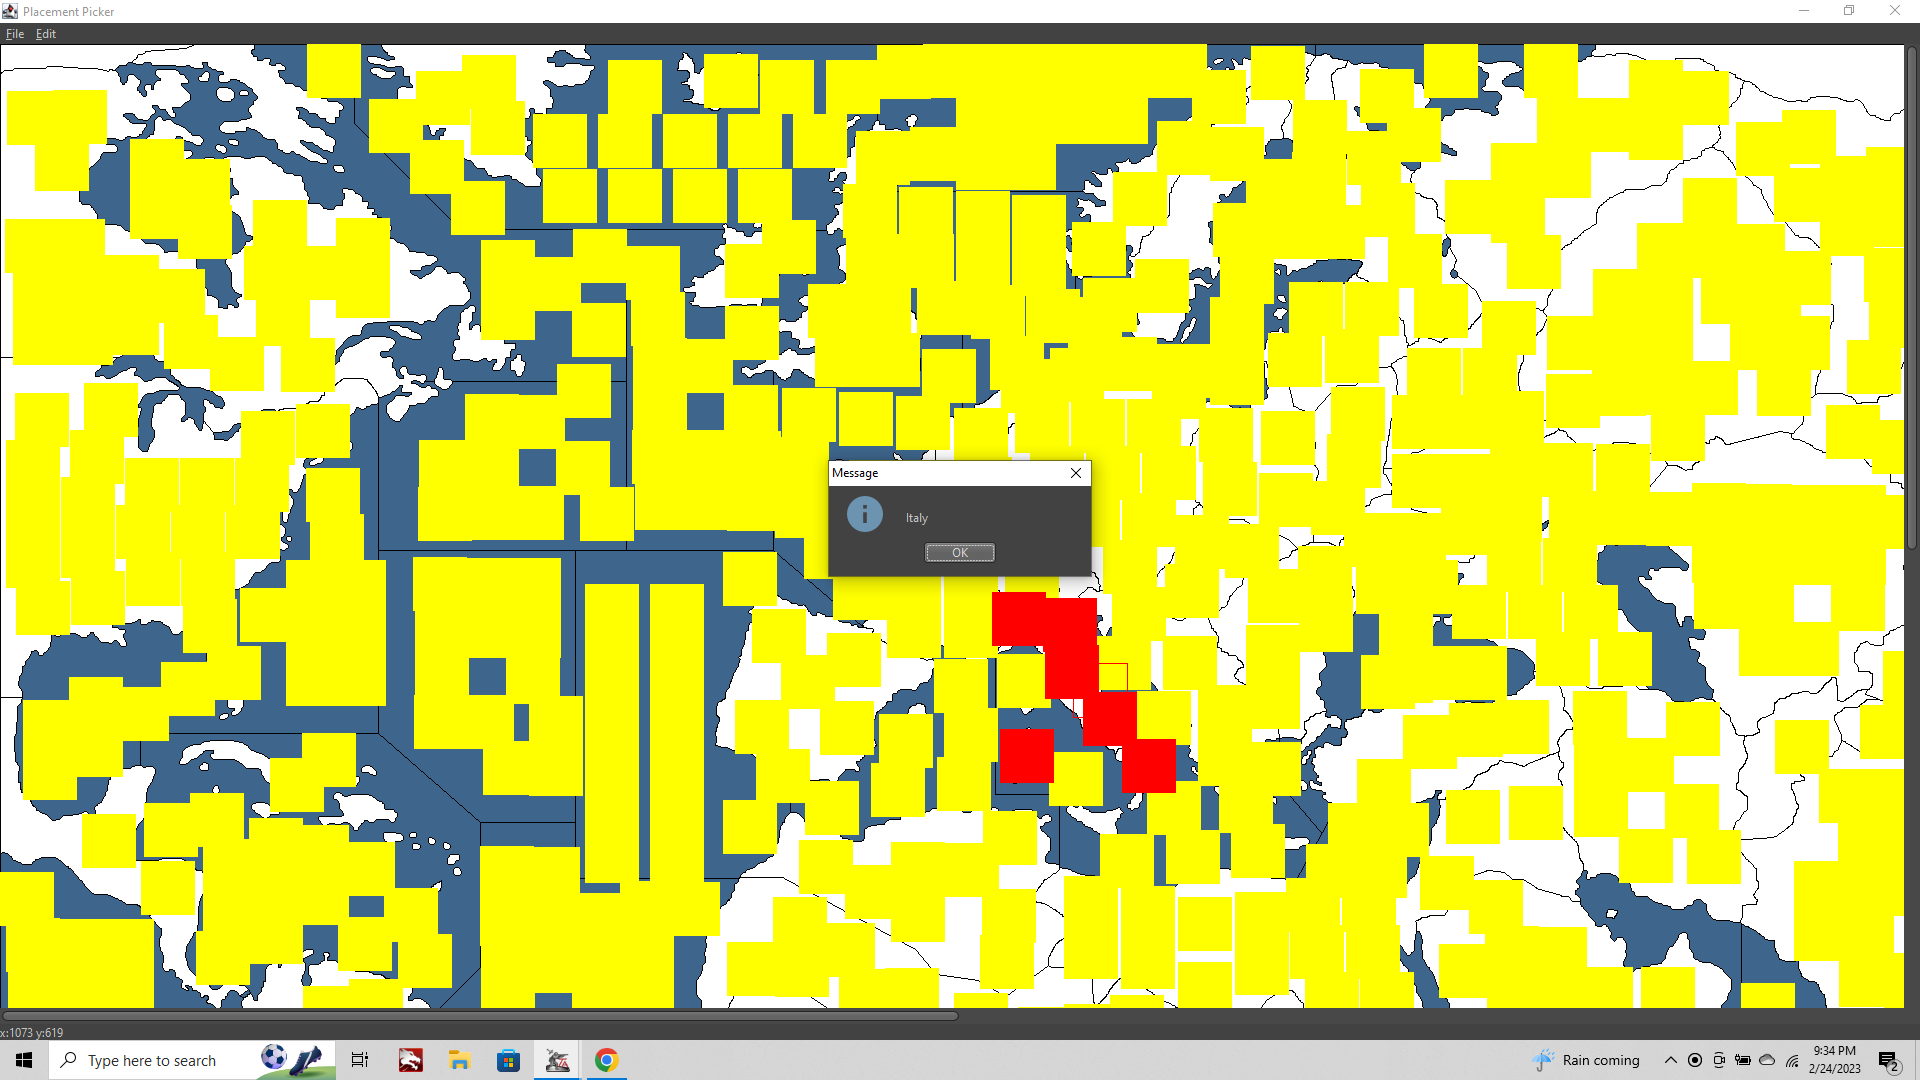
Right click and it will begin removing placements. You'll notice the first time you click that the Red rectangle at the bottom of the boot will disappear
Control+Shift right click to save out the new placement for Italy.
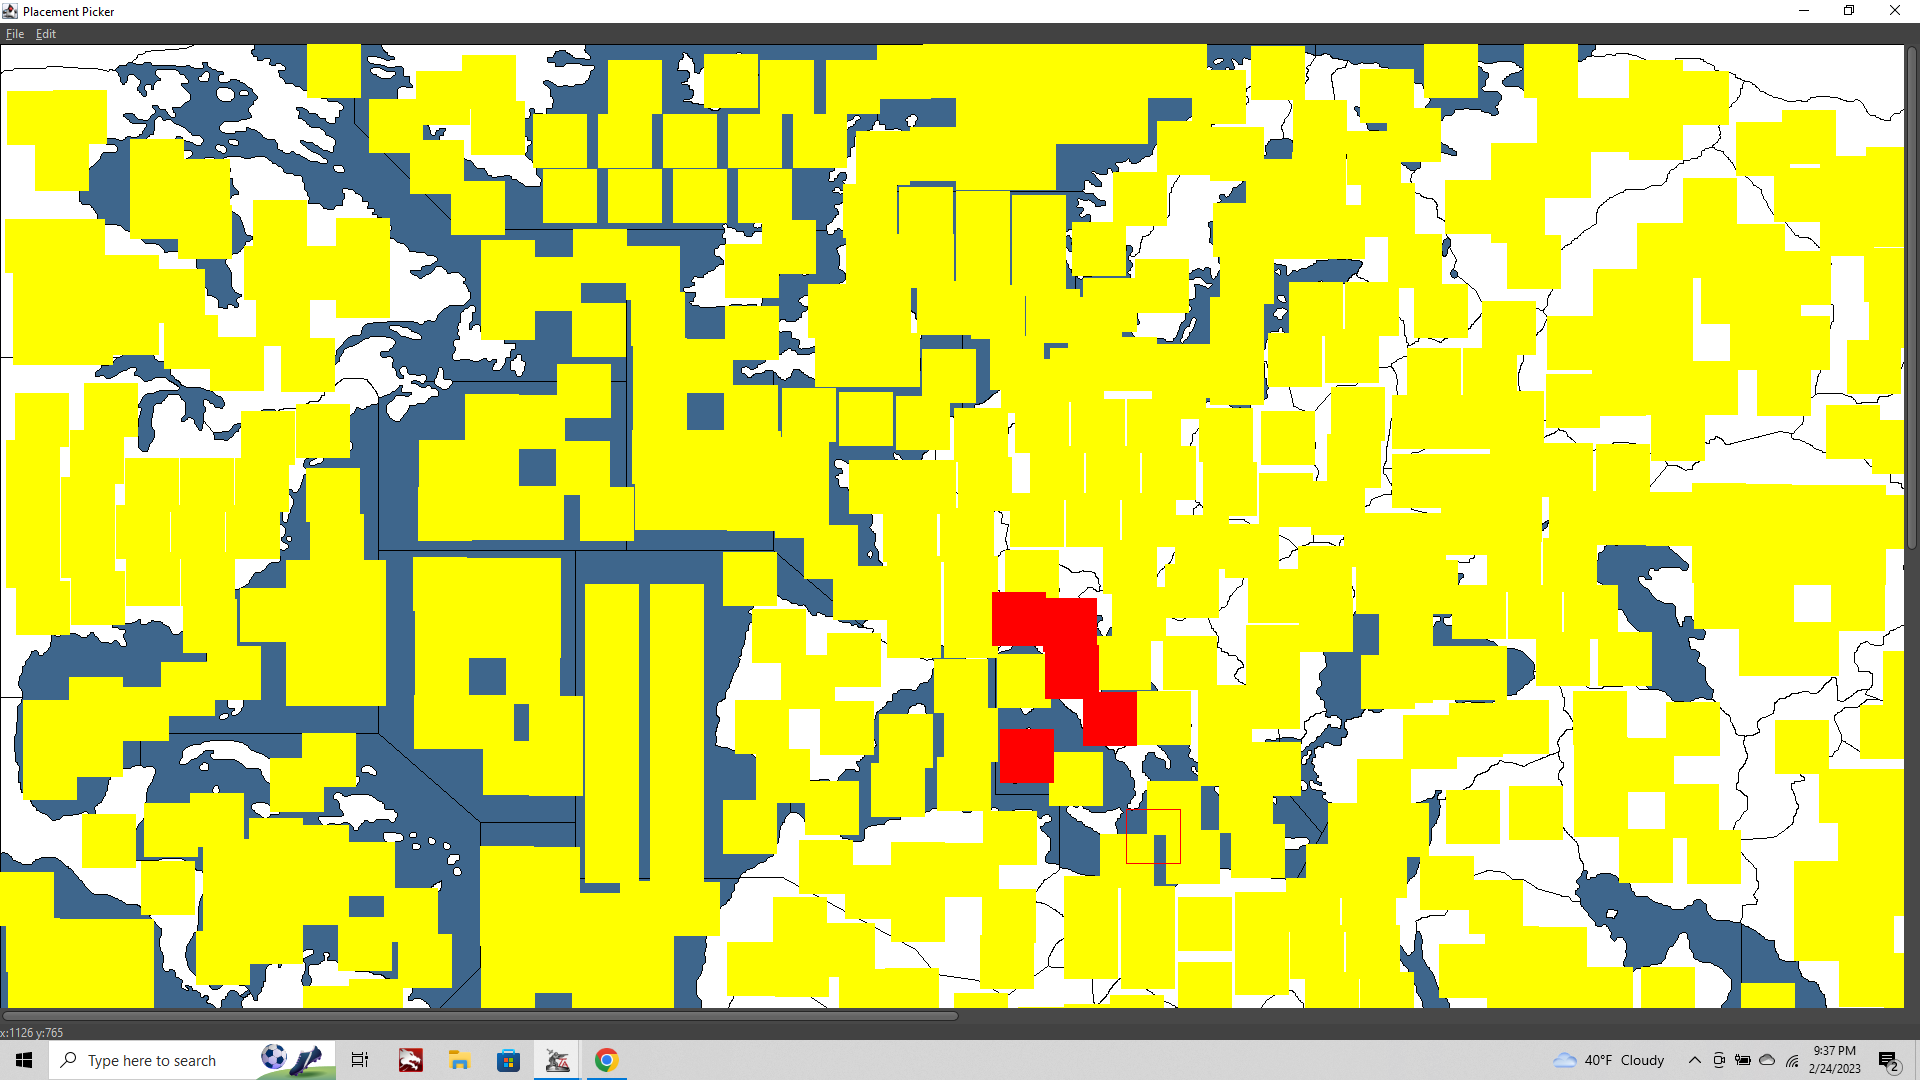
Now Control+Shift left click the newly blanked spot to add a placement for our new Territory.
Add another red square over Sicily
Control+Shift right click to save out the placement to Southern Italy.
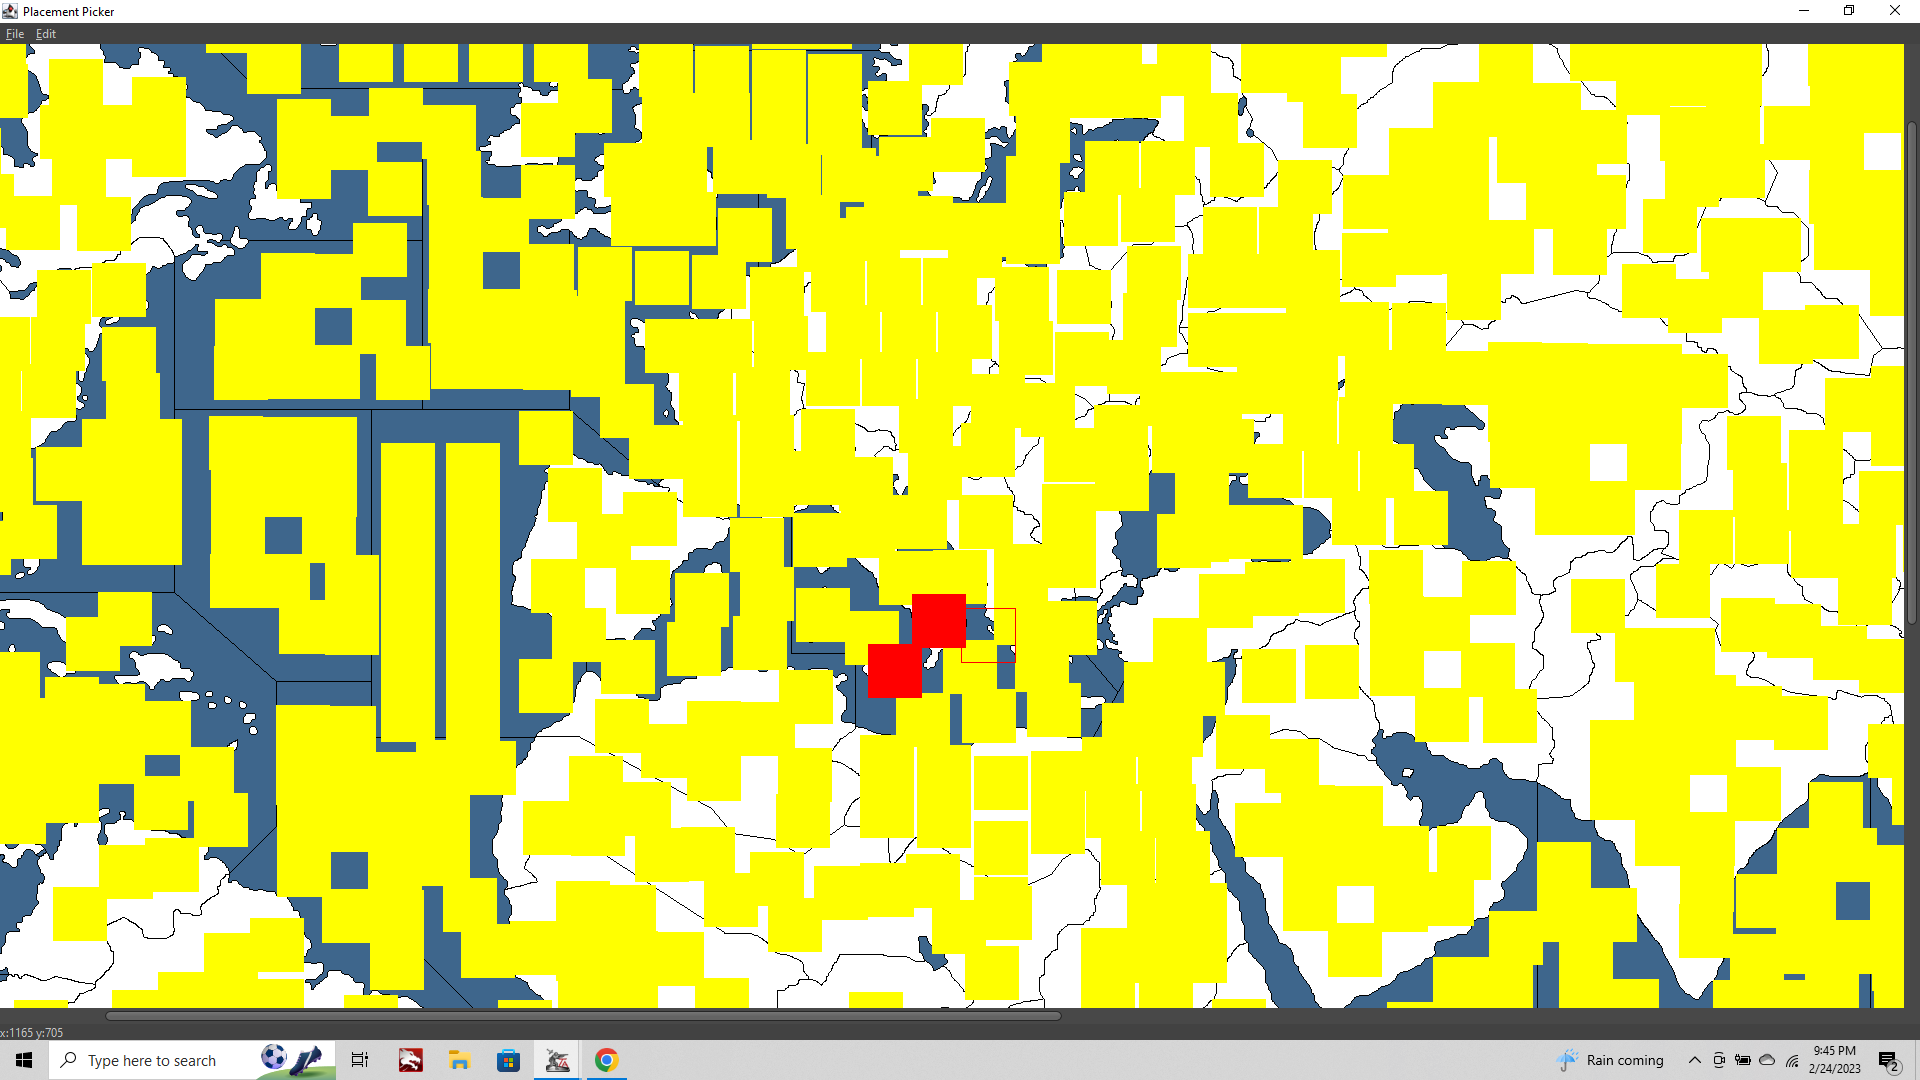
To change the direction of the overflow lines for placements go to Edit > Show overflow
this will show you which direction the units will spill when they run out of placements. It will be based off the last placement made , so in this case Sicily.
When you're building out the placements for spots you know will be crowded you leave gaps in the overflow area so units don't bunch up on top of the placements in a neighboring TT too hard.
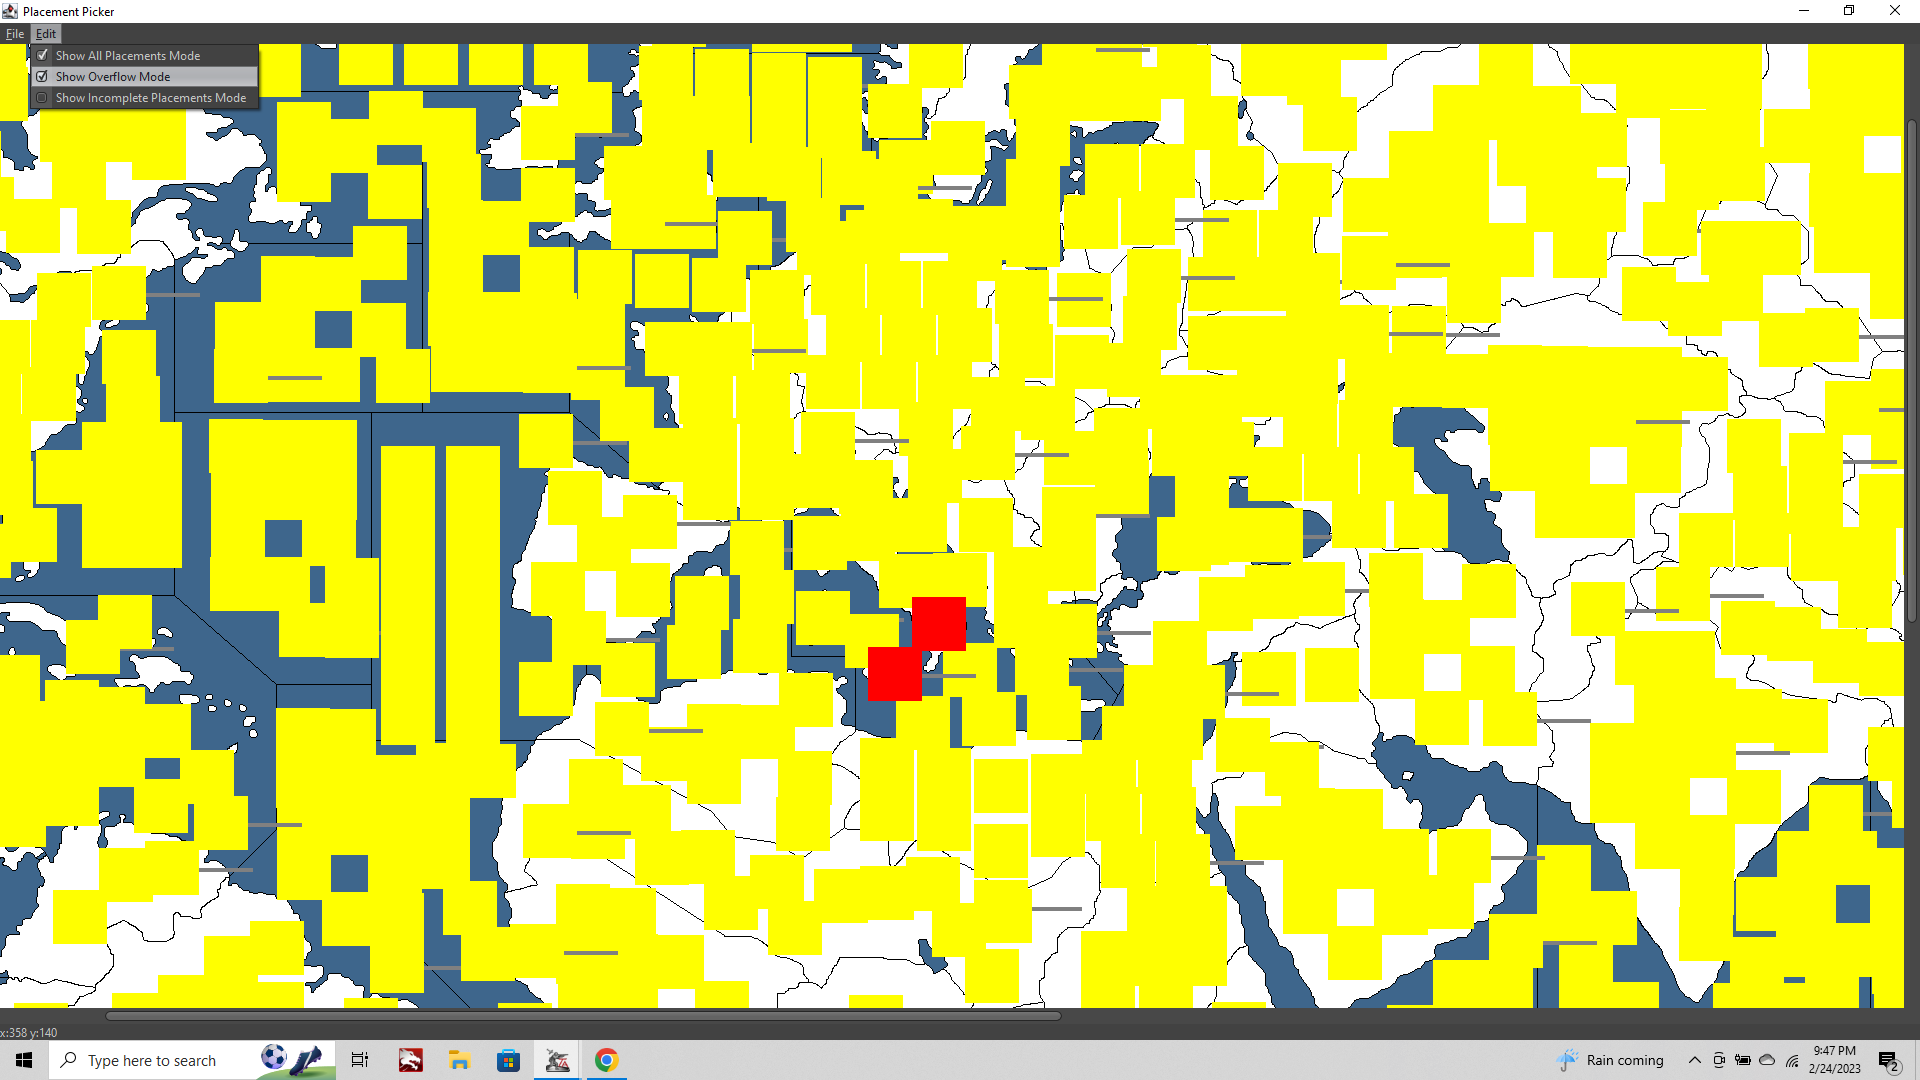
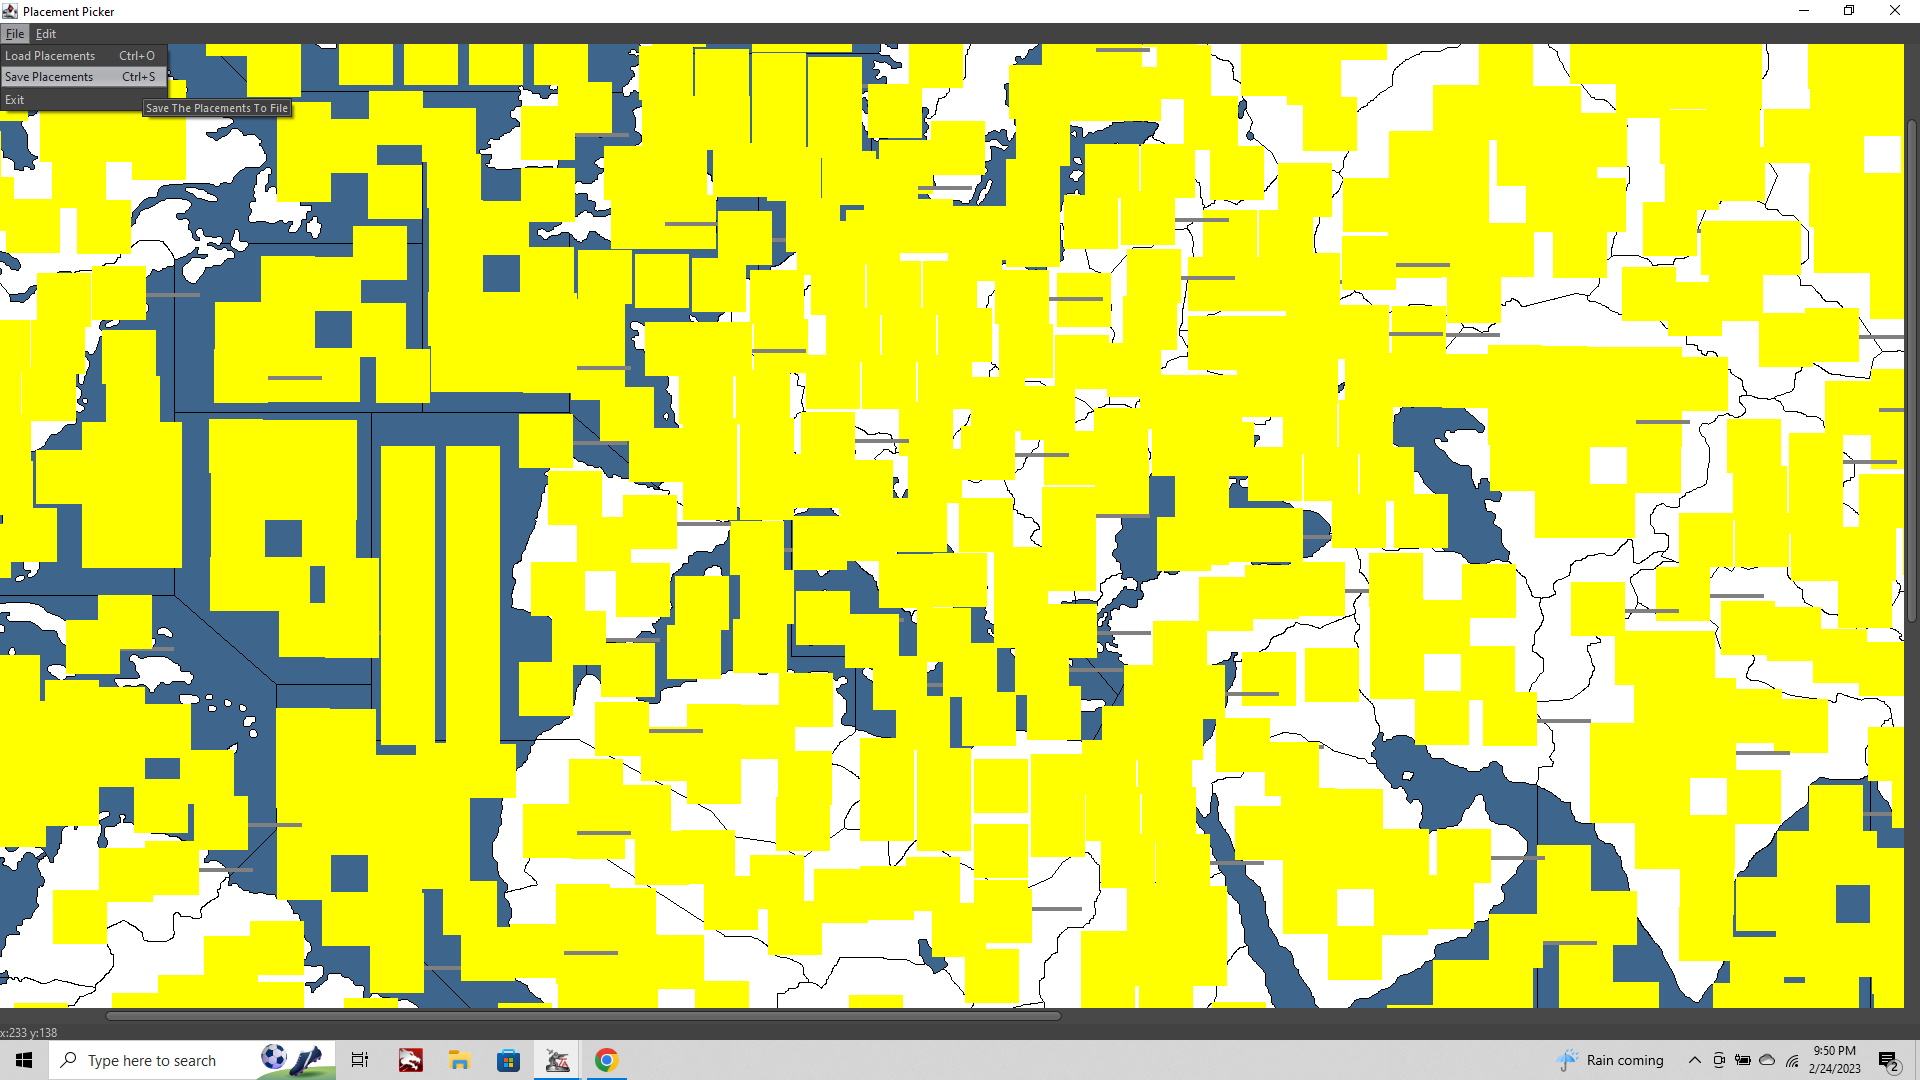
Then once you got it all set
File > Save placements
Now when you close out of tripleA and relaunch your v3
You'll see that the fighter has moved from his old spot. Now he's into overflow position. Since our last placement for the Italy tile was Sardinia, he's over there now, with the line leading off to the right.
Southern Italy hasn't yet been assigned a home in the games XML so it'll still be showing white.
To get it looking the way it's supposed to now we need to open the v3 game xml and create some entries for our new spot. Open the xml in notepad.
In the Territory Name Definitions section we'll add...
<territory name="Southern Italy"/>
In the connections section we'll add...
<connection t1="14 Sea Zone" t2="Southern Italy"/>
<connection t1="Italy" t2="Southern Italy"/>In territory attachments we'll add...
<attachment name="territoryAttachment" attachTo="Southern Italy" javaClass="games.strategy.triplea.attachments.TerritoryAttachment" type="territory">
<option name="production" value="2"/>
</attachment>And in Owner Initialized we'll add
<territoryOwner territory="Southern Italy" owner="Italians"/>
When you do all that, the next time you fire up TripleA you'll see Southern Italy under Italian control with a value of 2.
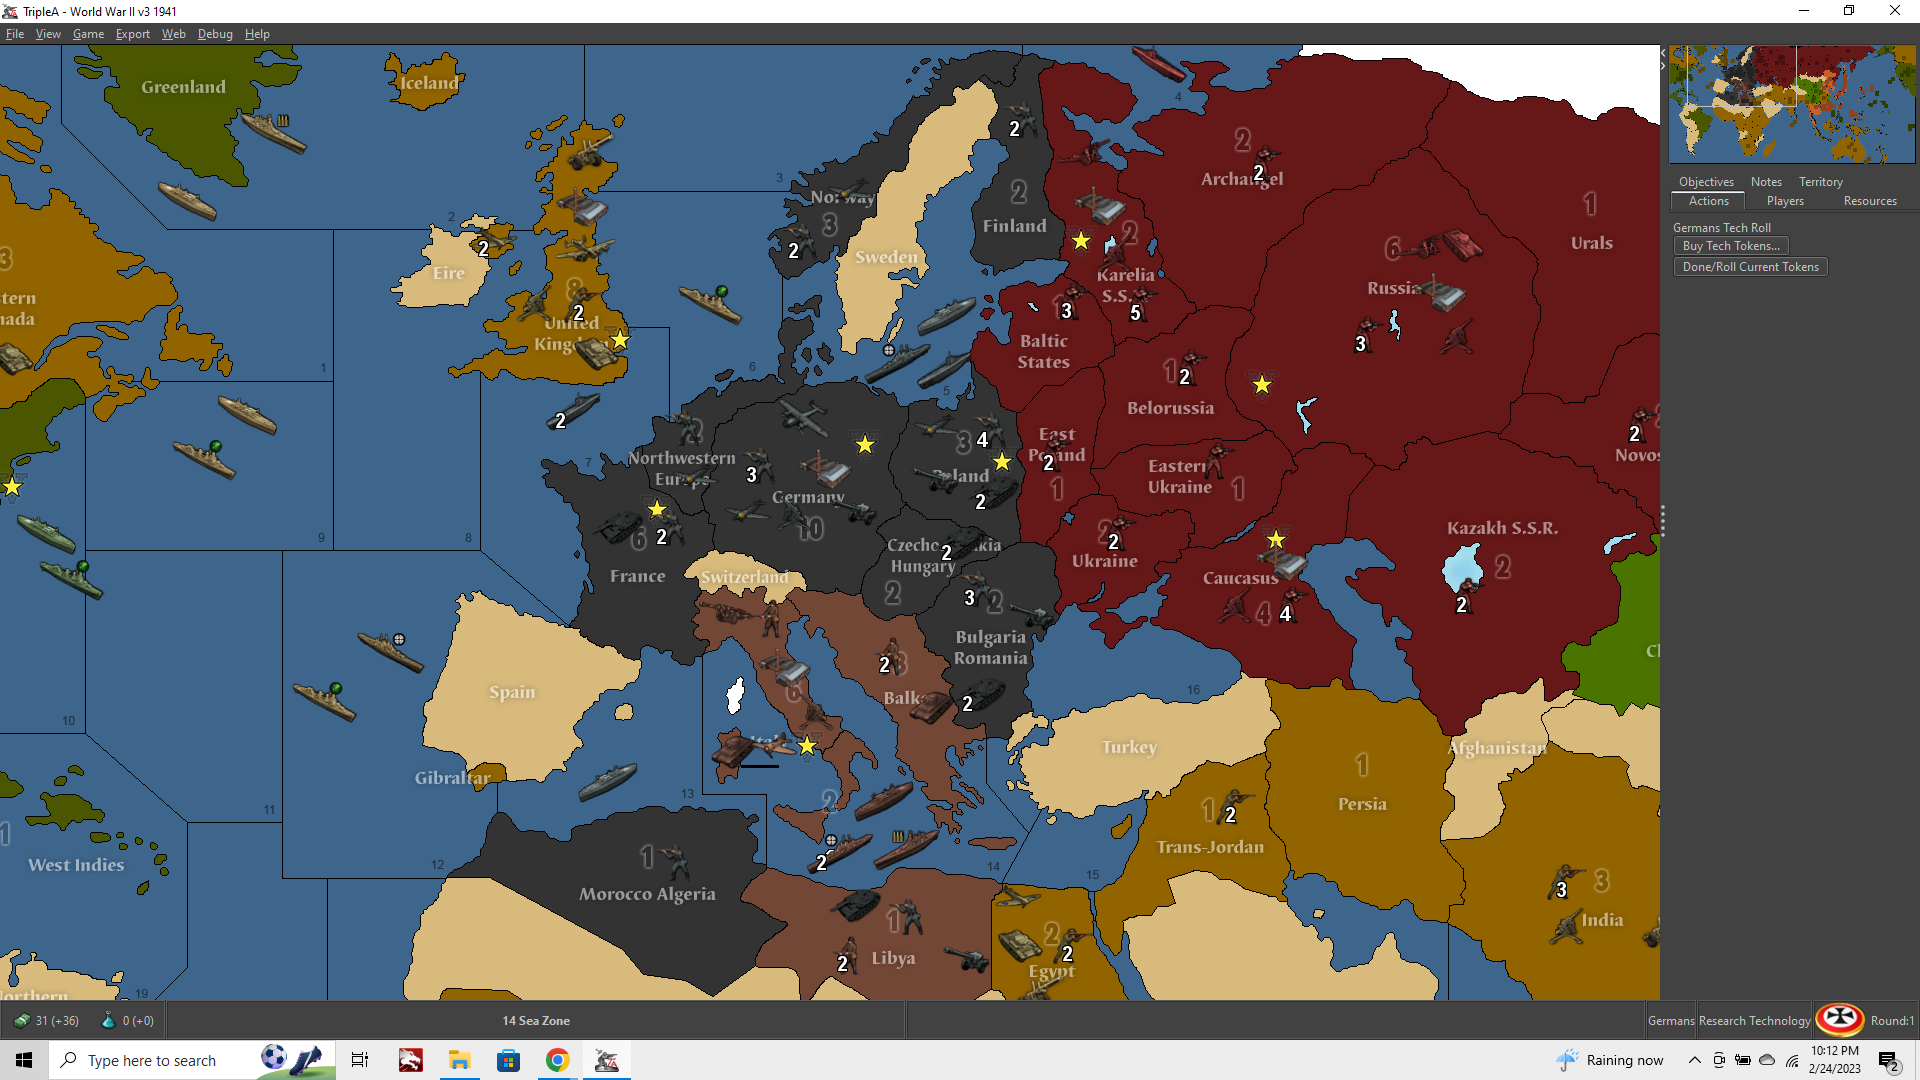
Now we can add units to the tile within the game XML, and make sure that Italy's starting income matches the new addition, and that sort of stuff within the game file. Figure out what we want to do about Corsica and the like hehe.
One final step would be to noodle our labels and decorative stuff, and to make sure our new Tile also works with our Map Relief. But that'll have to be for another night.
If using WOPRs v3 relief, you should be fine at this stage, since that relief is semi transparent throughout you'll see the new baseline drawing beneath it. If your relief is more opaque or you want to show the baseline at 100% opacity, bring your baseline into GIMP along with your Relief, and use the trick described in the Map Relief guide to open a 1px border where your new line is.
Hopefully that helps a bit. If I think of anything else I try to add it in later, but that should at least get the ball rolling.